Each template has banners, and it is good to have them managed and arranged according to one’s needs. This tutorial will show you how to edit/add banners to your OpenCart 3 store.
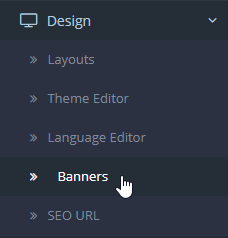
1. In order to edit already existing banners or ad a new one, you need to log in to your Opencart admin panel and navigate to Design > Banners page.
Here you can see a list of banners used in your store and their status: enabled or disabled. Click on Edit button to start editing or Add new to add the banner.
On the banner configuration page, you can see Banner name, Status, Language tabs and a table where you edit banner directly.
 You can modify the banner name by entering your title to the Banner Name field.
Change the status (enabled/disabled).
If you are using more than one language for your store, you can use a different title for each language, you need to click Language tab to select the language you need..
The banner table includes Title, Description, Link, Image, Sort Order columns:
- Title – add or edit the existing banner title, usually, it has something like – banner-1.
- Description – enter your banner description to the Description field. You can use different descriptions for all languages installed on your site. The field allows using HTML tags for better formatting.
- Link – the example of the URL is – index.php?route=product/special, means you copy the existing URL and add its part starting from index.php.
- Image – upload your banner images by clicking the image and then clicking Edit button.
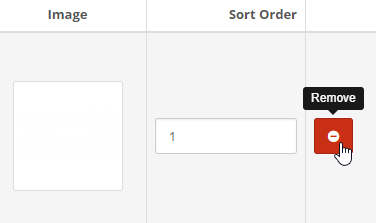
- Sort Order – change banner order, specify order from 0 to any number.
To remove the banner image, click on the picture under the Image section and select an appropriate button.
To remove the particular banner, click on Remove next to it. To add more banners, click Add Banner at the top of the list.
Save the change by clicking top right Save button.
2. To delete a particular banner section, check it under Design > Banners page, check banner you would like to remove and click Delete button in the top right.
Open any banner block and you will see the following:
- Module Name – it is the same name as in Design > Banners > Banner Name field.
- Banner – it is the same name as in Design > Banners > Banner Name field, you can select among existing banners.
- Width – set in px
- Height – set in px
- Status – enabled or disabled.
3. Open Design > Layouts page. Click on Edit next to the page where you would like your new banner module to appear. Let’s open a Homepage. And add it to the left column, below it you can see a drop-down option, click it and select the banner. Click Save button on top right and check your site to see new banner.
We hope the tutorial is much of help and wish you good luck with your website.


