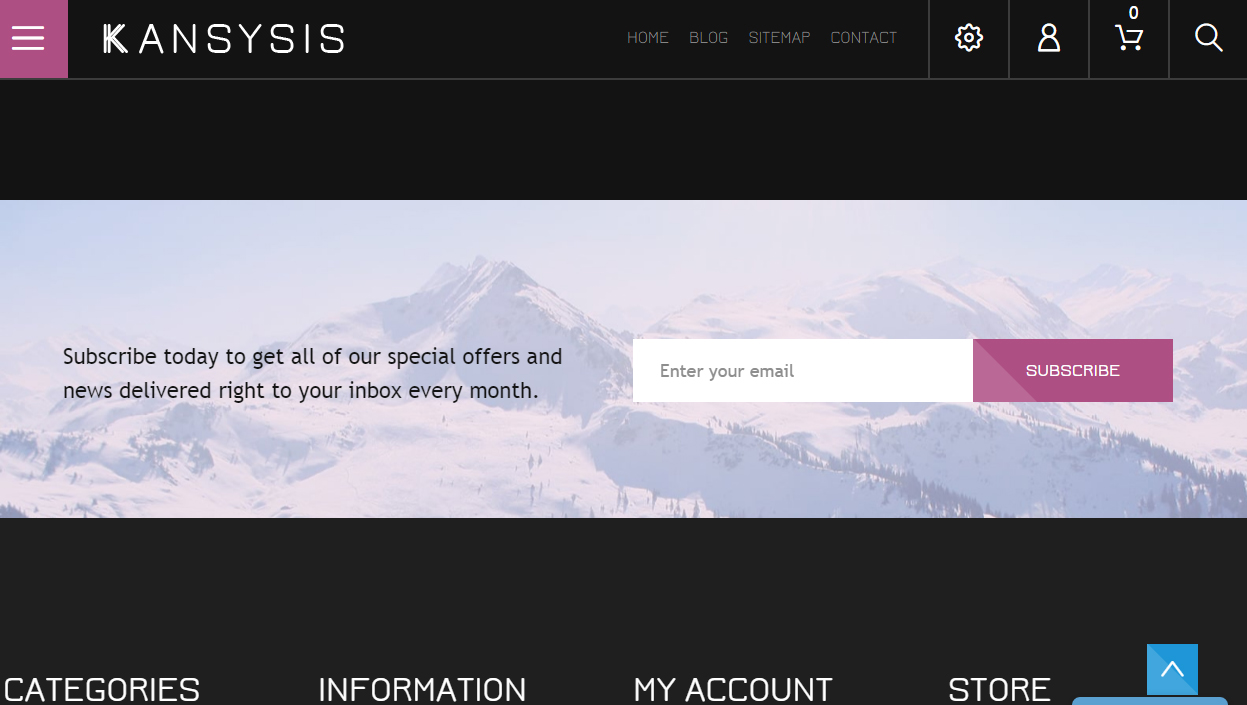
- In your PrestaShop admin panel go to the Modules and Services section. In the Search field type TM Media Parallax to find the module. Then, click the Configure button.

- You will see the Parallax items there:
- Item selector – shows what section parallax item will be applied to.
- Status – enable/disable an item.
There you can also View, Edit, Delete or Add a New Item.
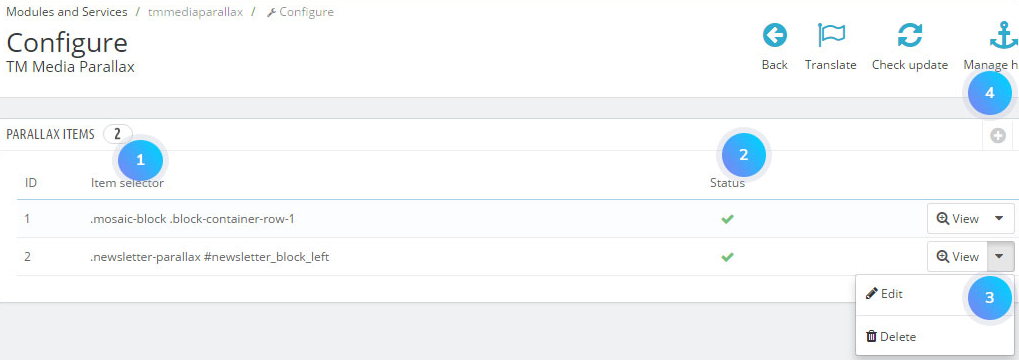
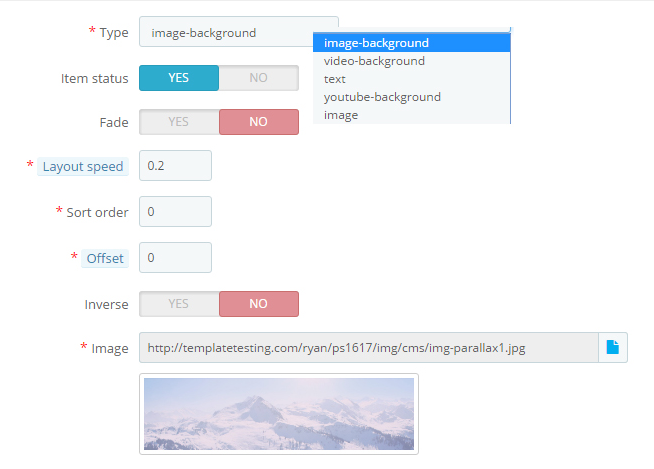
- Now open the item with .newsletter-parallax #newsletter_block_left selector (selector depends on the template). In this section, you can see Parallax layouts. Open the existing layout.

- Each layout has an appropriate type (image-background, video-background, text, youtube-background, image). You can adjust Layout speed, Sort order and Offset, or you can set Inverse option.
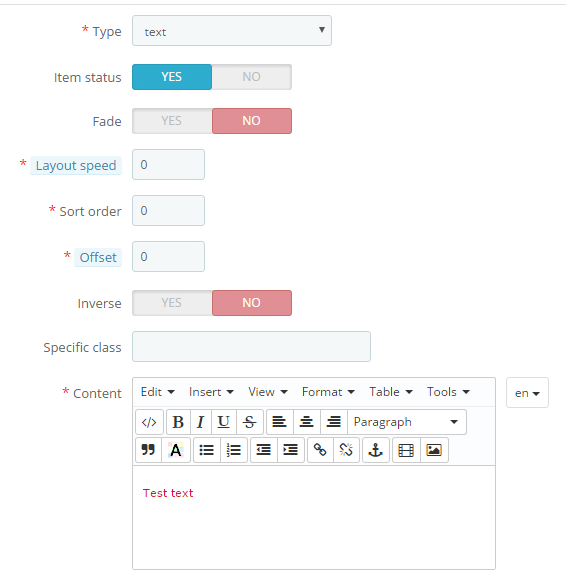
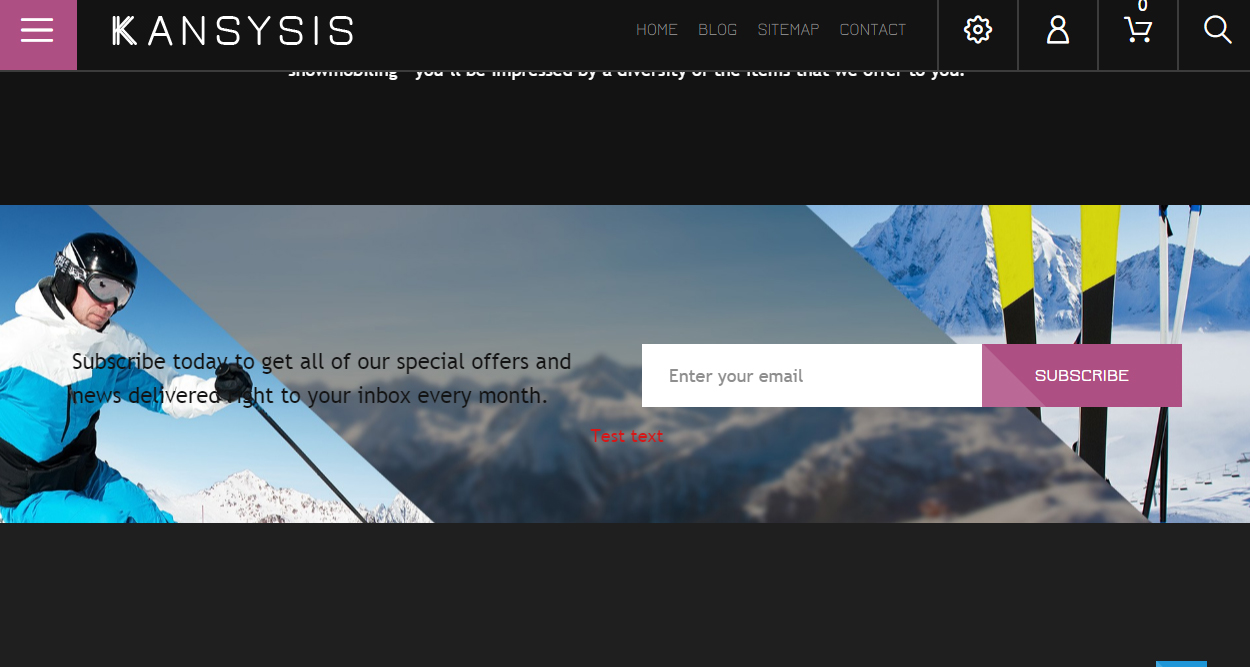
- You can add the layouts to this Parallax item. For instance, you can add text layout like on the screenshot below. You can add the specific class to a CSS file and set this class for the parallax layout in the Specific class option.
- Your Parallax item will have two layouts.
- Here you can see the changes to the modified Parallax item. The image is changed and the text is added. Please, check a video tutorial for more detailed instructions.
We recommend that you check the module documentation for the detailed information regarding TM Media parallax v 2.x module.
Hopefully, this tutorial was helpful for you.


