


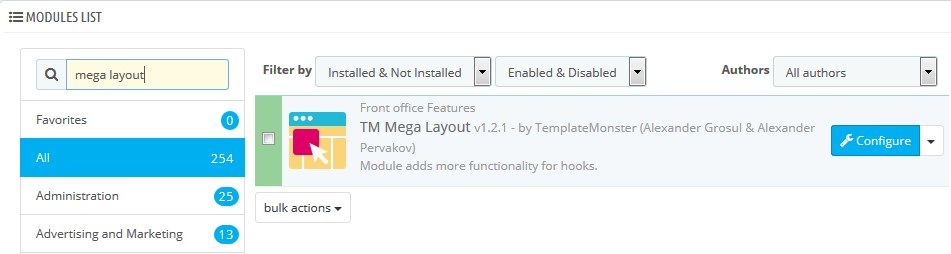
- In your PrestaShop admin panel go to Modules and Services -> Modules and Services section. In the search field type TM Mega Layout in order to find the module. Click the Configure button to manage it:
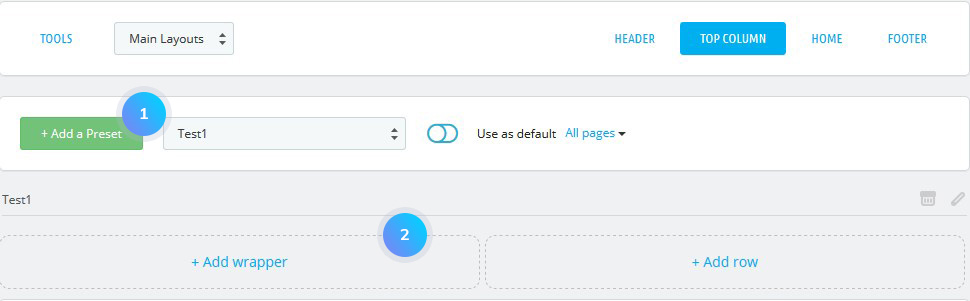
- You can switch between the positions at the top. To create a new layout click Add preset button. You need to add a wrapper clicking Add wrapper button. A wrapper will work as a container for the content:
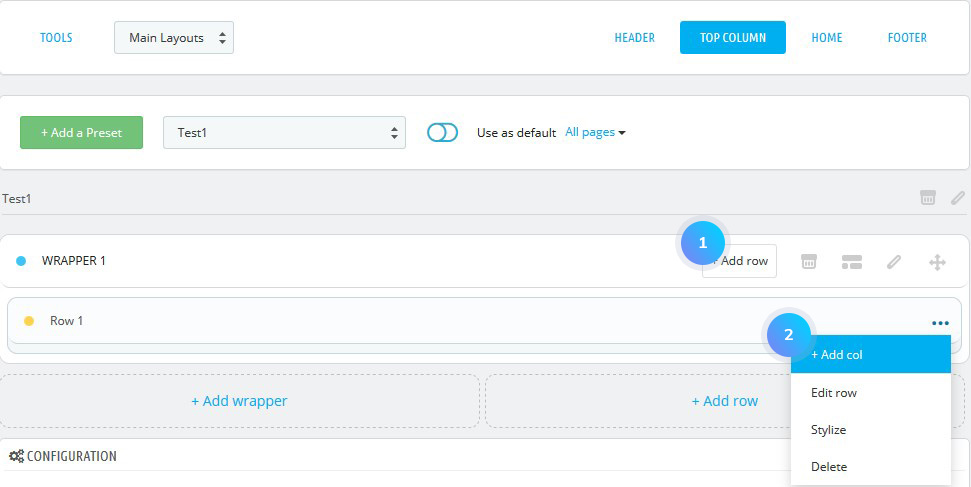
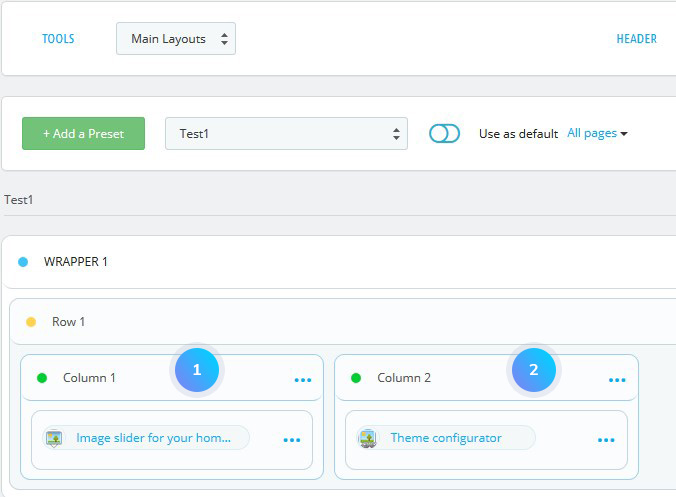
- Add rows of the content by clicking Add row button. You can also split a row into multiple columns. To add a column, click on the “..” button on the right and from the drop-down list select Add col:
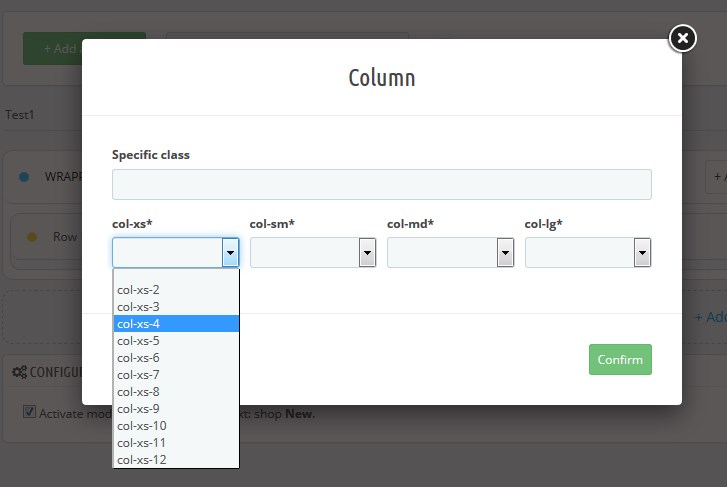
- In the pop-up that appears you can define a specific class for a column and set the number of span columns (max. 12). For instance, if you want to create two equal columns you need to add two columns and set 6 spans for each column:
- Now, you can add modules to it clicking on the “…” button on the right side and select there Add Module. Then, click the Use a default switch at the top:
- Refresh your website to see the changes.
Hopefully, this tutorial was helpful for you.

