


From this quick and simple tutorial, you will figure out what is a revolution slider, how to customize it and what’s new comes with the Monstroid2 update!
What is a revolution slider
A revolution slider is an innovative, responsive slider plugin for WordPress that will display your content in a neat and attractive way. Whether it’s a slider, a carousel, a content module, a hero header, or even the whole page, the visual drag and drop editor allows you to tell your stories in a matter of clicks!
The technology of the revolution slider is a new way to build rich and dynamic content for your websites. It allows you to create an excellent design solution without any coding skills! There are a few features of why the revolution slider is so popular among the WordPress developers:
- you can create beautiful landing pages;
- lots of examples included;
- works great on any device; (desktop, tablet, mobile);
- No need for coding knowledge.
How to get started with the revolution slider
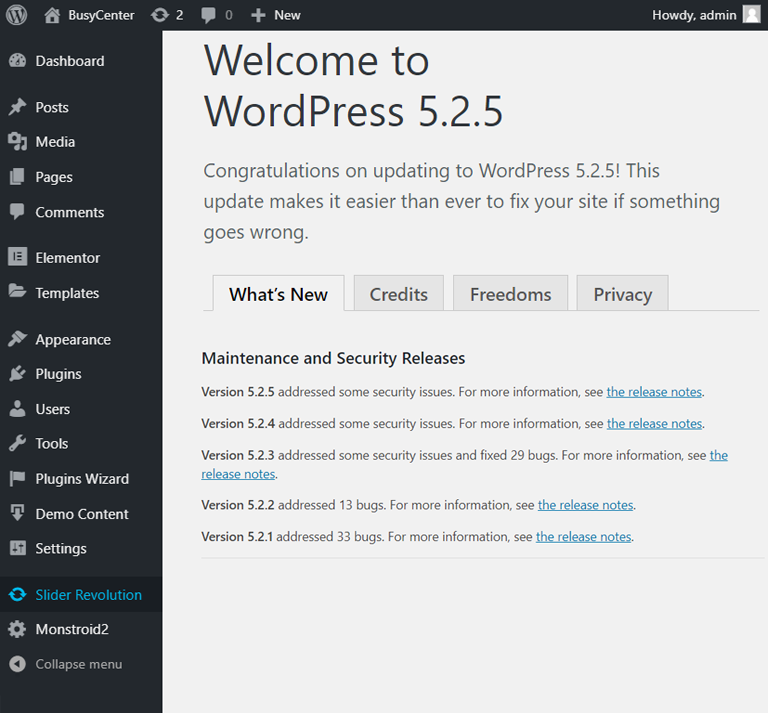
First and foremost, to get to the revolution slider plugin, you need to go to your dashboard and find the “Slider Revolution” tab in the left sidebar of your administration panel.
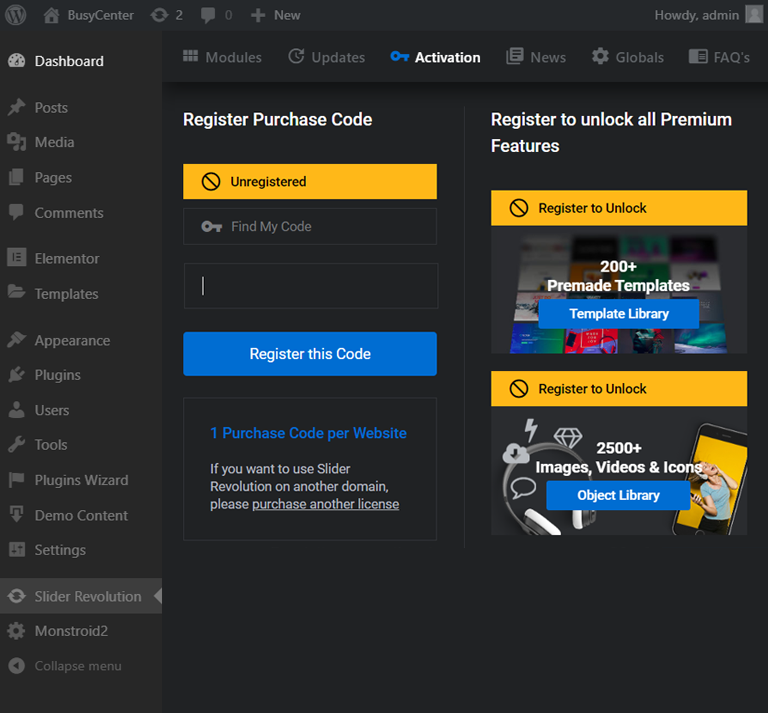
Once you’ve actually opened the revolution slider dashboard, you can go right to the “Activation” section of the plugin. To do this you have to simply find the anchor menu, which is located at the top of the working area and click on the “Activation” text.
There is the field where you can copy and paste your purchase code so you get access to premium templates, add-ons, videos, icons, and images. You can also purchase layouts as well.
Now, you are able to create a new slider from scratch or edit an already existing one! As our simple and quick tutorial is based on the new Monstroid2 skin called BusyCenter, we will show you how to customize your revolution slider and take this skin as an example.
How to customize the pre-built revolution slider
The new Monstroid2 skin BudyCenter is aimed to promote management services and is fully built with the help of the revolution slider technology.

Each part of the page is a unique responsive section, which is aimed to tell its own story. Now you are going to figure out how to customize one of the sections.
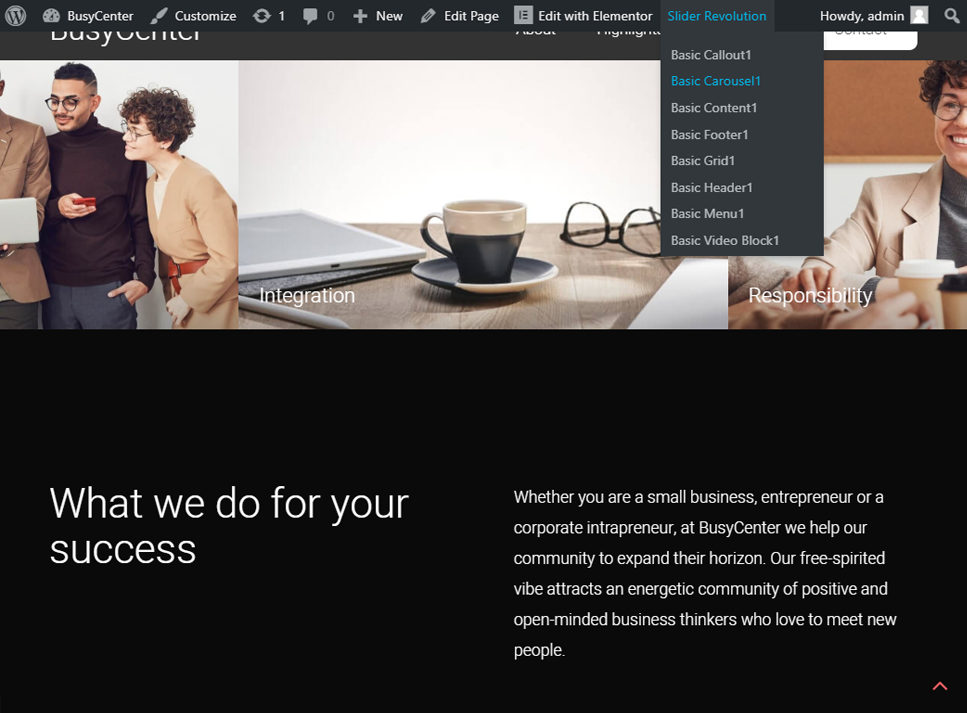
- As a first step, choose the section, you are going to edit. As an example, in this tutorial, we will customize the slider carousel with images.
- At the admin dashboard above all the page content, select the “Slider Revolution” dropdown tab. Choose the carousel.
- You’ve just been redirected to the revolution slider editor. Don’t be afraid of the amount of buttons and functions! Soon you’ll figure out how to work with them.
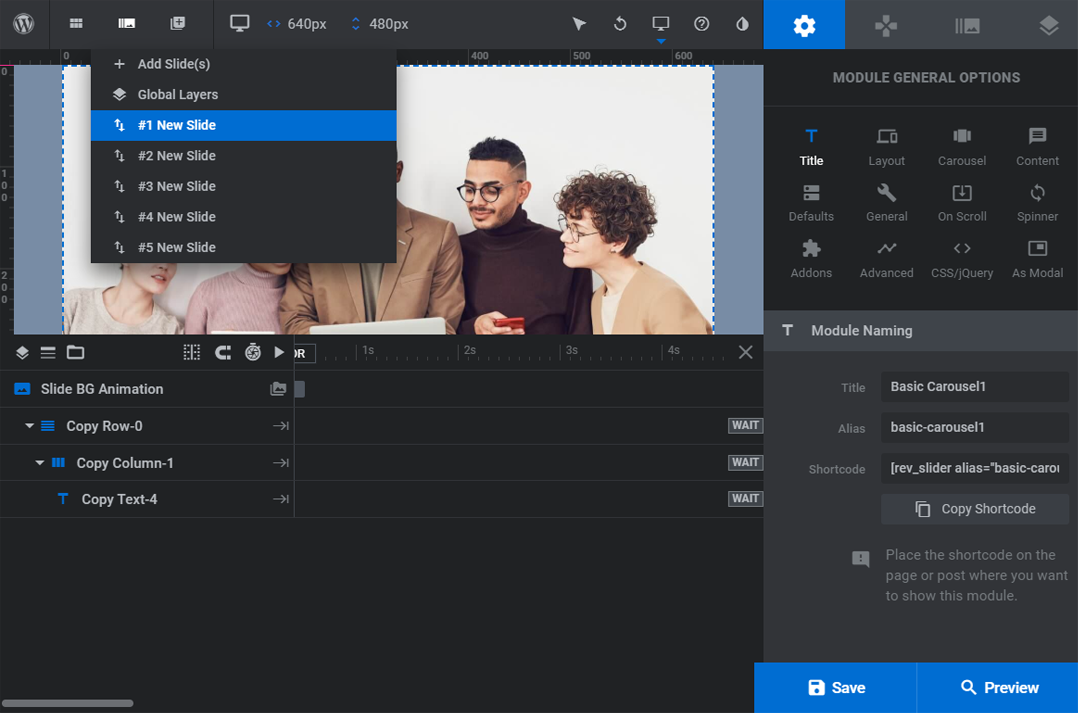
- At the top of the editor you, after the “Back” button, you can see the “Slides” dropdown, where you can view all your slides and add a new one.
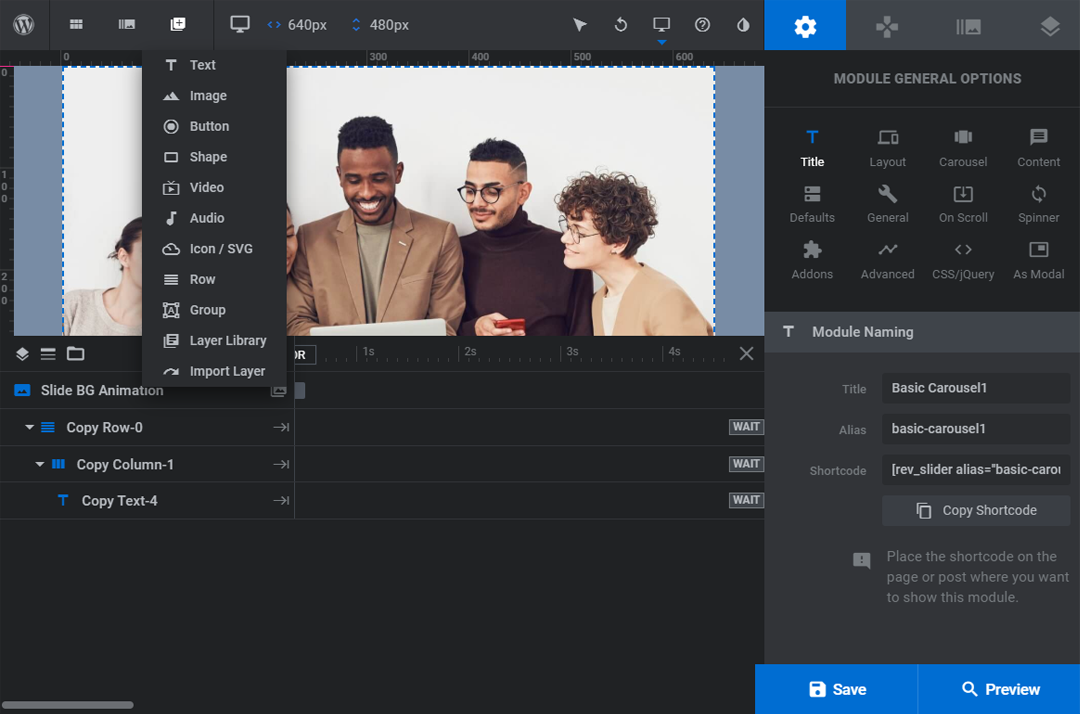
- Next comes the “Add Layer” dropdown, where you can add a new layer, whether its a text or a button, over your image.
- You are also able to change the size you are working with, enable different size devices, check what your slides will look like on mobiles and notebooks and so on.
So you can see that there are tonnes of different options, but we are going to touch only the most basic today. Let’s add one more image to our carousel!
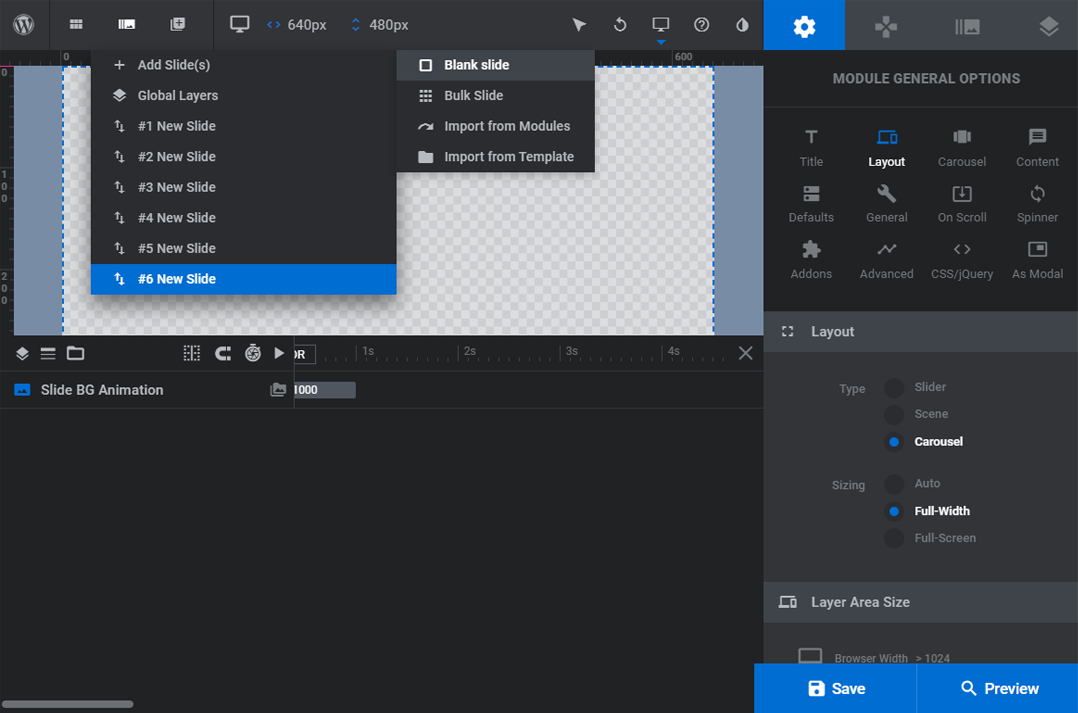
- To start with, go to the “Slides” dropdown and click on the “Add Slide(s)” > “Blank slide”.
- The new empty slide will be added immediately.
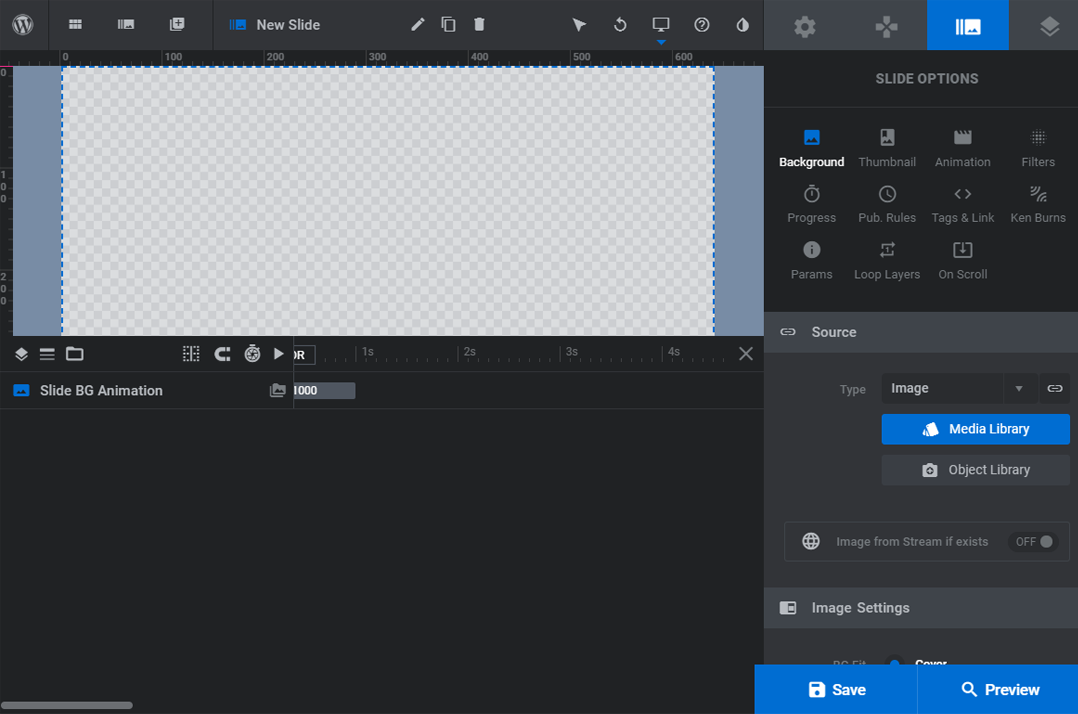
- After that, go to the “Slide options” tab. The first option here is “Background”. It is set as transparent by default. However, you have a range of different backgrounds to apply.
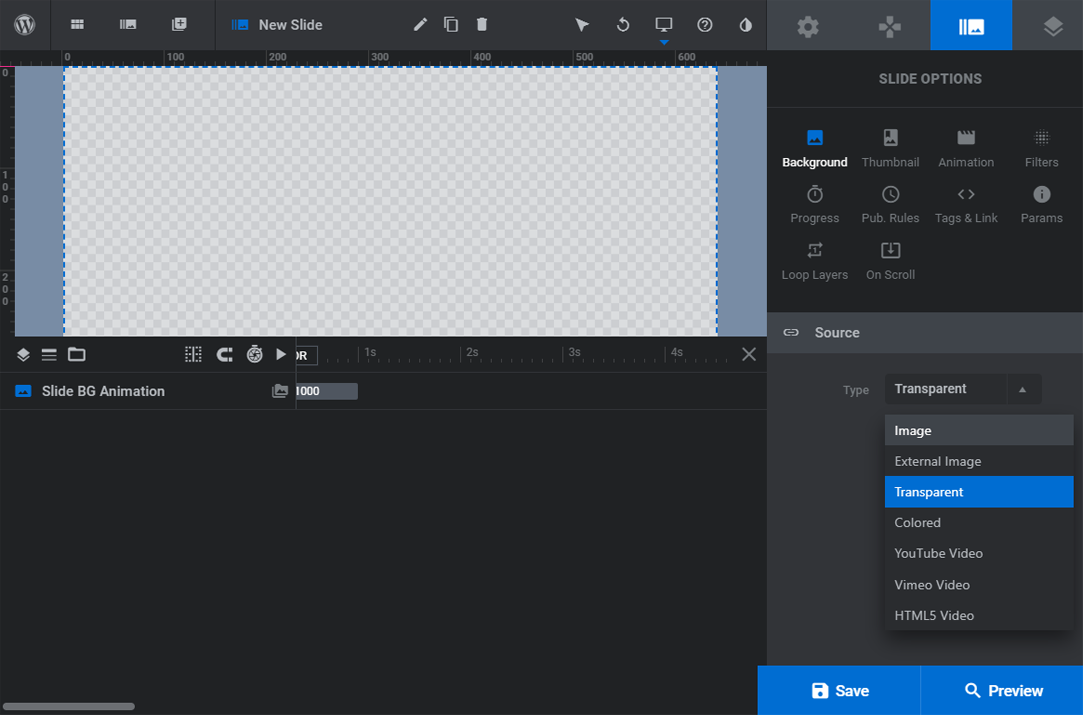
- Today we will start the work with the slider by creating an image slide.
- So you’ve got two options: you can upload an image from your WordPress media library or choose an object library, which is the series of different objects and images.
- Open your media library and insert the chosen image.
- Now if you add a new layer, it will appear over that image, as if you are working with Photoshop.
- Below the main window, you can see a timeline editor. You are able to control exactly how this interacts.
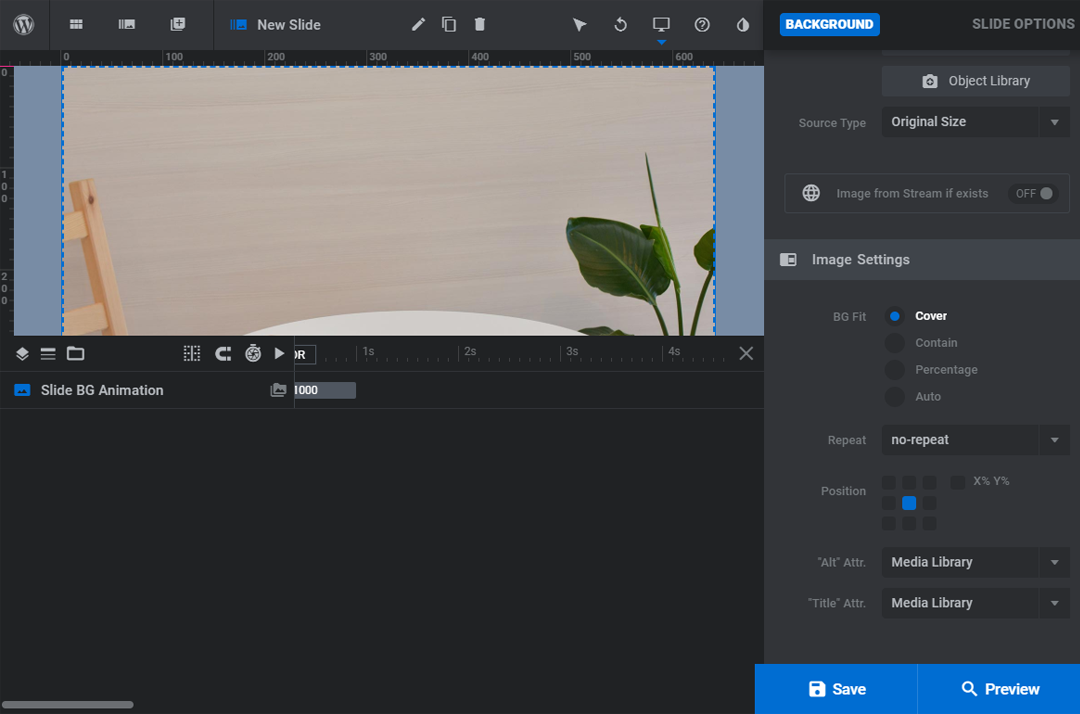
- If you come down to your image settings, you can see the background fit with four options. If you want to create a hero slider, you have to use the “Cover” option.
- You can also set if your background is repeated and in which way, if yes.
- Then you got the “Position” option. This is going to be any anchor point that you use inside slider revolution for this particular background image.
- You are also able to set alt and title attributes.
- Now let’s add an additional layer over the image. To do this you need to click on the “Add Layer” dropdown. As an example, we will add the new button, but you may add anything else as well.
- After having added a button, you can see a new sidebar at the right of your window. Here you are given a bunch of already created button templates.
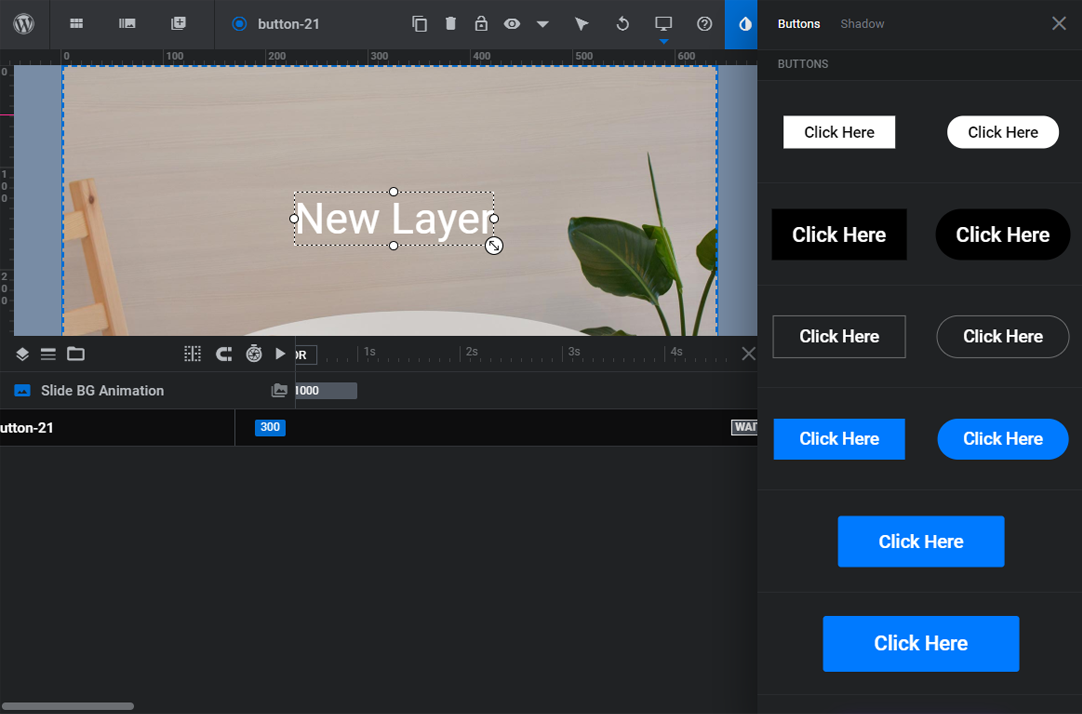
- You can choose among the templates, however, we are going to create a custom button, so let’s close this sidebar.
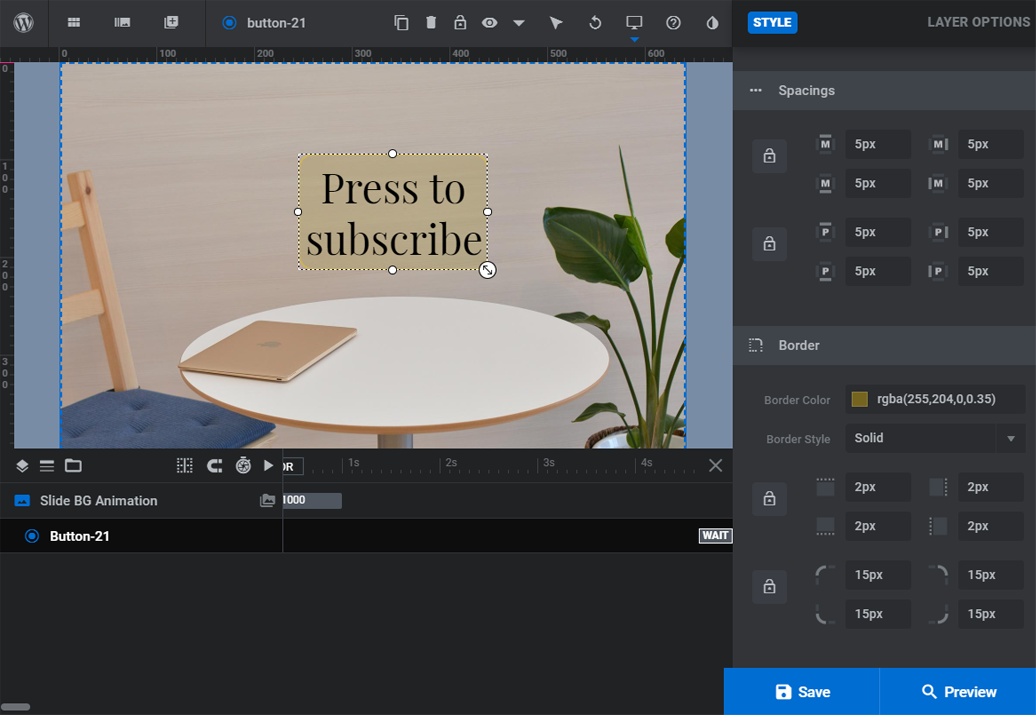
- After that, the new sidebar with layer options will be opened. Click on the “Content” icon and rename your button and set the center align.
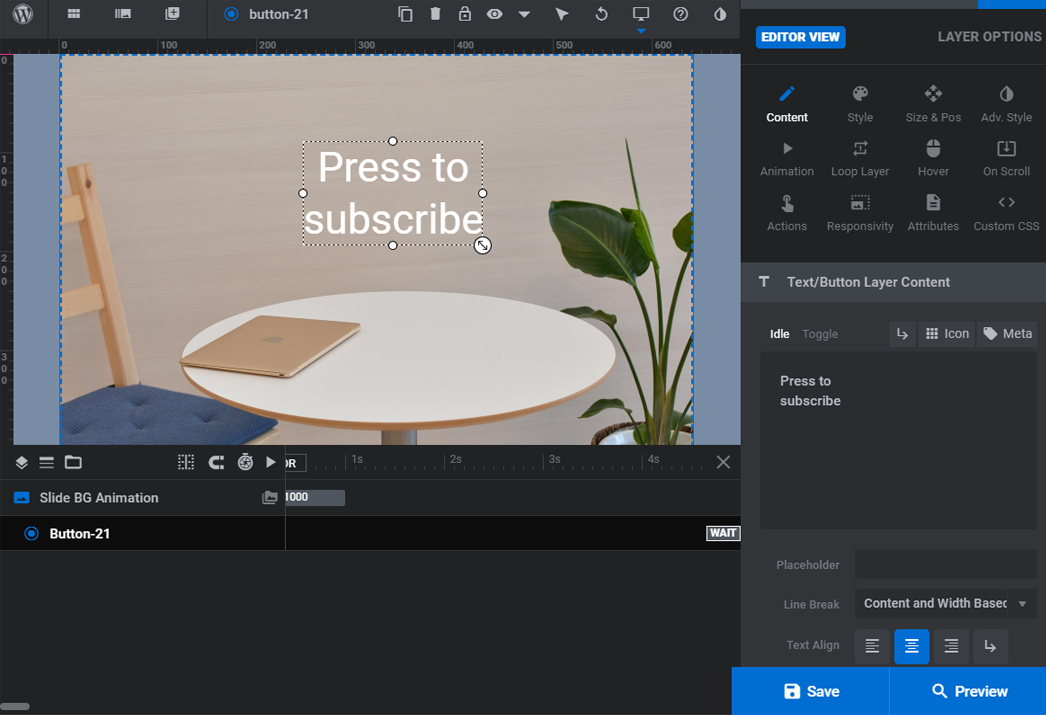
- Now, let’s edit our custom button a little! Go to the “Style” icon to make it more attractive and engaging.
- Here you are able to change the font size, the font weight the font family and text color.
- Moreover, with the revolution slider technologies, you are also able to set the background color or upload an image.

- Add some space between the text and the borders of the button.
- You can additionally set the border options, border color, and the border radius.
- Don’t forget to click on the “Save” button to update and apply the changes!
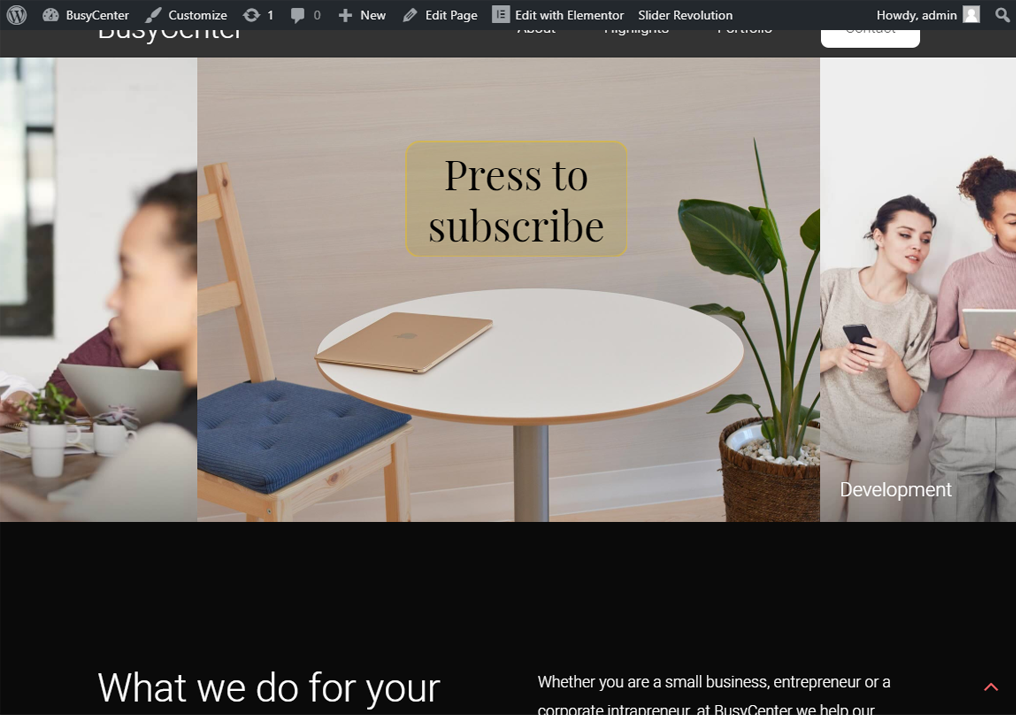
Congratulations! You’ve just added a new custom slide to your carousel with the help of the revolution slider! Now, let’s take a look at the results of your work. Go to the dashboard and then open your website page.
We hope you liked our simple tutorial on what is a revolution slider, how to customize it and what’s new comes with the Monstroid2 update. Subscribe to our newsletter for more useful tutorials and instructions.

Hello great blog! Does running a blog like this require a lot of work?
I have virtually no knowledge of coding but I had been hoping to start my own blog in the near future.
Anyways, should you have any recommendations or techniques for new blog
owners please share. I know this is off subject
but I just needed to ask. Appreciate it!
Billiga Fotbollströjor
Pretty nice post. I just stumbled upon your blog and wanted to say that I have really enjoyed browsing your blog posts.
After all I’ll be subscribing to your feed and I hope you write again soon!
Maglia Calcio