


We are glad to present you a new guidance on how to work with Cherry Projects plugin for WordPress. It is a powerful and extremely useful extension, which allows you to manage your
website portfolio.

Installation
Certain templates have the plugin included by default. In case you have it already installed, feel free to skip this section. There are a few ways to install the WordPress plugin. You may find the most common ones listed below.
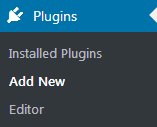
- You can open the Plugins > Add New section at your site Dashboard and use the Search field at the top right to look up the Cherry Projects plugin. Once it’s filtered, press the Install button and don’t forget to Activate it after the installation is completed.

- Another way to install it is to visit the official plugin’s page and click the Download button to save the plugin .zip archive to your local computer. Then install this package to your site at the Plugins > Add New section using the Upload plugin button at the top.
- You can also upload the content of the plugin’s .zip file to the wp-content/plugins directory on your FTP and activate it at the Plugins > Installed Plugins section at the Dashboard.
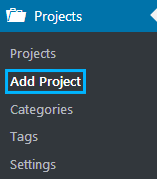
You’ll see the Projects label in the left-side dashboard menu after the successful plugin’s installation and activation. It’s ready to be used now.
Creating a project
- Navigate to the Projects > Add Project to start creating your first project. You may also edit the existing ones that are already available under the Projects > All Projects menu.
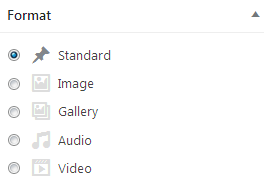
- Enter the Title and the content of your new project. Next, select the Format on the right – you may choose one of the following options: Standard, Image, Video, Audio or
Gallery.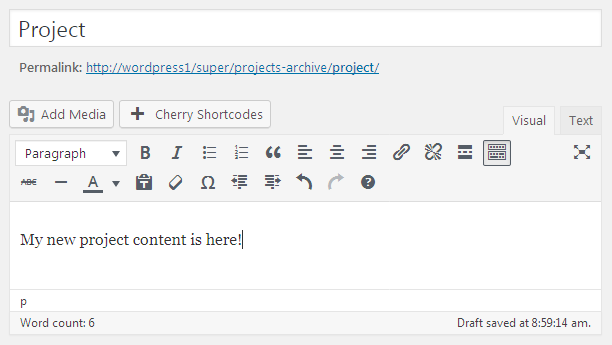
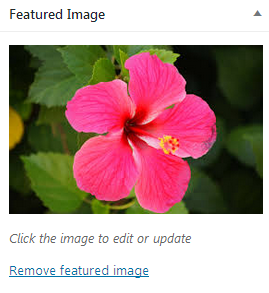
- Upload the main image for your project under the Featured image section (at the bottom right side).
- Then set the Project Settings at the respective section.
- enter the external link, create a list of project details as well as the list of participants in the creation of the project under the General project settings tab;
- switch to the previously selected format tab to define the format-specific settings. Let’s say, we’re creating an Image format project, in this case, the Image Format tab is the one to navigate to. It provides you with an option to upload the additional images, select listing layout, specify the desired columns number, etc. Rest of tabs include the similar options – each one has a short hint to disclose its purpose.

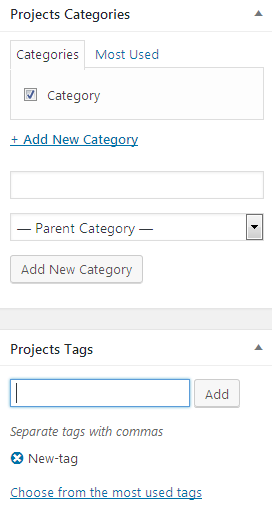
- You may also tick a few Project Categories at the right side or enter some Tags to organize your projects on site.
- Click the Publish button when you’re ready with the edits and feel free to check your project on the website frontend.

Displaying the projects on a page
You can easily showcase your website projects on the site pages with the help of the Projects module, available under the list of the Power Builder modules. Let’s learn how to use it.
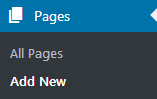
- Open the Pages > All Pages and select your Portfolio page. Alternatively, you can create a new page under the Pages > Add New.
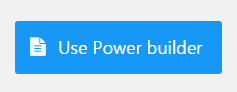
- Press the Use Power builder button at the top in case you’re working with the newly created page. Then insert a section and a row like you usually do.
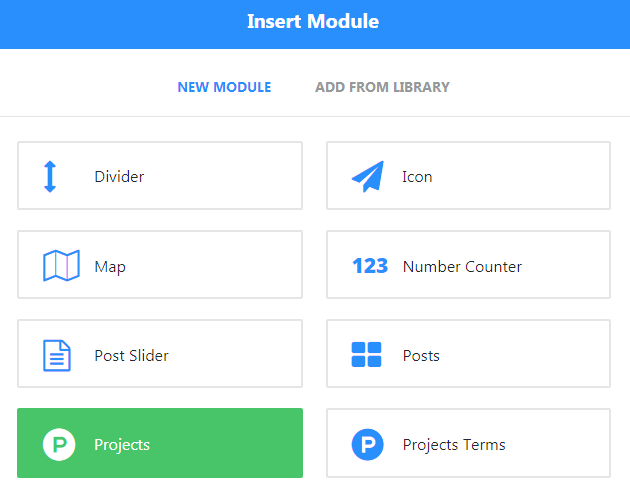
- Then click on the +Insert modules button and choose the Projects module from a grid of the available ones.
- The module is added, you can save it and update the page if you’re fine with its default configuration. The general settings are defined at the Projects > Settings menu at your Dashboard.
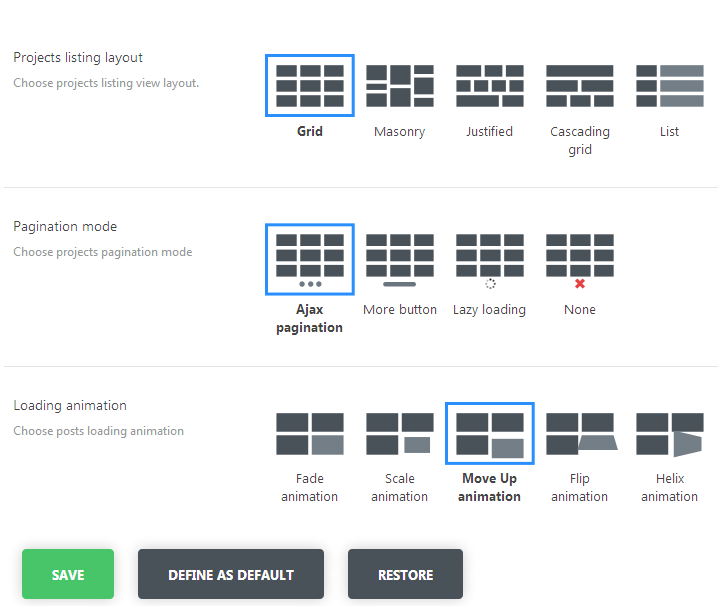
- On the other hand, you may configure the module up to your needs. Feel free to choose which project categories would you like to include, what filters to show, what projects
formats to display, etc. - There is also a Single term slug field available for you to limit the module display with a single category if needed. Simply enter a slug of the desired category here to showcase only the projects, assigned to that specific category. Not sure where to find that slug? Check the Projects > Categories menu, it’s in the Slug column on right.

- Finally, press the Save & Exit button to save your module and update the page to see the changes. You’ve just become an owner of the personal Portfolio page,
congratulations!

