


From this tutorial you’ll learn how to use TM Timeline plugin to create timelines.

Using Tm Timeline Plugin
- Let’s make sure that you’ve installed and activated TM Timeline plugin. If you haven’t, please, download it from TM Timeline plugin page on WordPress official website.
- Now we need to add entries to display them in a timeline order. Proceed to TM Timeline tab (it is located in the left column of the Dashboard).
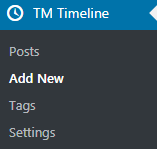
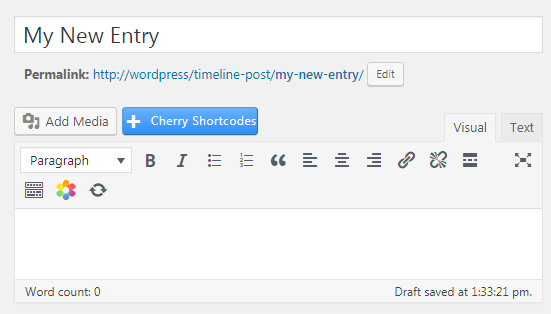
- Click on Add New to create a few posts for the timeline page.
 You may also add tags to the posts to organize them.
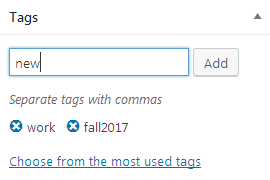
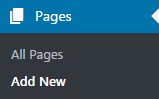
- Now that we’ve created the entries, we need to set a Timeline page to display the timeline of the published posts. Please, navigate to Pages > Add New. A page editor will open.
- You need to set the title of the page, and then click on Use Power Builder to switch to Power Builder page editor.
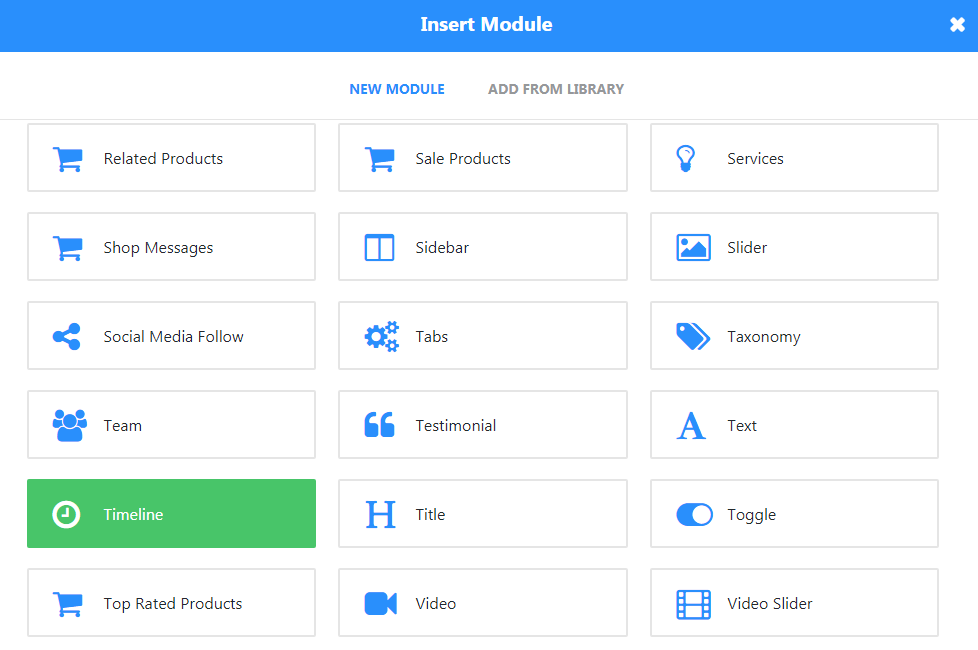
- Create a column in the section and click on Insert Module to add timeline module to it.
- Now let’s take a look at the Timeline module settings.
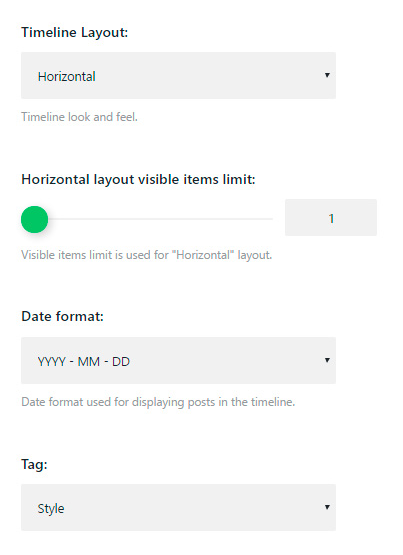
- Timeline Layout — in this block you need to define the layout of the entries. You can use by default horizontal, vertical or vertical staggered order.
- Horizontal Layout Visible Items Limit — here you can specify the number of items to display.
- Date Format — in this block you need to define how the entry publication date is to be displayed: year/month/day, day/month/year, month only, year only, etc.
- Tag — set the taxonomy in the plugin settings to enable displaying posts by tags.
- Sort Order — here you need to choose ascending or descending order for the posts in the timeline.
- Display Anchors — enable the option to make the post title clickable. When the visitor clicks on the title, a single posts page will open.
- To add a title for the timeline you can add another row on the page using Power Builder, and add a Text module to the column.
- When everything is ready, click Publish to create Timeline page.

