


From this tutorial you’ll learn how to work with Booked Appointments plugin and add a calendar of appointments to the website page.

Working with Booked Appointments Plugin
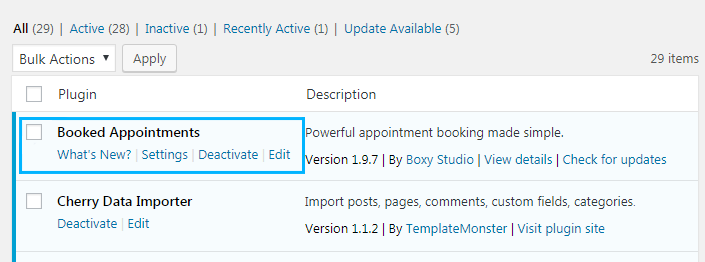
- Booked Appointments plugin is a perfect tool to add appointments to your website. Forst of all, let’s find out if the plugin is installed and active on your website. Navigate to WordPress Dashboard and open Plugins > Installed Plugins tab to view the list of plugins you currently have.
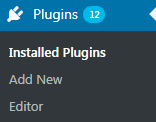
- If you don’t see Booked Appointments plugin among them, click on Add New button and install the plugin. If you don’t know how to do it, please, feel free to read Manual Plugins Installation tutorial.
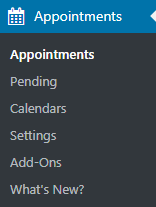
- When Booked Appointments plugin is active you’ll see Appointments tab on the left of the Dashboard.
Adding Appointments Calendar
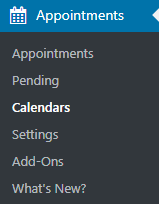
- To add a new appointments calendar to your website’s page you need to navigate to Appointments > Calendars tab in the left column of the Dashboard.
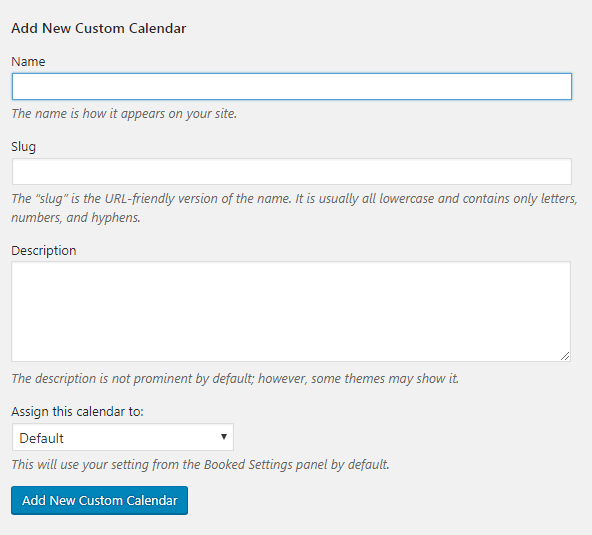
- On the newly opened page, you have to enter your calendar information (name, slug and description details). Then click on Add New Custom Calendar button to add a new calendar.
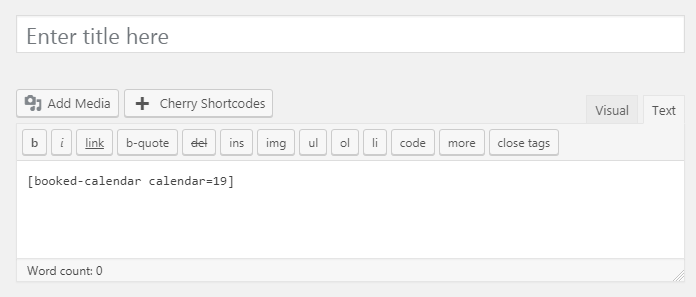
- Now navigate to Appointments > Settings >Shortcodes tab on the left of the Dashboard and copy the shortcode for the newly created calendar.

- You need to paste the shortcode to one of the pages of your website where you want the calendar to display. Add the shortcode to the page editor content field (Pages > All Pages “ Edit”). Then save the page.
- Let’s view the appointments page. Navigate to Appointments >Pending tab to view the appointments pending for you to approve. Here you can approve or reject the appointment.
If you approve the appointment the customer will get a message about it.
This tutorial is based on Monstroid2 Multipurpose WordPress theme.

