- In your PrestaShop admin panel go to Preferences -> Images section:
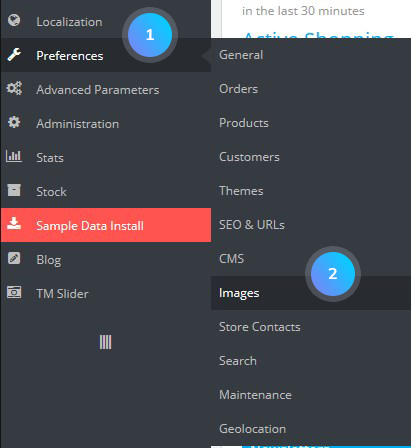
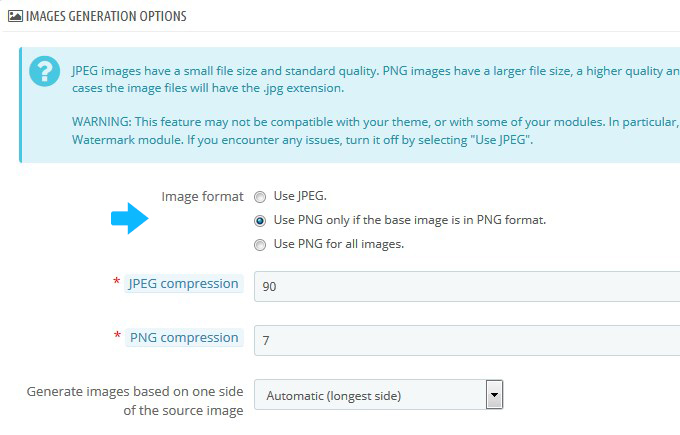
- Find Image generation options section there. For the Image format option select Use PNG only if the base image is in PNG format:
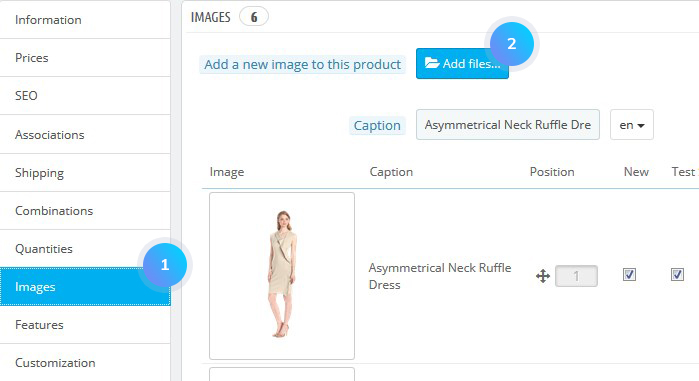
- Go to Catalog -> Products section. Open the product where you need to upload an image with transparent background (be sure to use .png format for images that should have the transparent background):

- On the product page, select Images tab from the left. You can upload the image with transparent background by clicking Add files button:
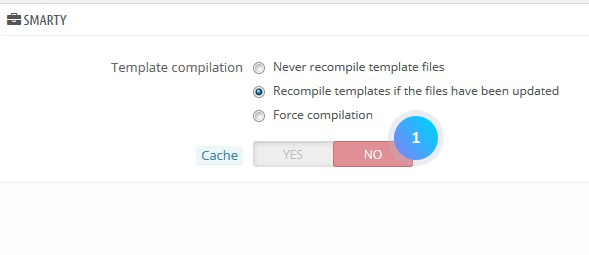
- The image has the transparent background. However, the css background color still shows up. In order to get rid of the background, we need to find the source file for white color. If you cannot see the source css files, you need to turn off cache and CCC options to find out in which files customization should be performed. Go to Advanced Parameters -> Performance, turn off cache and select Keep CSS the a the original option. Refresh the page:
- You need to edit \themes\themeXXXX\css\product.css file on our FTP, line 43. You can get that via File Manager in your CPanel or some FTP-client software like Total Commander or Filezilla. You need to modify the background rule:
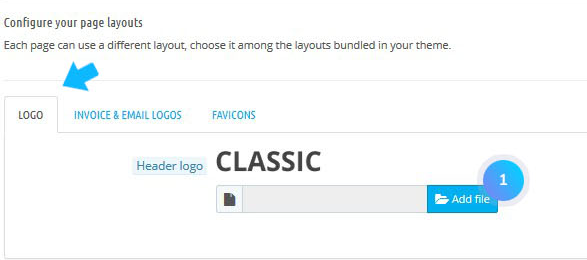
- You can make the transparent logo in the same way. Go to Preferences -> Themes. To the Header logo section upload the new .png logo and inspect it on the front end with the Firebug:
- In this case, it is necessary to edit /themes/themeXXXX/css/global.css file on line 5406:
Change it to:
Save the changes. There is no more image background.
You need to remove the border. The code will look like:
Refresh the page. The gradient background and border around the image were removed.
Set the background for the whole top section:
Hopefully, this tutorial was helpful for you.


