


If “Advanced Stock Management” option is enabled for a specific product, a “Warehouses” tab appears in the product sheet. You can indicate which warehouse(s) the product and each of its combinations can be stored in. You can also indicate the location of the product and its combinations:
Create a warehouse
- In your PrestaShop admin panel go to Stock -> Warehouses section:
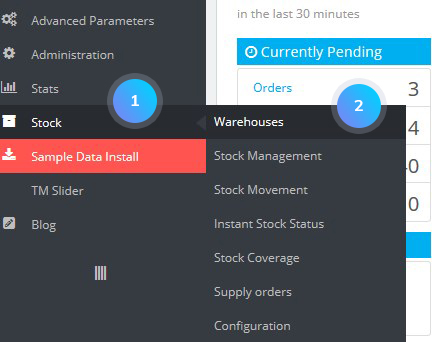
- Click the Add new warehouse button:

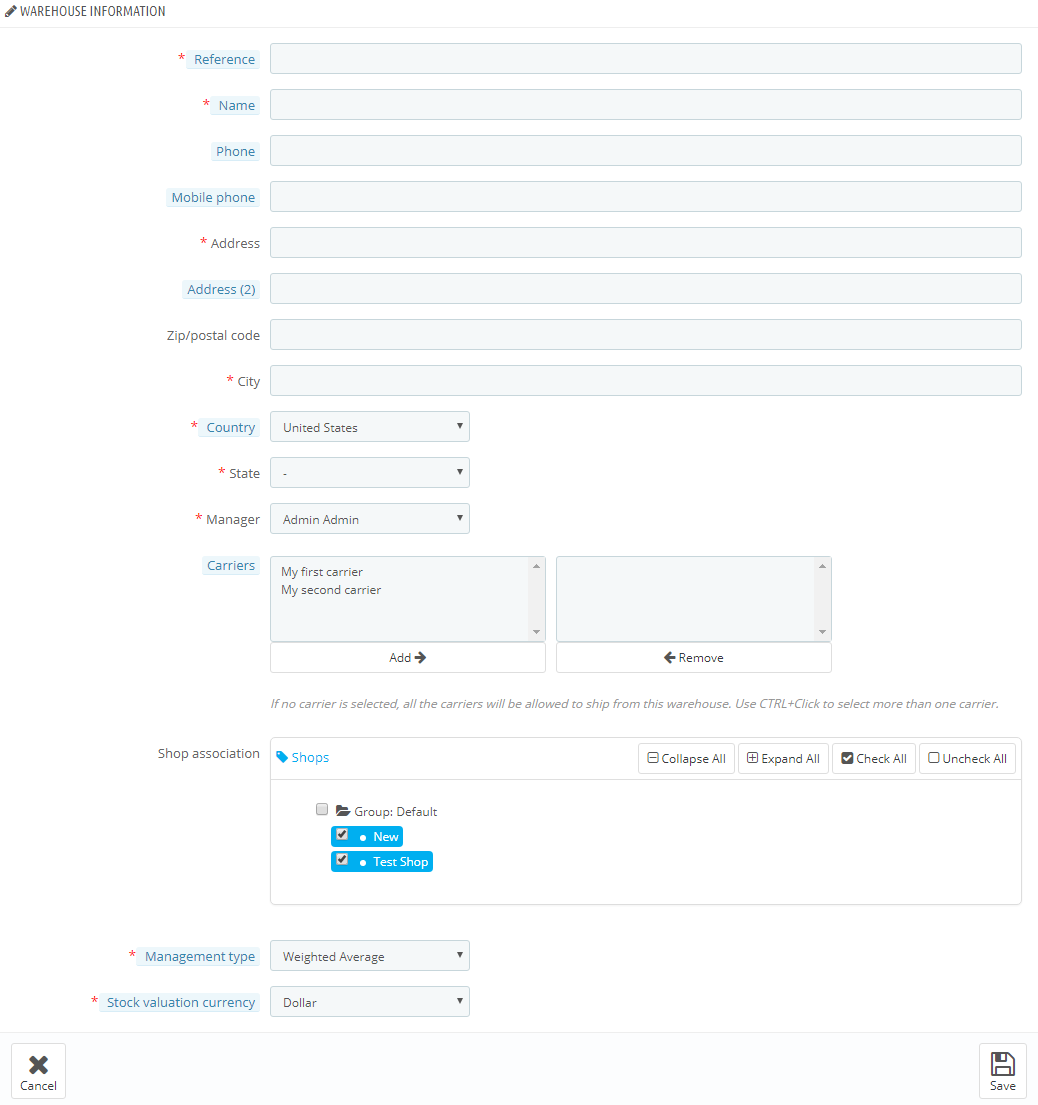
- You can set the following options:
- Reference;
- Name – the title of the warehouse;
- Phone;
- Mobile phone;
- Address;
- Zip/postal code;
- City;
- Country;
- State;
- Manager – put on one of the registered employees’ name;
- Carriers – the carriers who you authorize for orders shipping from this warehouse;
- Shop association;
- Management type – a method of accounting valuation, based on your country’s regulations;
- Stock valuation currency – choose the currency among registered currencies in your store.

[notice type=”warning”]Note: it is not possible to change a warehouse valuation method and currency once it has been set. If you need to change that information, you will have to recreate the warehouse from scratch. However, you can only delete the warehouse in case there are no products assigned to it.
Set stock for a warehouse
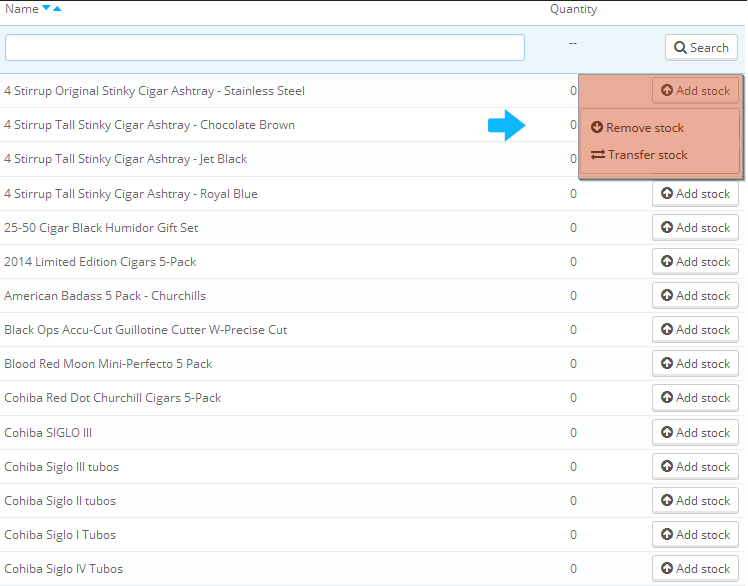
- Go to Stock -> Stock Management section. You will see all the available products from your catalog. You can add/remove/transfer stock there.
- Click the Add stock button:
- You need to fill in the following options:
- Quantity to add – a physical quantity of the product;
- Usable for sale? – is this quantity ready to be displayed in your shop, or is it reserved in the warehouse for other purposes;
- Warehouse – warehouse that you’ll be adding products to;
- Unit price (tax excl.) – unit purchase price or unit manufacturing cost for this product;
- Currency – the currency associated to the product unit price;
- Label – the label used in stock movements.
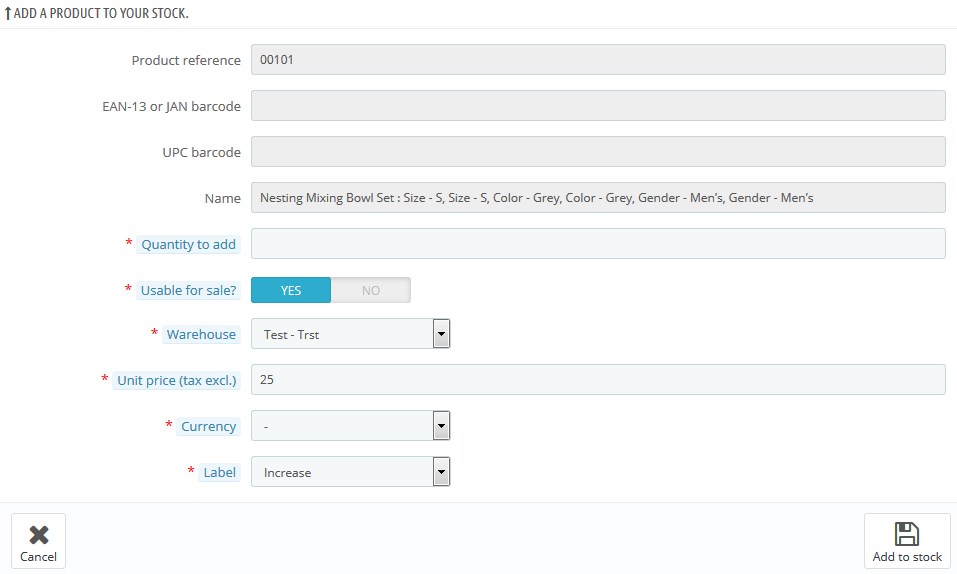
- Click the Add to stock button to confirm the action.
Hopefully, this tutorial was helpful for you.
