


PrestaShop allows having some downloadable files available to your customers before their purchase.
Each product may have attachments that will be available for download on the product page.
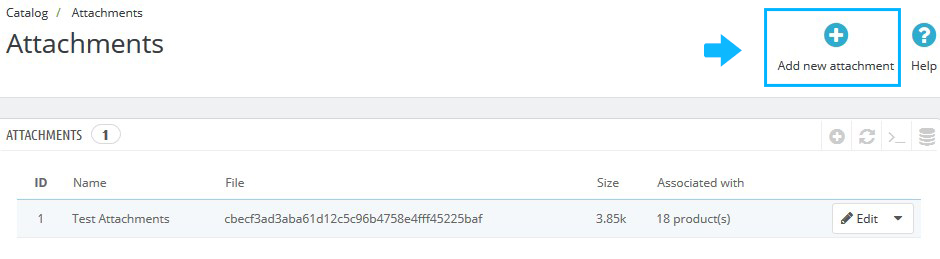
- To upload attachments before associating them with products, in your PrestaShop admin panel go to Catalog -> Attachments section:

- Click Add new attachment button at the top right:
- You can set the following options:
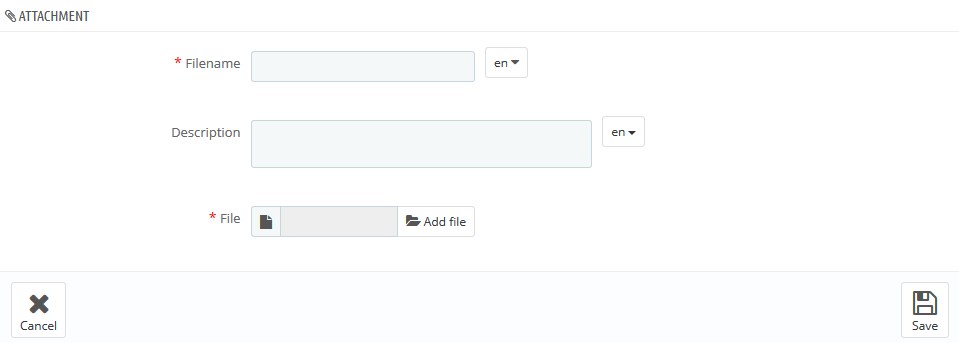
- Filename – a title for your attachment;
- Description – set a quick description for the file;
- File – upload a file from the computer.
- Click the Save button.
- You will be redirected to the Attachments list page. Your file is now available here and you may add it to the products you like.
Associate the attachment with a certain product
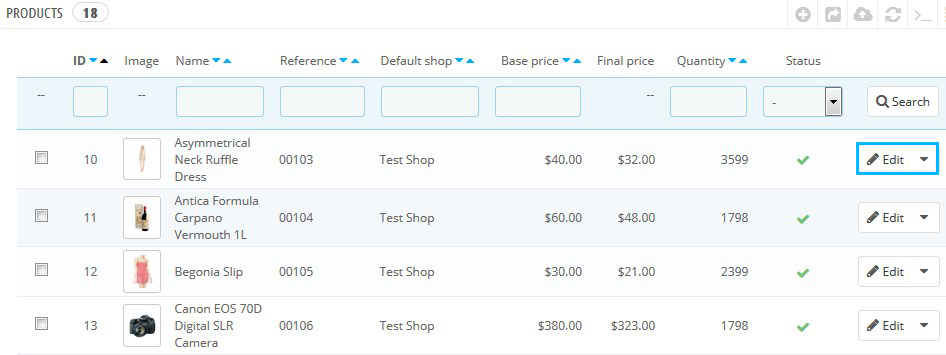
- Go to Catalog -> Products section. Click the Edit button on the product you want to add the attachment to:
- Click the Attachments tab on the left and set the form. You need to select the attachment that was added earlier from the list of Available attachments and click Add button:
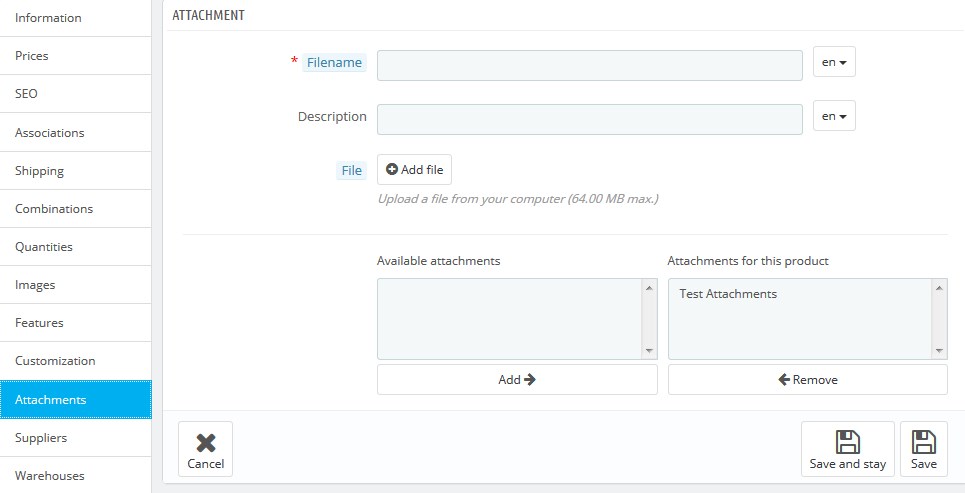
- Save the changes.
- You can also Remove attachments in the same section if you don’t want it to be associated with a product anymore.
- Refresh your website to see the changes.
Hopefully, this tutorial was helpful for you.

