- In your PrestaShop admin panel go to Modules and Services section. In the search field type the Theme configurator module to find this module and click Configure button:

- You will see a list of settings. You can Enable/Disable particular setting using the Yes/No switcher:
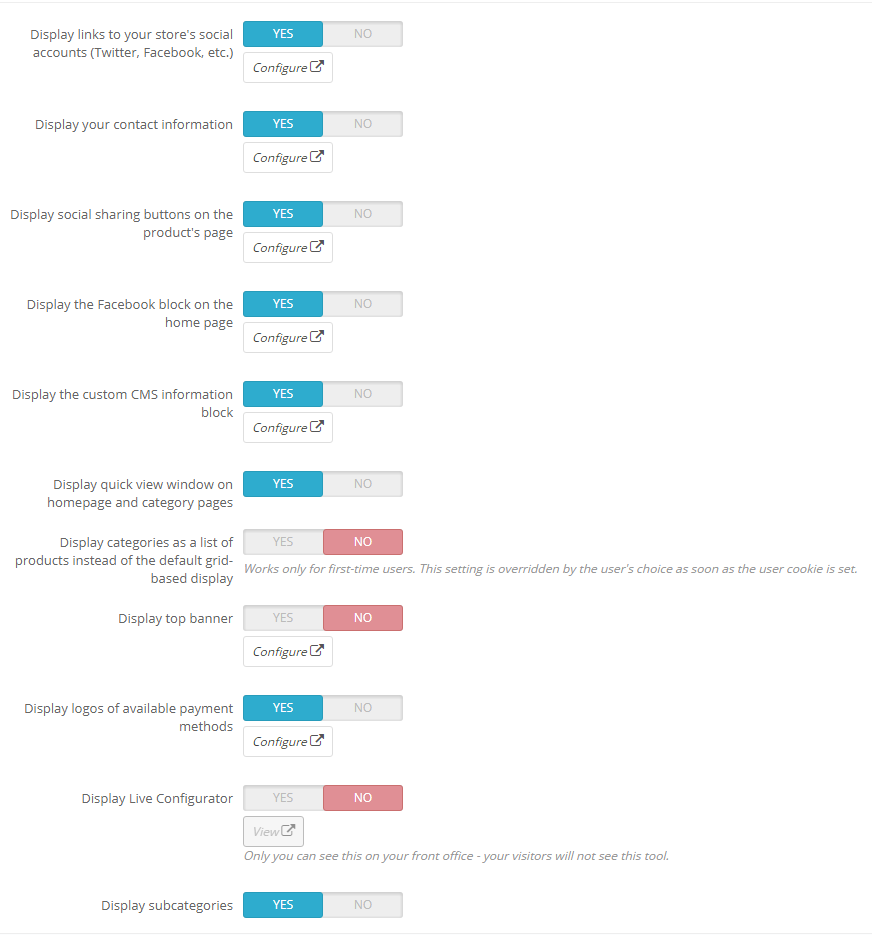
- Display links to your store’s social accounts (Twitter, Facebook, etc.) section allows you to configure social accounts. Click on Configure to configure the appropriate settings. There you can see a list of social networks and URLs. If you want to hide a social icon, just remove the link:
 Confirm the action by pressing the Save button in the bottom right corner.
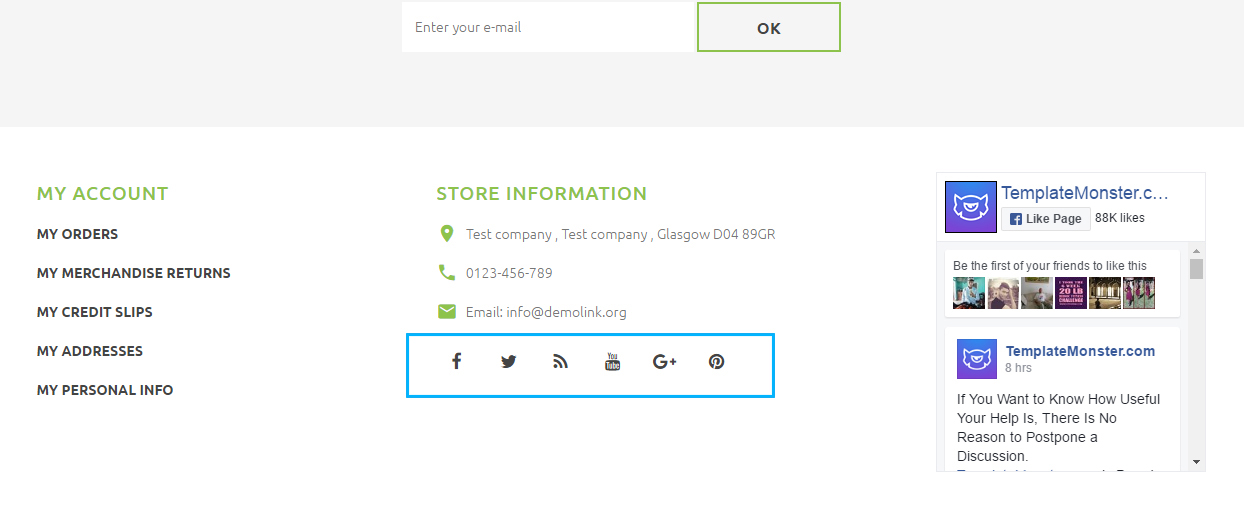
 - Here you can see how social networks appear in our template (availability of networks depends on the template):
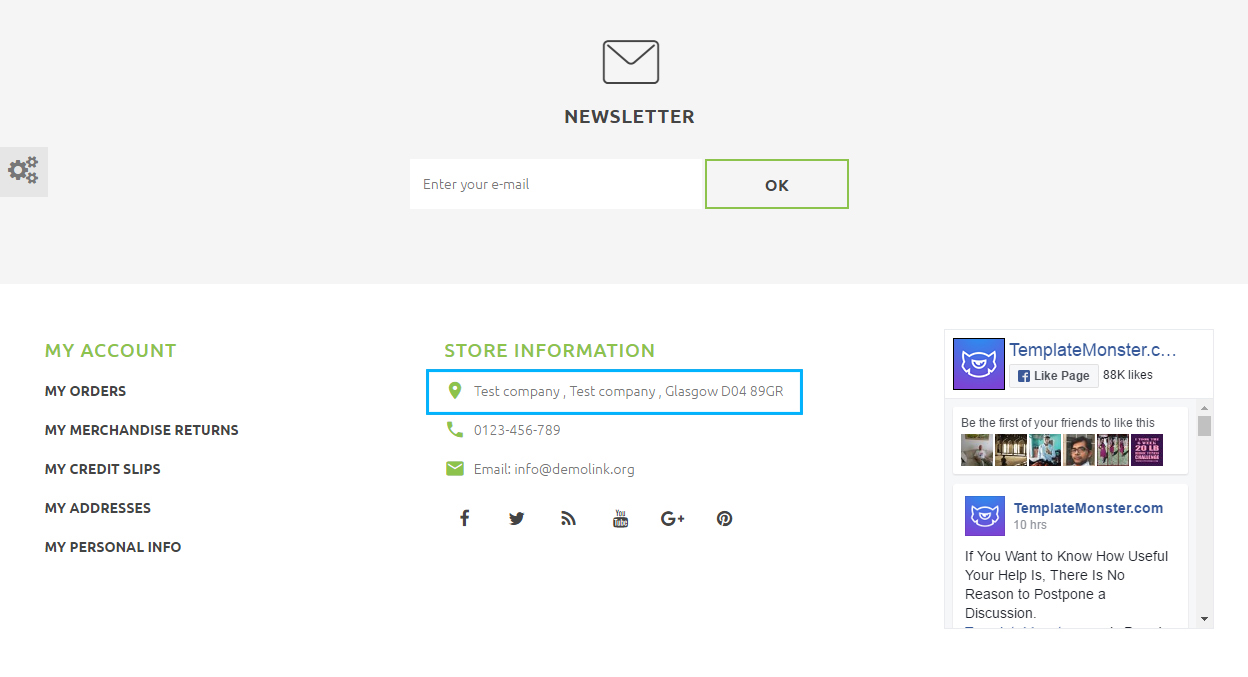
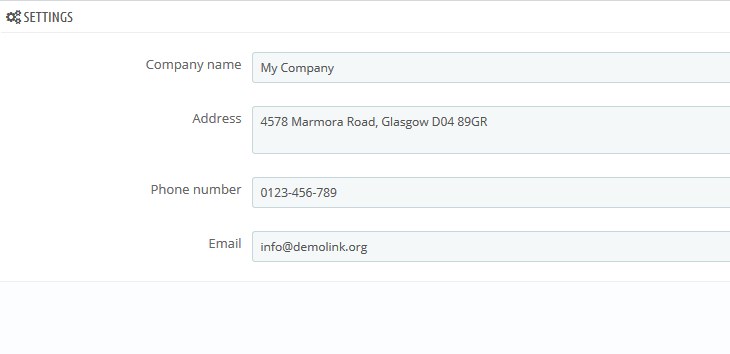
- To change contact information, click Configure in Display your contact information setting. Change contact details and save changes:
- To configure social sharing buttons on the product’s page, use the Display social sharing buttons on the product’s page setting:
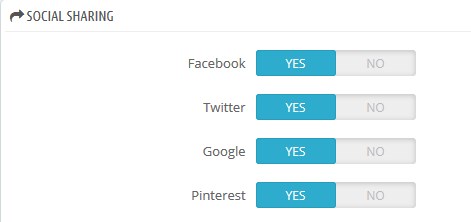
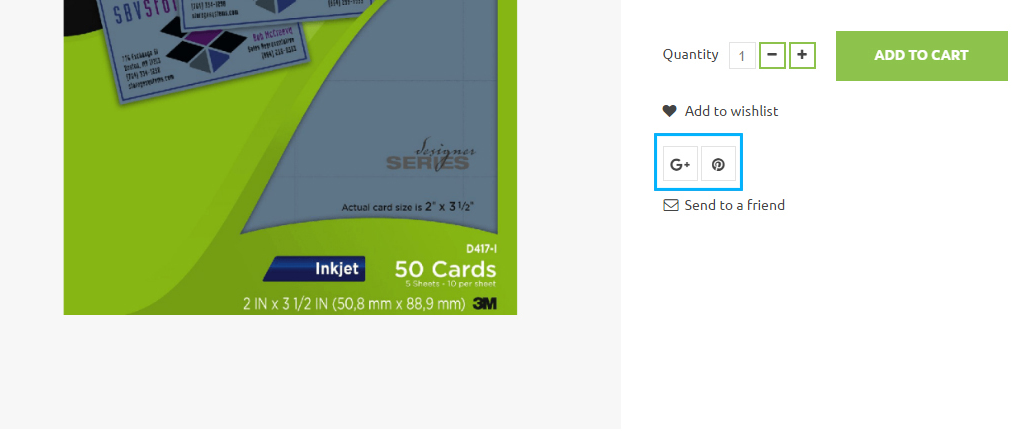
- Here you can see how social network buttons appear on the product page:
- Facebook block, Custom CMS information block and other settings may not be available in the particular template.
You can define settings for the Quick view, Top banner, and Logos of available payment methods: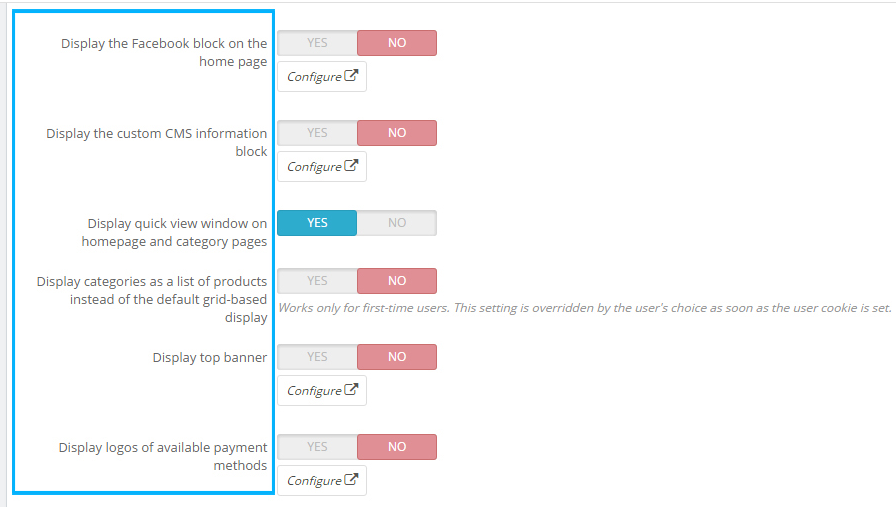
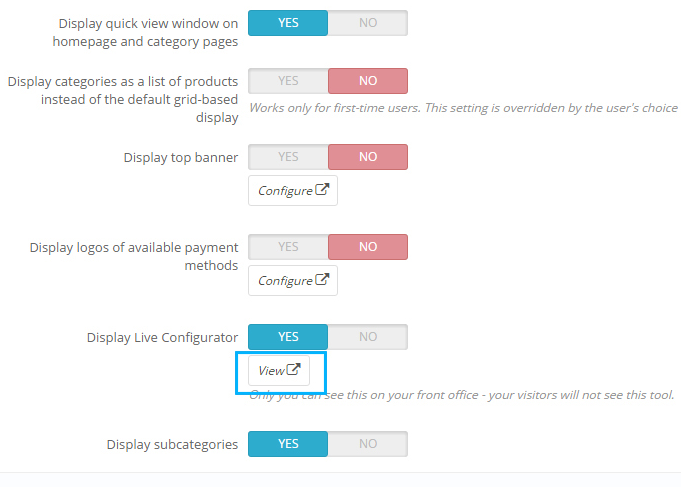
- Live Configurator option allows changing the color scheme and other layout settings. It is available for Prestashop administrators only. Click View in order to access it:
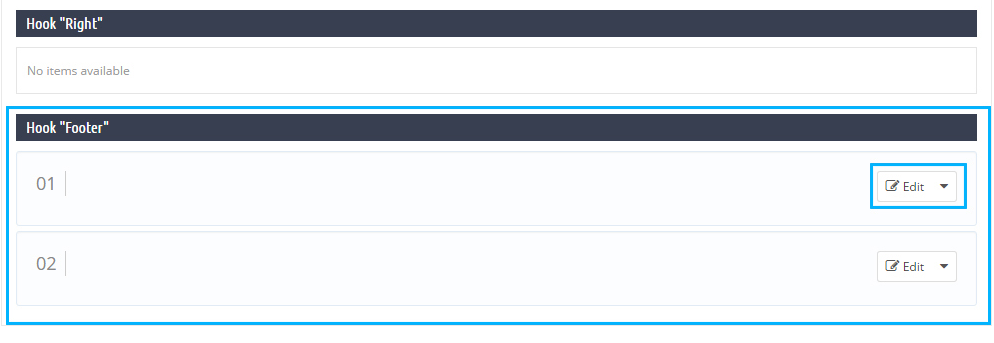
- Theme configurator allows adding content to particular hooks. In this case, content is added to “Footer” hook. To access a particular item content, click Edit:
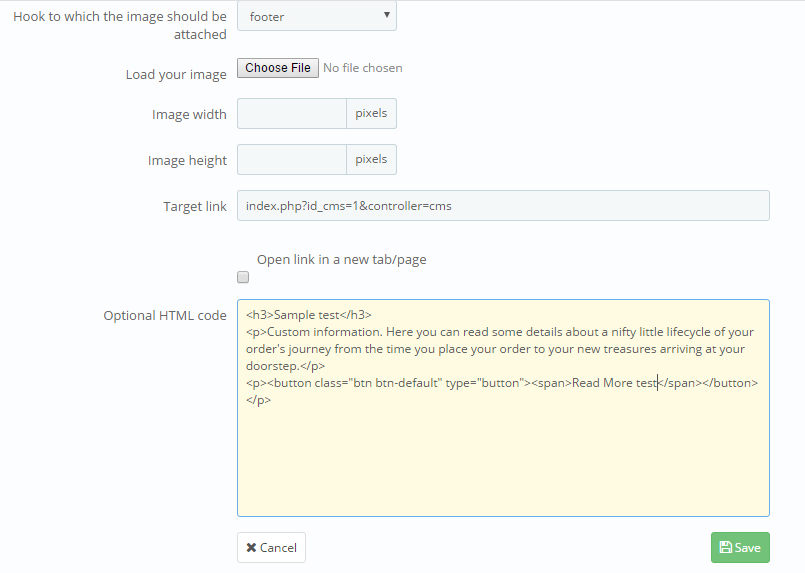
- This item may have an image along with HTML content. In our case image is not included by default. Change the HTML code (we recommend that you keep the original HTML code structure) and confirm the action by clicking Save button:
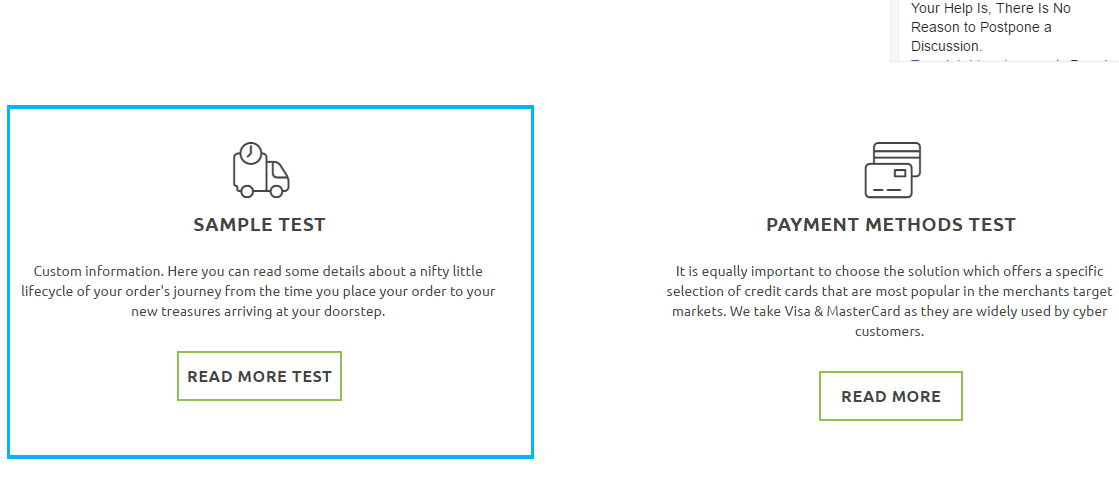
- Refresh the page to see the content changes:
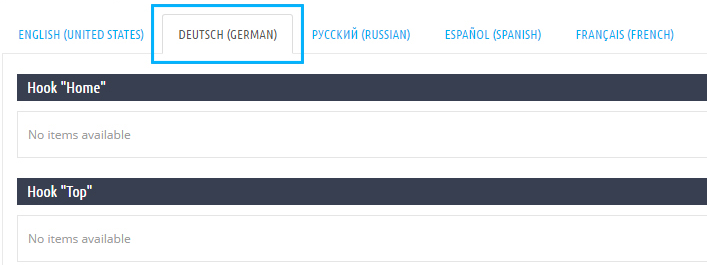
- Make the same changes to each language:
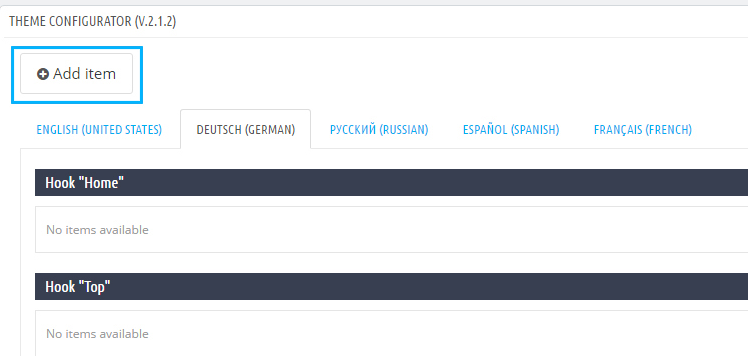
- To add a new item, click the Add item button:
- If you want to remove some items, click on an arrow next to the Edit button. There you will see a Delete item button:

Hopefully, this tutorial was helpful for you.


