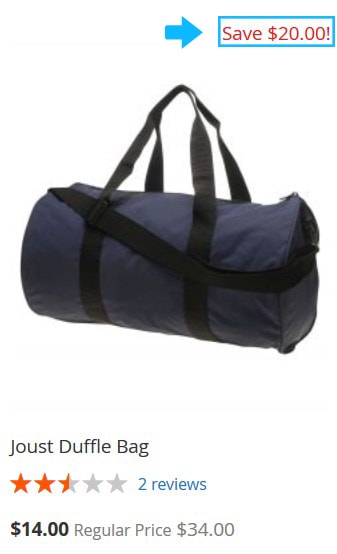
The Smart Product Labels module allows you to make labels appear automatically according to configured rules. In this tutorial you will find the instructions on how to manage product labels and add the new label using the Label Manager.
In the Admin panel, go to TEMPLATEMONSTER > Smart Product Labels.
Add product label
To add a new product label press Add New Label button.

You have to deal with 3 tabs of options: General, Images, and Conditions.
1. General Tab
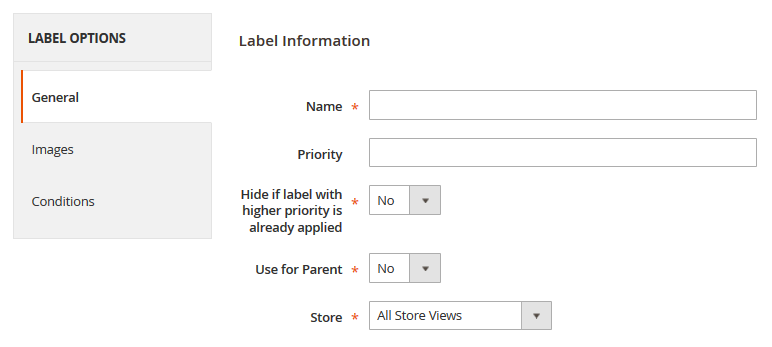
In GENERAL, you specify such core label information as Name and Priority (0 is for the highest priority and 99 is for the lowest).
Besides, you can enable the feature that hides the label if another one with higher priority is applied (Hide if label with higher priority is already applied).
The Use for Parent parameter displays a child’s label for the parent product (but it works for configurable and grouped products only).
Finally, you should decide what store view to apply the label to.
2. Image Tab
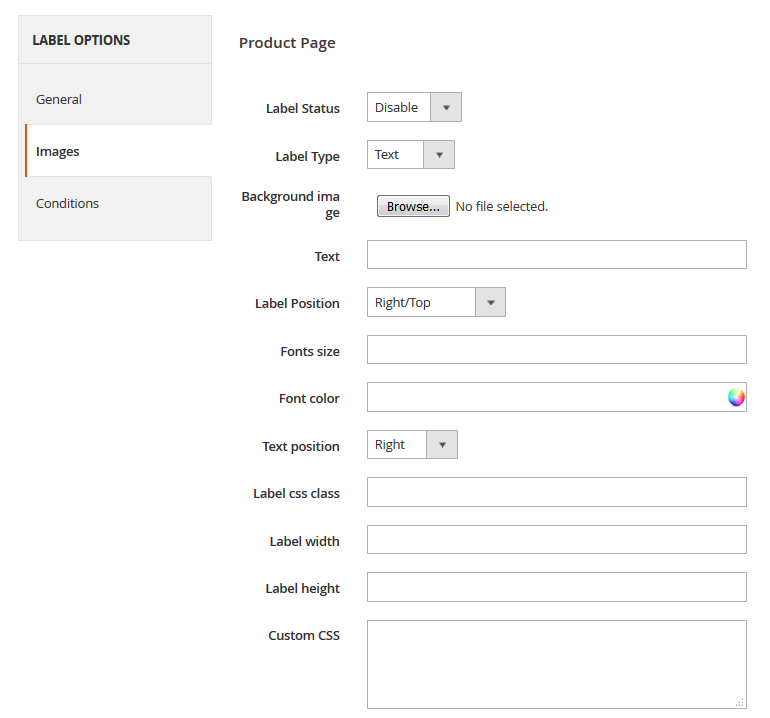
Next you can see the IMAGE tab. Here you can choose the Label Type. Now you have the option to add text without images as a label.
At the Image tab you also can indicate the text that should be displayed on the label.
2.1. Text Label
You are able to select background image for text label.
Then, customize Font size (e.g. 12pt, 15pt, etc) and Font color, Text position (Right, Left, Center).
2.2. Image Label
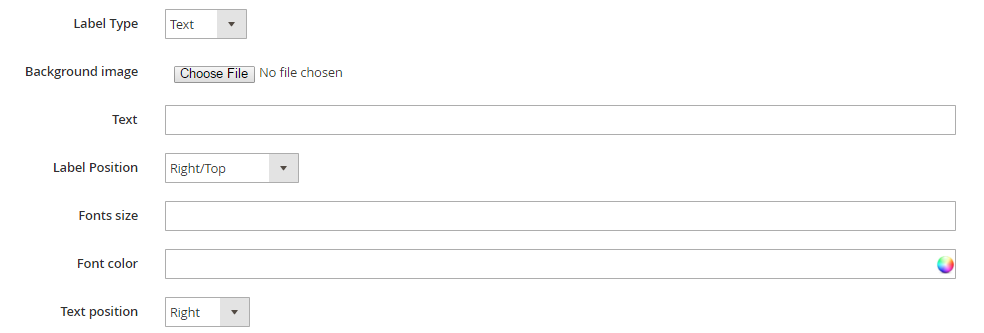
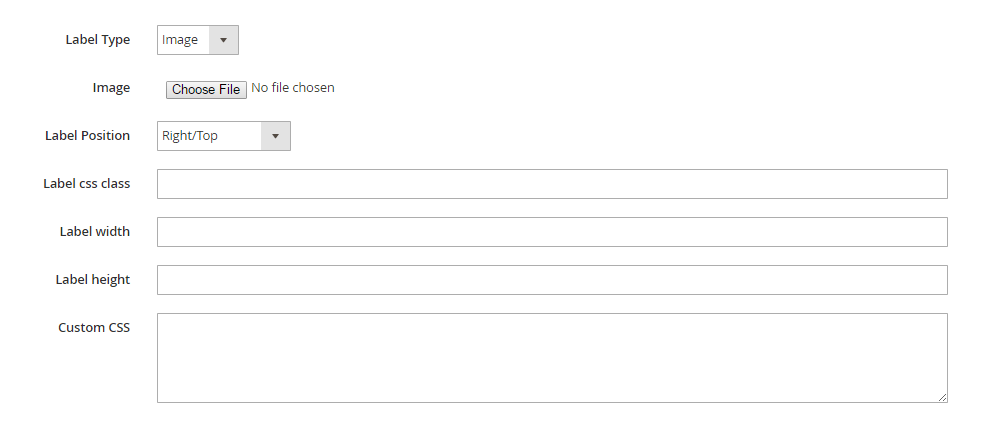
In case, you’ve chosen the image label type you should upload an image for your label and choose Label Position (Right/Top, Left/Top, Center/Top, Left/Middle, Right/Middle, Center/Middle, Left/Bottom, Right/Bottom, Center/Bottom).
Then, customize Label css class (textbox-label, checkbox-label, etc). Label width and Label height (e.g. 12px, 15px, etc) and Custom CSS.
Note that the same options are available for both PRODUCT and CATEGORY pages.
You can utilize following variables in the label text:
- {SAVE_PERCENT}. Saving percentage, it’s the percentage margin between regular price and special price. If you specify in admin panel ‘Sale! {SAVE_PERCENT} OFF!’, on front end it will be ‘Sale! X% OFF!’, X stands for the percent number. (if special price is set)
- {SAVE_AMOUNT}. Flat savings amount, represents flat difference between regular price and special price. So ‘Save {SAVE_AMOUNT}!’ results into ‘Save $X!’. X is the amount, ‘$’ sign will be automatically replaced with the symbol of your currency. (if special price is set)
- { SKU}. Displays product SKU.
- {PRICE}. Displays regular price.
- {SPECIAL_PRICE} displays special price. (if special price is set)
- {NEW_FOR} shows how many days ago a product was added. ‘NEW! Arrived just {NEW_FOR} days ago!’ will be shown as ‘NEW! Arrived just X days ago!’, where X is the amount of days. (if assigned to the new product)
- {BR} — new line. The extension automatically breaks messages into several lines if they are too long. If you need to display some word or phrase in a separate line, please use {BR} variable.
[notice type=”warning”]The variables works for Simple and Downloadable products only.
Check the tutorial:
Example (the Save {SAVE_AMOUNT}! variable was used for the label text):
3. CONDITIONS TAB
As for the CONDITIONS tab, it lets you make the selection of product to apply the label to more precise.
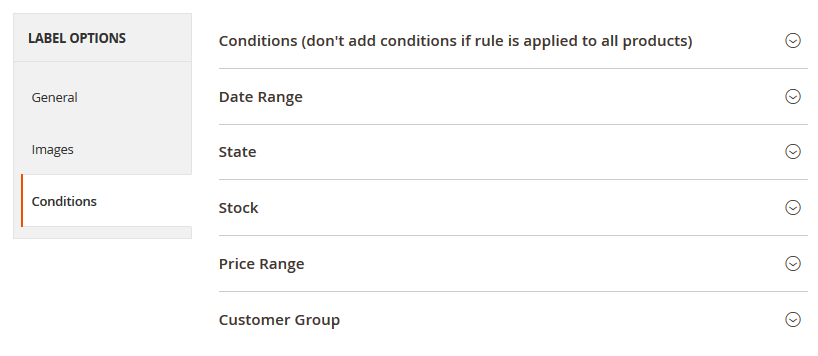
The tab is divided into several sections:
3.1. Conditions
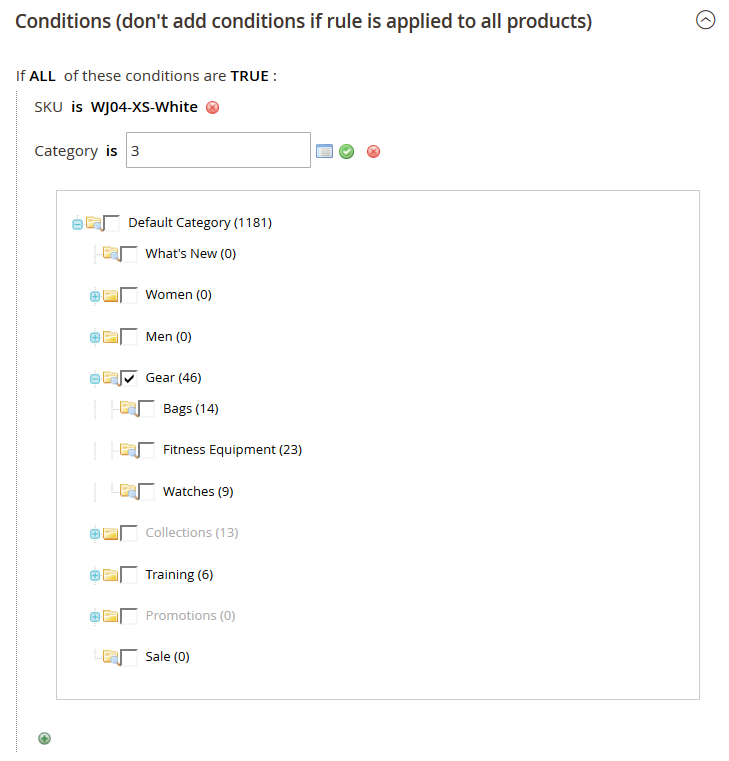
In the first one, you have to deal with the expression if ALL/ANY of these conditions are TRUE/FALSE. You also can add the condition.
3.2. Date Range
3.3. State
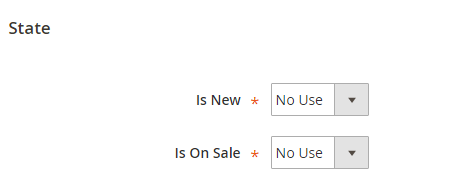
Next, fine-tune the state of items you are going to apply the label to. In the State section, there are just two options: Is New and Is on Sale.
For each one you should choose one of three parameters:
– ‘No Use’ (the option will be ignored)
– ‘Yes’ (the label will be applied only to products that are set as new/on sale
– ‘No’ (the label will be applied only to products that are NOT set as new/on sale)
3.4. Stock

3.5. Price Range

3.6. Customer Groups
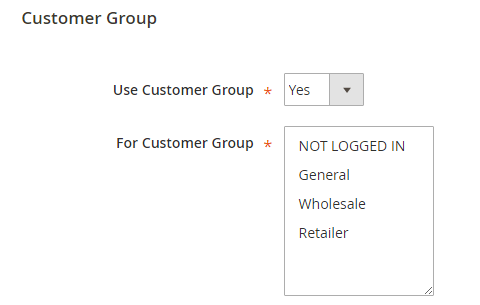
The final section lets you choose customer groups that will see the label (NOT LOGGED IN, General, Wholesale, Retailer).
Don’t forget to click Save button after you finish the customization.


