

From this simple and quick tutorial, you will figure out how to create a table, export and import it with the help of the Elementor and the multifunctional TablePress plugin.

Why you may need tables in WordPress
Once creating a website, you may need to use Elementor tables for organizing your content, comparing some data, or displaying the information to visitors in a clean and comfortable way. The Elementor table usage will ease the understanding of many topics and give you one more valuable skill.
Good old times, when you had to build an Elementor table by hand with the help of HTML, have gone far away! Nowadays the WordPress CMS is able to provide you with a powerful tool to broaden the horizons of your website functionality.
The TablePress plugin is the most popular feature to create a table in WordPress. It allows you to create Elementor tables with a graphic interface and easily include them in your content. Today we will show you how to combine the possibilities of the Elementor and the TablePress plugins.
Installing and working with the TablePress plugin
First and foremost, the TablePress plugin is the best of its kind. It provides you with a number of powerful features, such as:

- you can import existing data from a bunch of formats, such as Excel, CSV, HTML, and JSON;
- on the other hand, you are able to export your Elementor tables, created with TablePress, to several formats;
- the TablePress plugin also has a number of extra add-ons, which can make your tables responsive.
First step, you have to go to the admin dashboard of your site > “Plugins” > “Add New”. Type the “Tablepress” text in the search field.
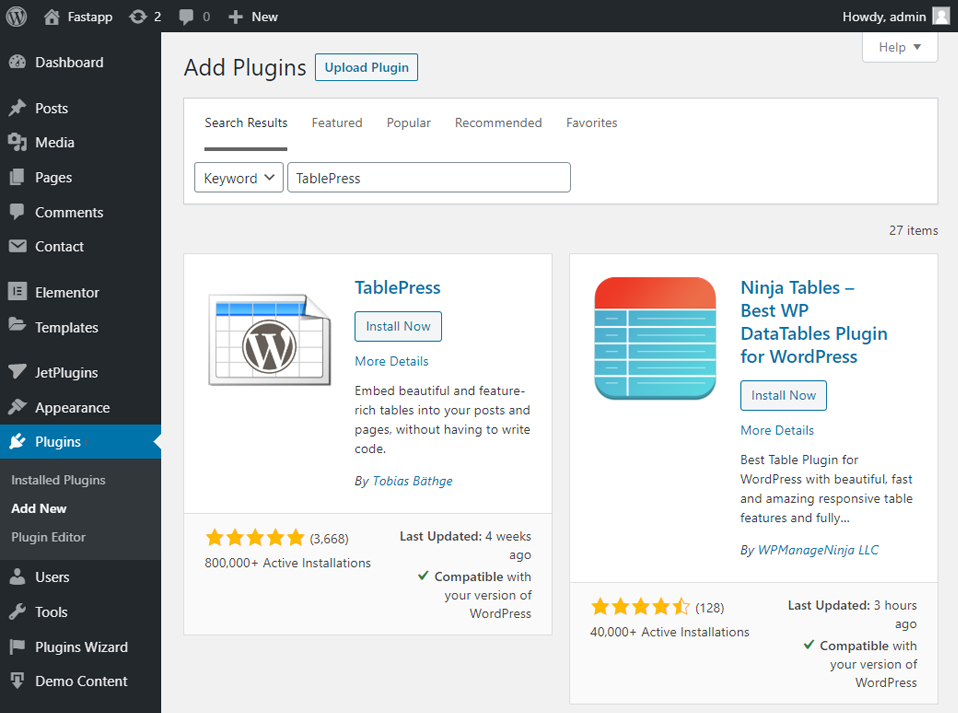
Click on the “Install Now” button. After the installation, press the “Activate” button.
Once active on your site, you will notice a new “TablePress” menu item in the WordPress dashboard. A click on it takes you to this screen.
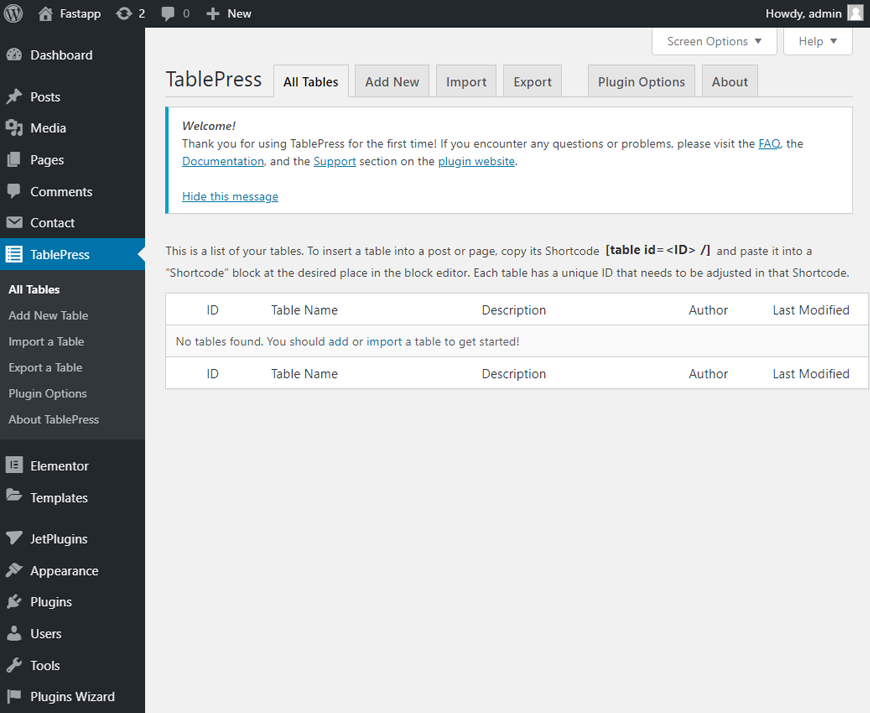
In this area, you are able to manage everything regarding tables on your WordPress site. At the top, there are some helpful links in case you need help. To create a new Elementor table switch to the “Add New” tab.
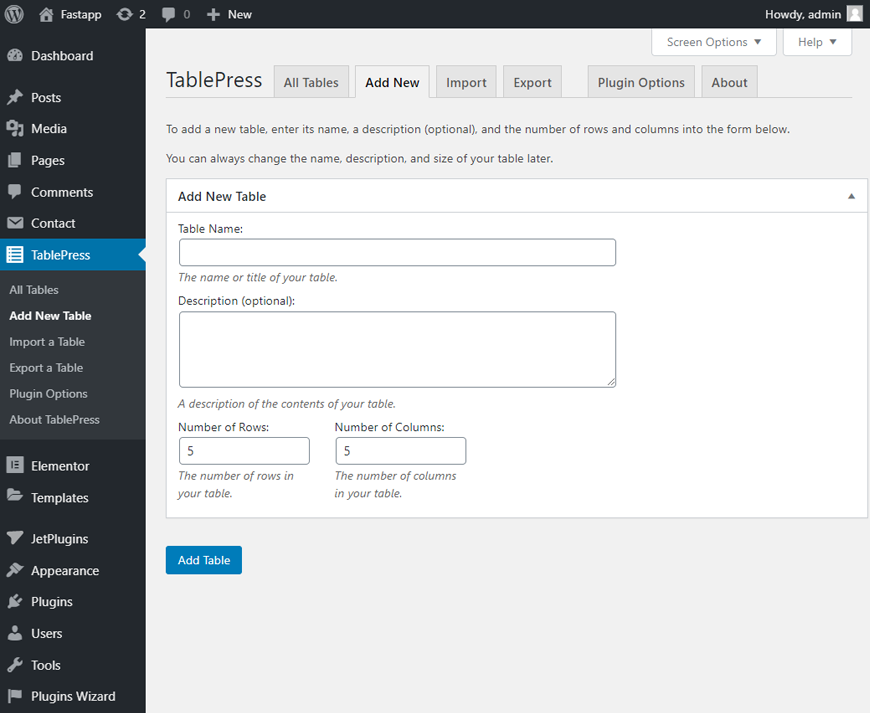
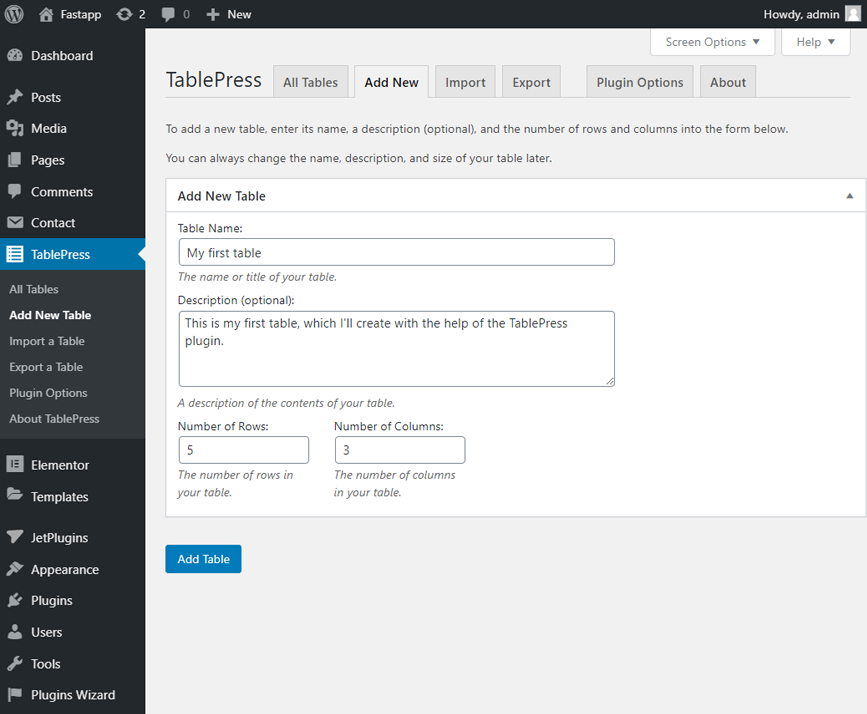
In addition, give your Elementor table a name and a description, if needed. Enter the number of rows and columns into the form below. After that, press the “Add Table” button.
Second step, you can finally fill your table with the content. You are also able to drag and drop columns and rows and filter them with the little arrow icons.
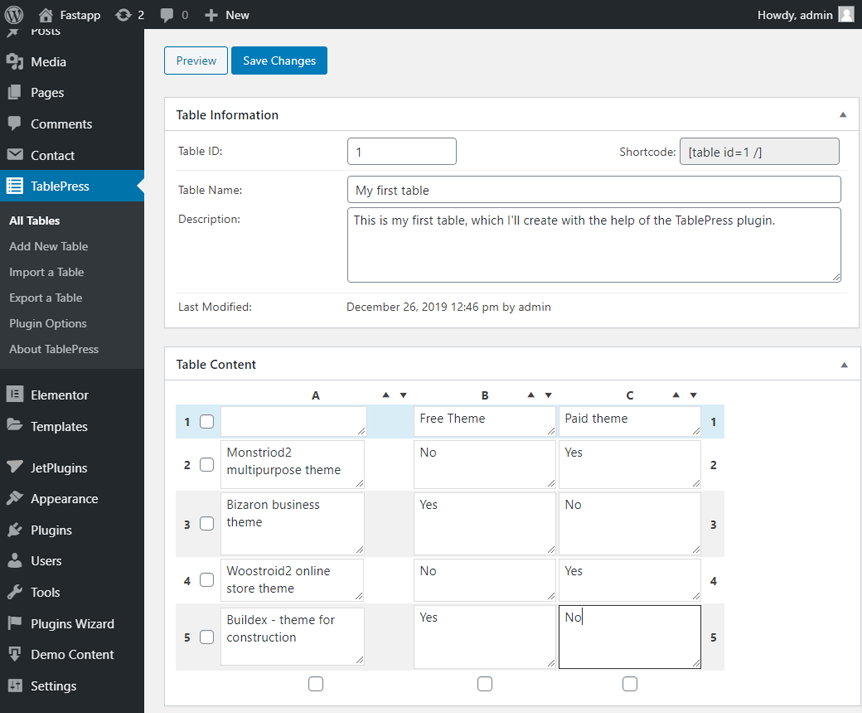
Bellow the “Table Content” area you can see some additional features and choices for designing and formatting your Elementor table. At the top of the “Table Manipulation” area, an “Advanced Editor” button is located. It allows you to insert links, images, and text. The plugin will then give you a familiar interface for the three options.
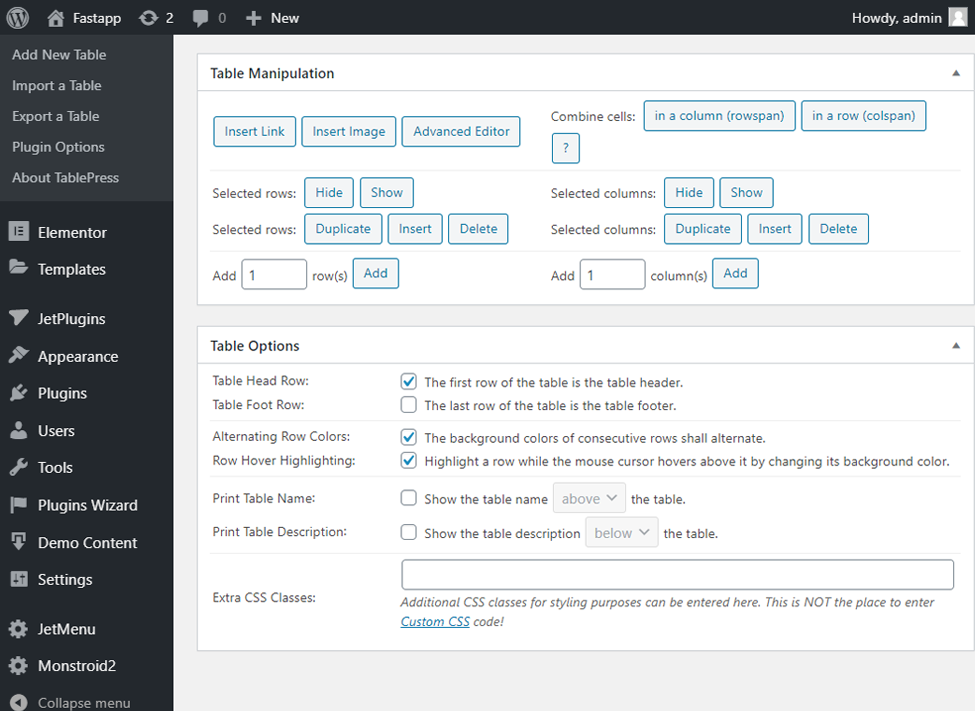
In addition, the TablePress plugin also has the option to combine cells, hide, duplicate, insert, and delete rows or columns and add new ones. Use the checkboxes on the sides to mark what you want to manipulate.
Bellow the “Table Options” field you can decide whether you want the table to have a header or footer. Furthermore, you may add CSS classes for your own custom styling. Set all the necessary changes and don’t forget to press the “Save Changes” button!
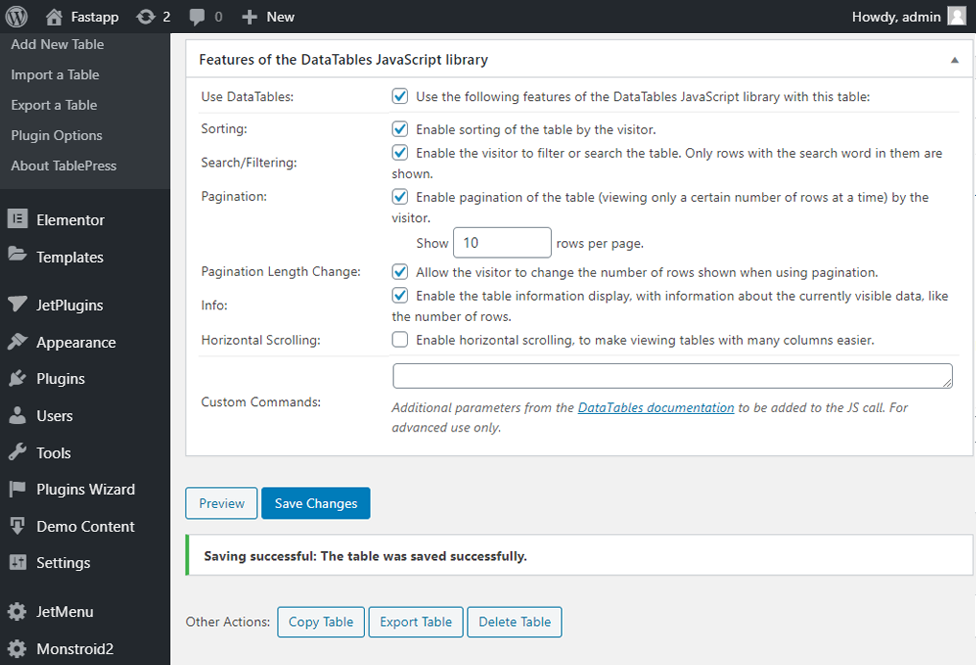
After you have set all the options according to your Elementor table and saved it, check the shortcode of the table, which is located in the “Table Information” field. You’ll need it to input your table into your WordPress website.
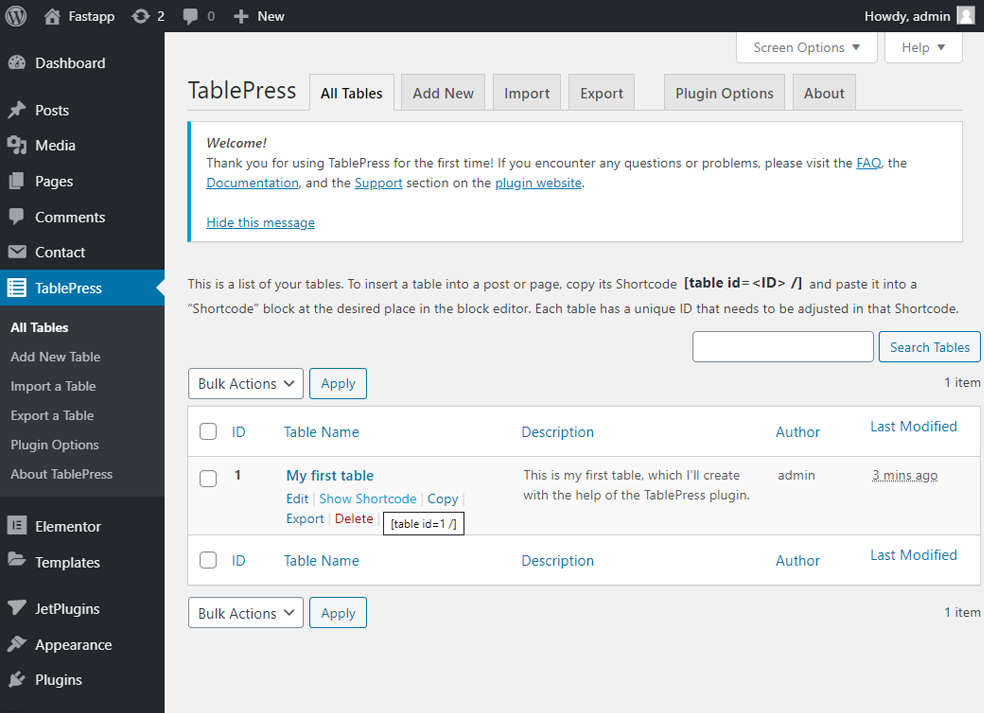
Copy the shortcode of your Elementor table. Open the page, where you want to place it, and click on the “Edit with Elementor” button.
Create a new section and search for the “Shortcode” widget. Paste your shortcode into the working field and press the “Apply” button. Don’t forget to click on the “Update” button as well.

Congratulations! You have just created your first self-made table with the help of Elementor and the powerful TablePress plugin. Let’s view the result.
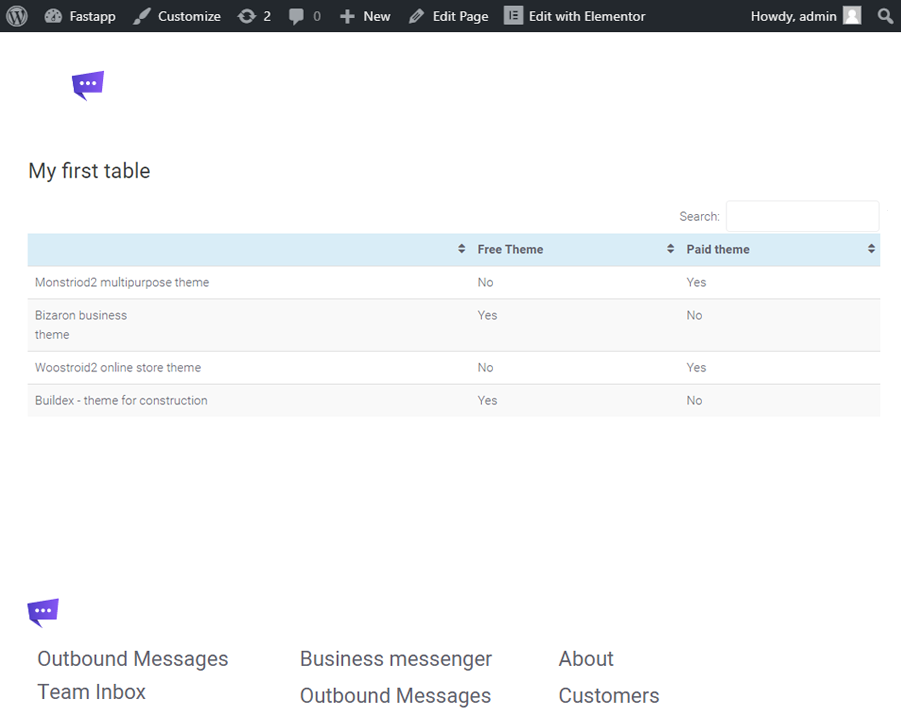
We hope you like our simple and quick tutorial on how to create a table with the help of Elementor and the multifunctional TablePress plugin. There’s also the option of using a different WordPress tables plugin that has Elementor implementation. Subscribe to our newsletters to find more useful tutorials and listings!
Getting Stuck? Feel free to contact our Dedicated Support Team for further assistance.