


From this simple and quick tutorial, you will learn how to apply a timeline with Elementor. As an example, we took a Monstroid2 skin.
What is a timeline block in Elementor
A timeline is a powerful tool with a resplendent design, which is a great way to show the content of your website. With the help of the Elementor plugin, you are able to use it without a line of code! Moreover, it has quite a lot of functions, such as:
- helps to manage your projects or workflow more effectively;
- the visitors of your website can track the progress and achievements;
- displays the history of your company in a chronological order.
How to create and customize timeline with Elementor
The process of implementing a timeline with Elementor onto your page is completely effortless. As our tutorial is based on Monstroid2 skin, called FastApp, all the examples bellow contains proper screenshots. However, you are free to use any other theme, which has the necessary technologies on board. Let’s get started!
- As a first step, go to the page of your website, where you want to display a timeline block.
- Click on the “Edit with Elementor” button to open the editor area.
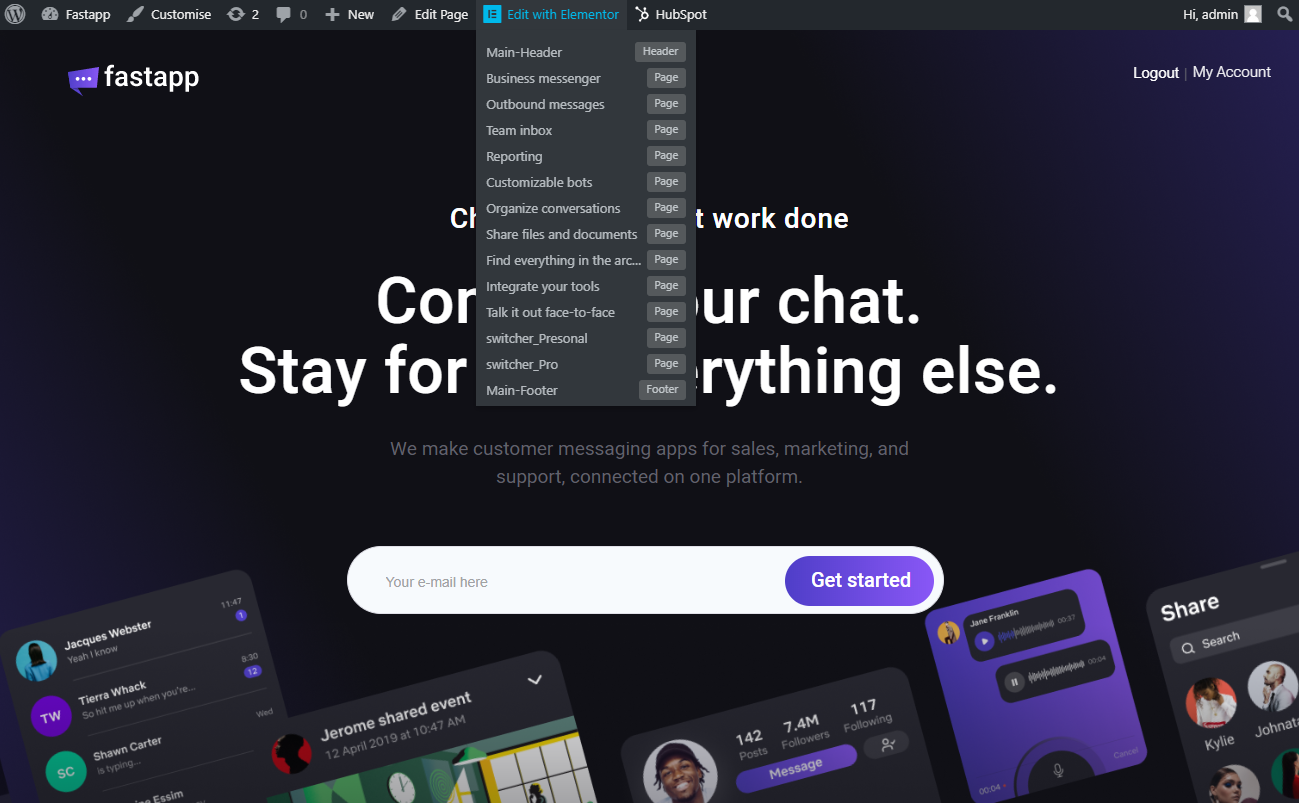
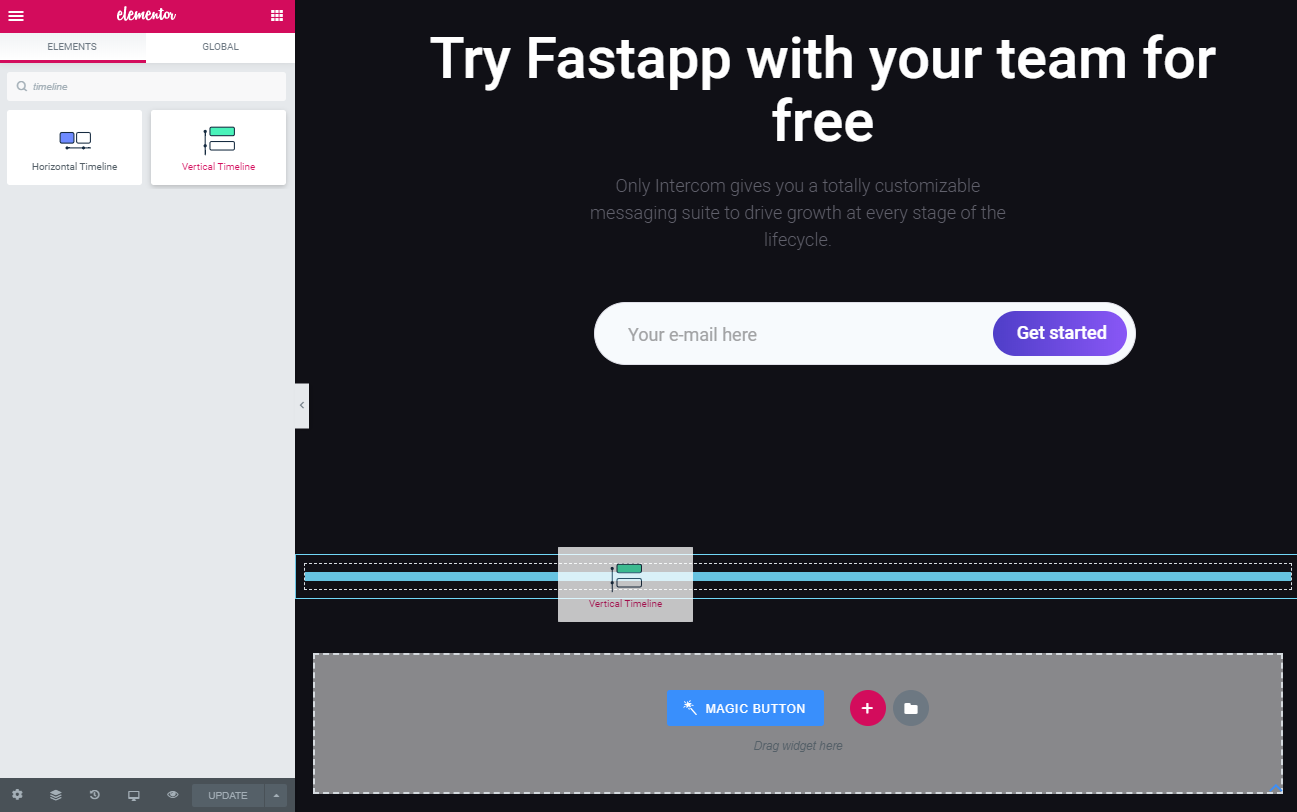
- Go to the Elements panel and type the “timeline” text in the search field. Here you can see the two types of block: vertical and horizontal timelines.
- Choose the one, which suits the design and concept of your website to most, and drag and drop it on the newly created section. As an example, we took a vertical timeline.
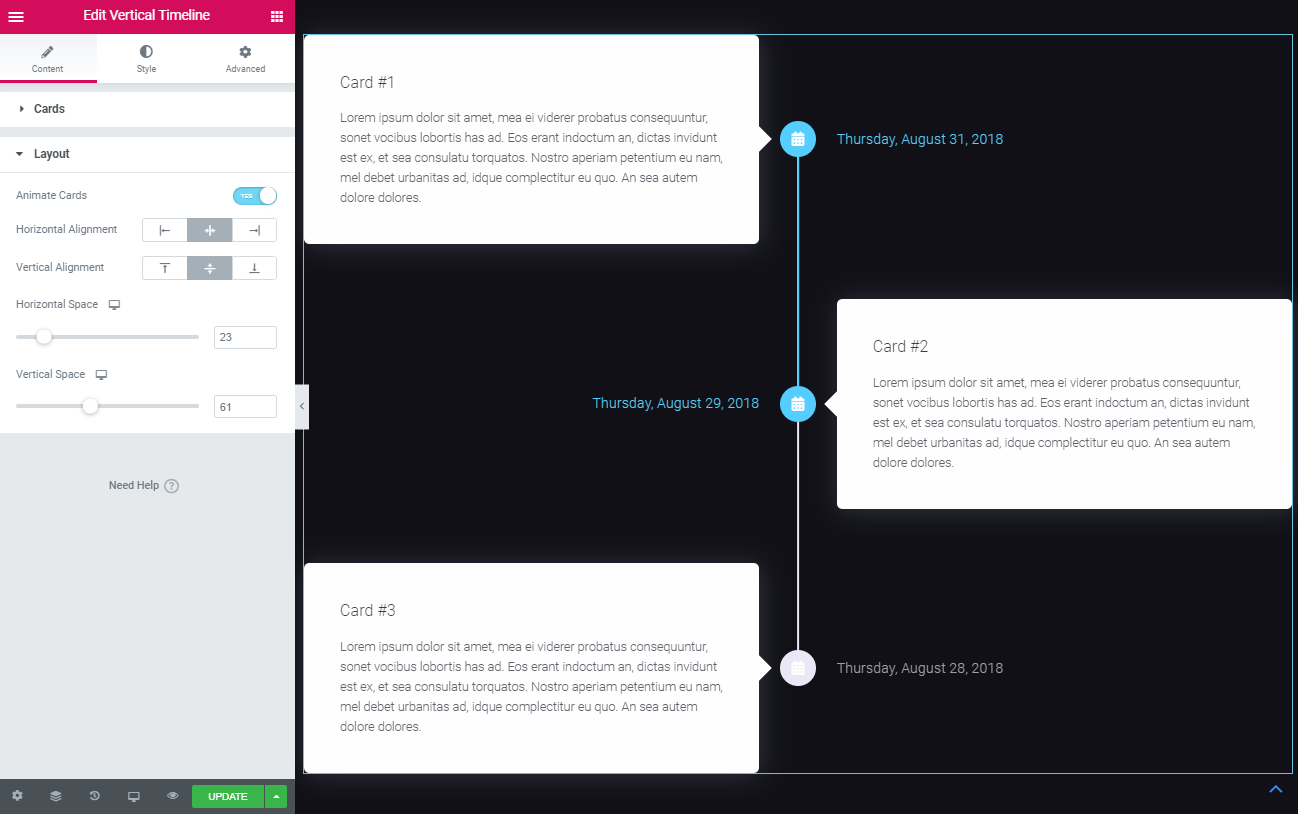
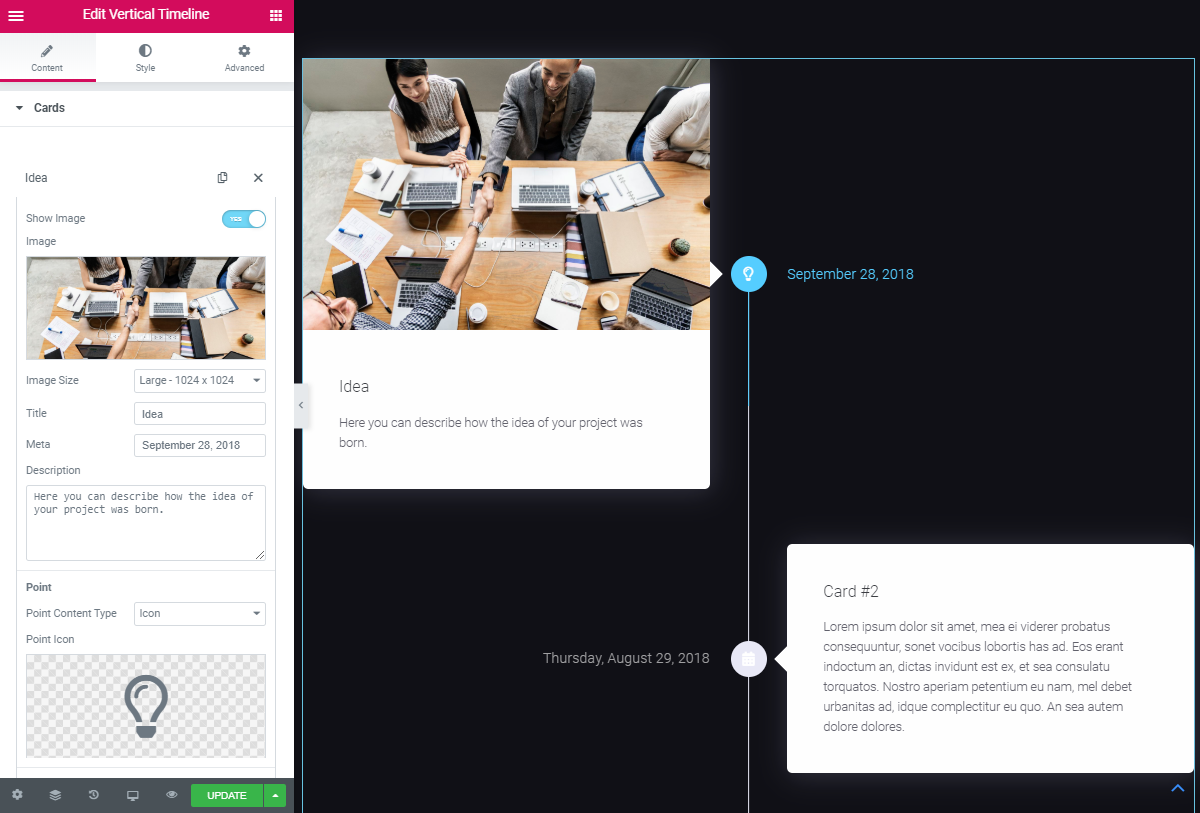
- Now you can see a basic interface of the vertical timeline Elementor block. In the Content tab, you can edit the number of the cards and customize each card separately. You are also able to set the title HTML tag for the headings.
- In the Layout area you can make the cards animated, set the alignment and horizontal or vertical space.
- Let’s leave three cards in our timeline. Make them animated, and set the other values as you wish.
- Come back to the card settings and click on the card to start editing.
- Write down the title and meta of your card. You can also showcase a little description according to the topic. Decide whether you want to show an image or not.
- Choose between the icon or text point content type. In case you prefer icons, you can pick one from the icon library. You can also set a button, its text and add a link.
- Don’t forget to click the “Update” button to save the changes.
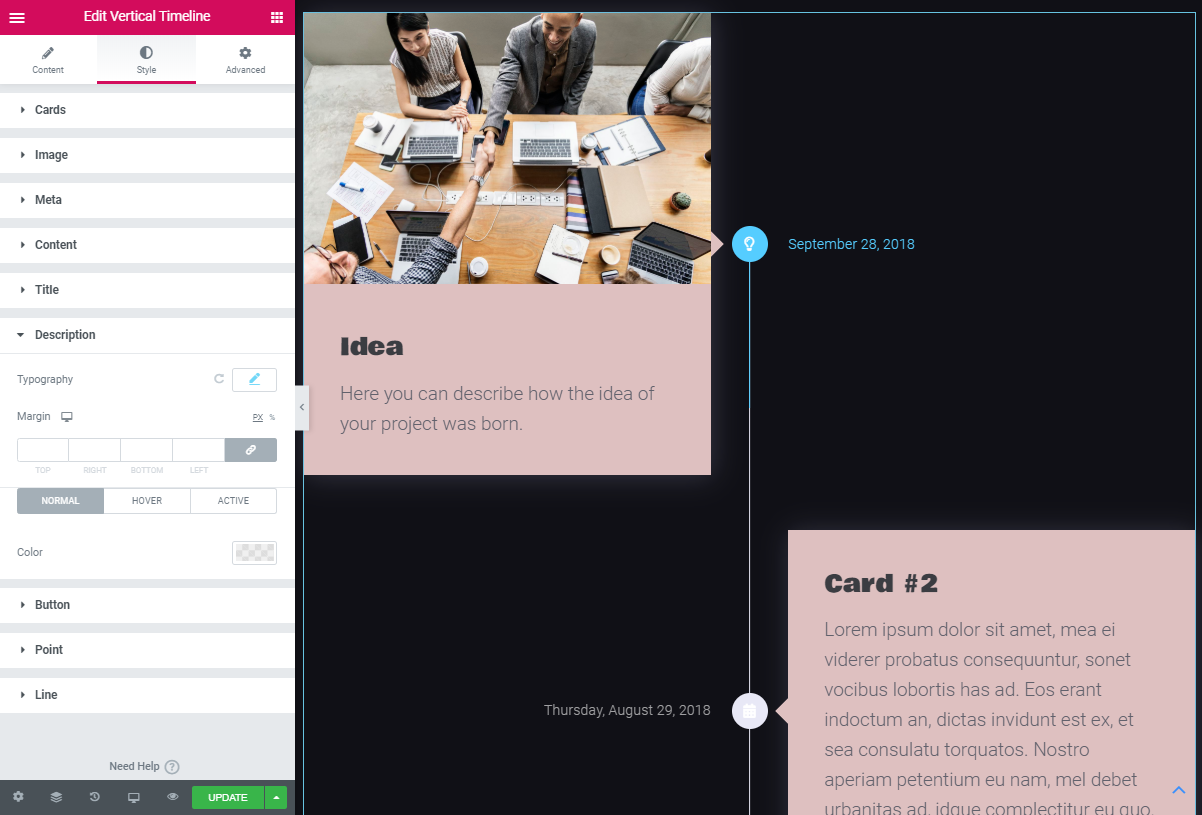
- As a next step, let’s move to the Style tab. In this tab, you are able to set all the options according to the style of your timetable block.
- You are completely free to set a border and customize it. As well as the background color and box-shadow of the cards.
- Make some changes to the typography of the block, both title and description.
- Additionally, you can style the buttom, meta text, points and lines.
As you can see, now you have a completely ready-to-use and modern card. All you need to do is just customize the other ones. We hope you like our simple and quick tutorial! Subscribe to our newsletters to find more useful tutorials and listings!
