A lot of business owners, who have their own sites, use testimonials to show clients’ opinion about the services they sell. When we wondering about what company to choose, we often read comments from other customers. That is why having testimonials on your website is must-have for everyone. Usually, this simple widget can highly increase your sales, so missing it is not a good idea.
With testimonials widget, you will gain the customers’ trust. Also, you will hear their opinion about your services, so it can help you to improve them by fixing the bugs.
Why do you need testimonial carousel?
Elementor testimonial carousel widget allows you to add customers comments to your page and show them one by one by using sliders. Elementor offers you several designs to show the opinions, so you can pick the best one according to your tastes. You can choose how to align the content, where to place the authors’ nickname and where to put their photos. There is also an ability to decide how the testimonial carousel will switch: it may play automatically with the autoplay speed or changes by visitors’ clicks.
Add elementor testimonial slider to your page
- Now, let’s add the testimonials to your theme. In our tutorial, we will use the Monstroid2 multipurpose theme, but you are free to choose anyone else.
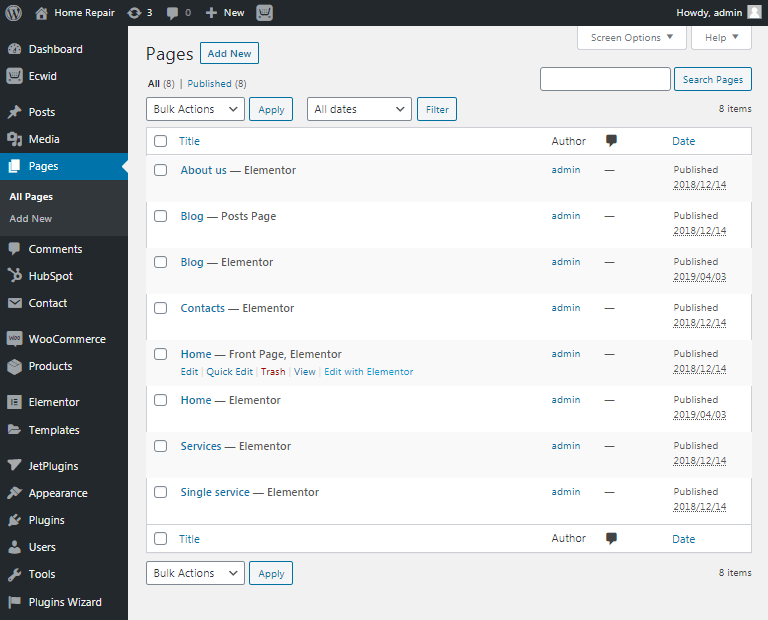
- When you have installed the WordPress theme, find the page where you want to add the testimonial slider and click on “Edit with Elementor” to open the builder.

- Find the place where you want to put your testimonial carousel and click on the “Add Section” (plus button) under the section which is above the needed space. In the Elementor search field enter “testimonials” to find the right one widget. Then drag-n-drop it into the created section.

- Once you have pasted the widget in your working space the editings open in the left sidebar and you can start customizing the testimonials.
- First, customize the items separately. Add the client’s personal data and other elements you want to show.
Note, that you can add more items by clicking on “+ Add Item” or delete the existed by “X” button opposite to the item name.

- When you have finished working with items cross to the “Settings” to fix the common for all items details. Here you can choose the number of items which will be shown on the slide, turn on the autoplay, enter animation speed and others. Improve the elements to make your Elementor testimonial slider looks stylish and unique.

- After completing all the customizations you can check the result. Press on the “Preview” button in the bottom of the left sidebar. If the result will satisfy you click on “Update” to save the changes.

Use testimonials with your project
You have learned how to insert the testimonial carousel to your webpage. To make this you don’t need to be a professional web developer, especially if you do it with Elementor and multipurpose theme, which include all of the necessities to create ideal projects, as our Monstroid2. Here you will find a lot of templates that include testimonials, but if you have chosen the skin without this pre-built widget inside, you can add it manually.


