


You have chosen the topic of your blog, wrote a nice text, came up with curious heading and exciting descriptions but still don’t know how to сreate photo gallery in WordPress? Here’s new available tutorial on how to put into shape your WordPress gallery page.
WordPress gallery page in Gutenberg
Let’s start our tutorial on how to create a photo gallery in WordPress with pretty easy and comfortable in use Gutenberg editor. Just follow these steps to create a gallery with a block that is always at hand:
- Go to WordPress dashboard and click on “Pages” and “Add New”.
- Click “+” and select “Gallery” block.
- Here you can upload pictures from your PC or pick on previously uploaded pictures in the “Media Library”.
- On the right in the “Block” side panel you will see “Gallery settings” where you are able to change the number of your columns or just use the slider.
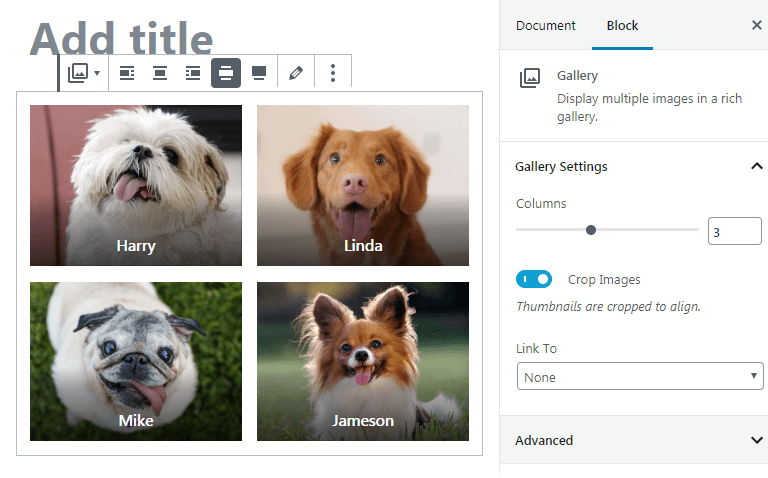
- You can crop your images if you want to, so they all will look symmetrical or just leave them like that with different sizes.
- By clicking on a certain picture there are navigation arrows above in the left corner, use them to change the order of the picture. At the bottom of the picture, you might choose to add the description.
- Go to the end of your gallery and if you wish to add one more block with pictures, just press “+” on the left.
Now WordPress pictures gallery is ready and looks great.
WordPress gallery page in Elementor
Now let’s see what we can do with Elementor plugin if we’re bound on creating WordPress pictures gallery:
- The first and simple step is to open the Elementor editing page.
- On the left, you will see one big column with different widgets.
- Type in the searcher “Basic Gallery”, then drag and drop it to the needed area of the page.
- And if we’re back to the left column, you will see “+” there. Press it and upload pictures from your PC or “Media Files”.
Note: Make sure your WordPress pictures gallery has one topic or similar style, so it all looks harmonious and eye-filling.
- After you have finished with uploading the pictures, pick on the pictures you want to see on your WordPress gallery page and “Create a new gallery”, then “Insert gallery”.
- Now your WordPress pictures gallery is almost ready. We need just a few more steps to make the pictures look more organized.
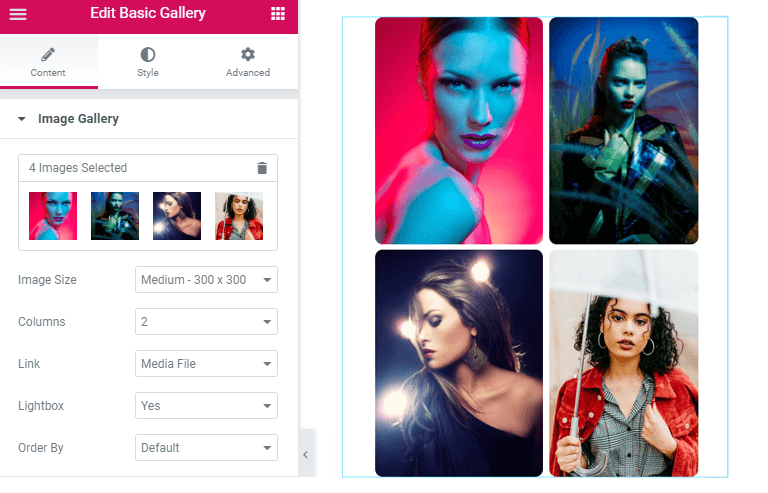
- Press on your almost finished gallery and head over to the tabs “Content” and “Style”.
- In the “Content” tab you are able to change “Image Size” from 150 x 150 to Full, choose the number of “Columns”.
Press “yes” in “Lightbox” if you want to click on any picture and it’ll be opening in the full size.
Use “Order by” – for default or random order of the images.
- In the “Style” tab pick up the perfect spacing of your WordPress gallery page by moving the controls or typing in the value you need.
- And don’t forget to check “Border Type” and “Border Radius” (top, right, bottom, left).
For example: Border type: none; Spacing: custom; Moving slider: 7; Border Radius: 10, 10, 10, 10.
How about now? We hope this instruction helped you to create a photo gallery you were dreaming about. It looks nice, isn’t it?
WordPress gallery page in Elementor using JetElements plugin
If you’re a big fan of Elementor, most likely, you have already used JetElements plugin in one of our themes.
Try to create photo gallery in WordPress using JetElements addon for Elementor page builder. Here you will find a different set of widgets that will help you make your WordPress pictures gallery look modern and stylish by several clicks.
Here we go:
- Make sure you have JetElements installed and activated.
- Go to “Elementor editing page” scroll to the very end of the widgets and you will see green-and-blue “JetElements” widgets.
- Scroll and find “Images Layout” or “Portfolio”, or you can just go up to the searcher and type in the widget you are interested in.
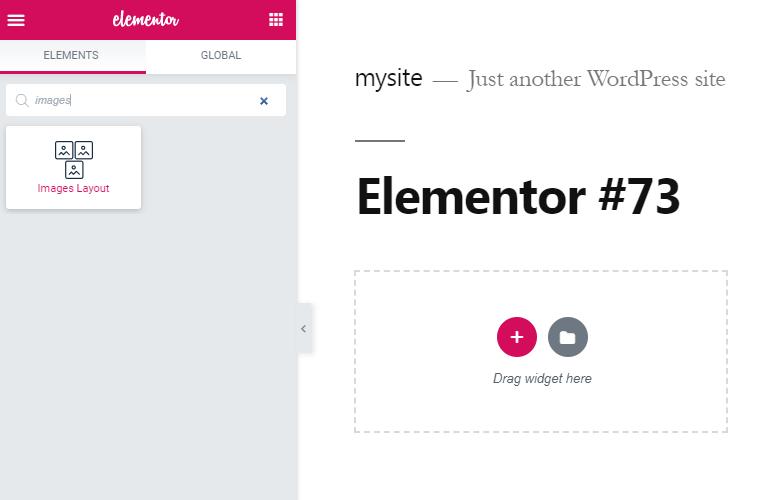
- Drag and drop the widget to the area of the page and continue editing WordPress gallery page by customizing it.
Now let’s see on examples the difference between two WordPress pictures gallery’s widgets:
“Images Layout” widget
- Here you can upload pictures choosing them one by one. Just press on the first image and upload it in the item from the left from your hard drive, or use the one from the media library.
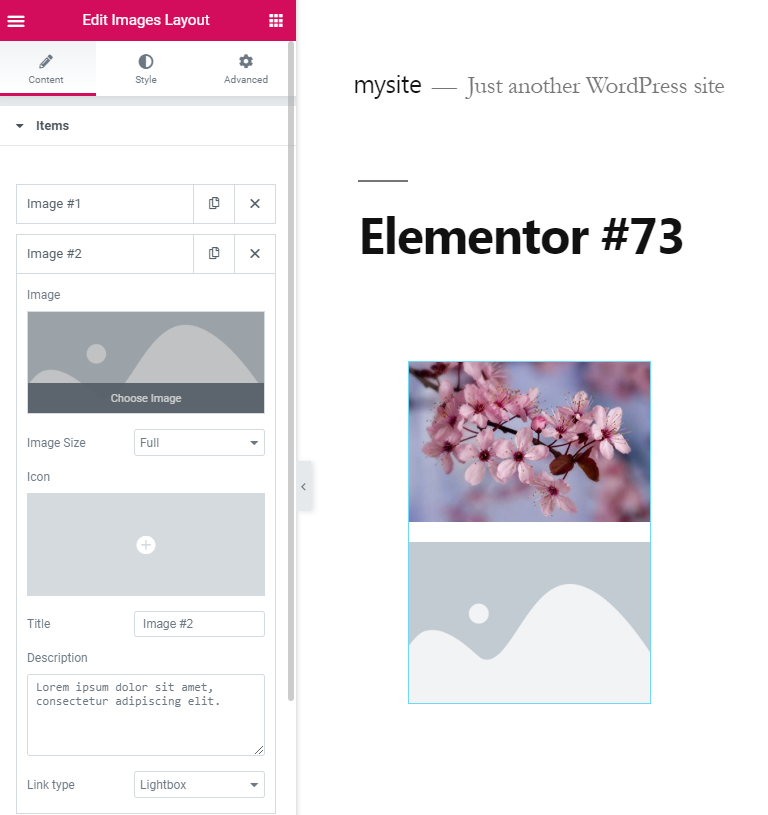
- Right after you have uploaded the photos to the items, you can change the “Image Size” below, add “Title”, “Description” and “Lightbox” link type if you want to enlarge the picture by clicking on it.
- Now go to “Settings” block and pick on “Layout type”, either it’s Masonry, Grid, Justify or List. For example, use “Grid” , and your WordPress gallery page will contain the pictures of one size set in a neat grid.
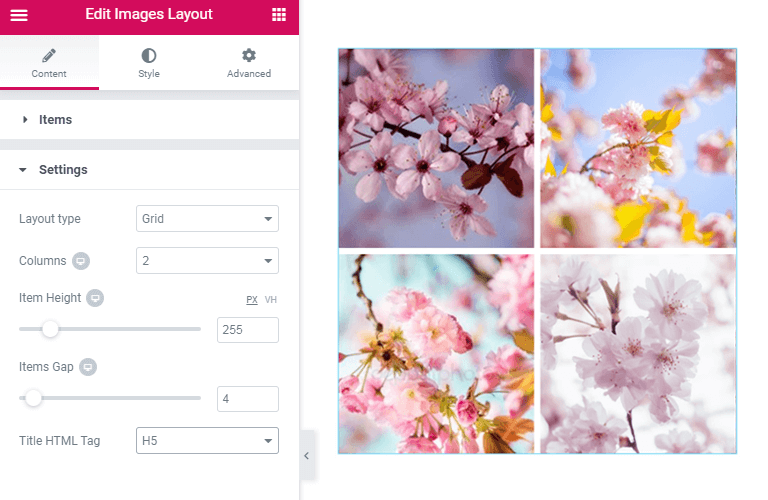
- Click on the “Columns” and change “Item Height” or “Items Gap” if you still don’t like how your gallery looks like.
“Portfolio” widget
- Follow the first two steps as in the instruction for “Images Layout” widget above.
- These two widgets have many things in common, But now you can also add “Category” option to your photo gallery. Let’s go a bit deeper and find out what categories are good for.
For example, you have a blog about food photography and all of the pictures were taken in 4 different seasons of year. Pick on the picture you need and define to what category it belongs in the corresponding field.
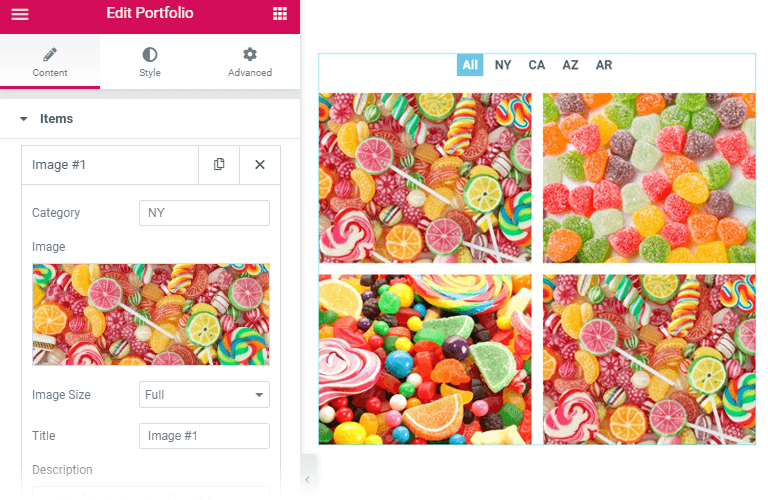
- Now press on any of the tabs above your WordPress pictures gallery. Now you gonna see how classy it is.
- If you visit “Style” tab, you will be able to change the “Border type”, “Padding” and etc.
- Now you feel like you want to show some more pictures but having all of them on the page won’t be looking good but pile up.
Here’s the solution. Go back to “Content” – “Settings” block and press “yes” in front of “View More Button” option. In the field of “View More Button Text” type in the phrase that seems more attractive to you and to readers of your blog.
For example, simple “View more”. The rest of the pictures will show up only if you press the “View more” button.

- Now press the button “View more” and you will see magic happening.
Note: Don’t forget about “Layout type” that you are also able to change in “Portfolio” widget same as in “Images Layout” widget.
We’re glad if you liked our improved and simple tutorials! Subscribe to our newsletter for more useful instructions.
