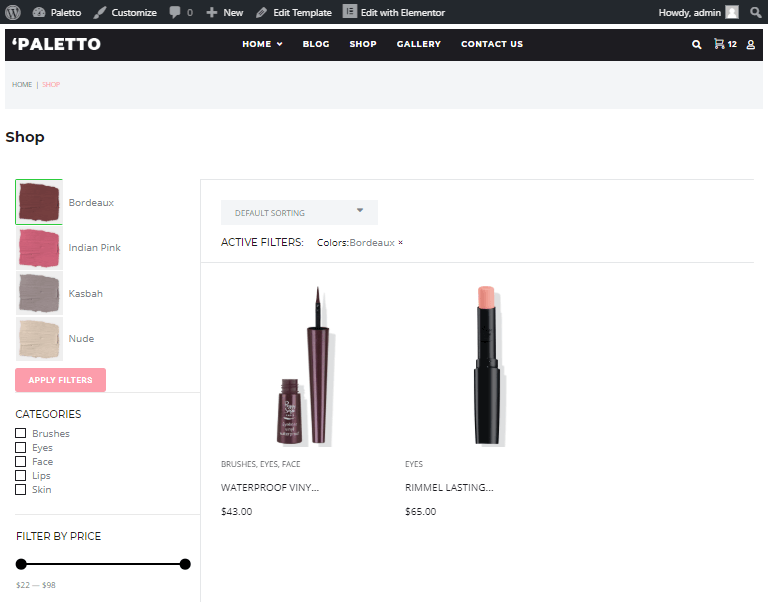
From this tutorial, you will learn how to add WordPress product filters in Elementor.
Each of us knows how it is important to add WordPress product filters while creating the website for the online store. The search will be more complicated and difficult if missing this feature.
Imagine how long it will be to choose the needed item in the online store if there are no filters to sort the goods. All of the modern marketplaces add the filters to their product pages to narrow your search and increase the chances to find the right one item. Thanks to the WordPress Ajax product filter you can sort the products by such criteria as color, brand, price, category, etc.
Add Attributes to Your Products
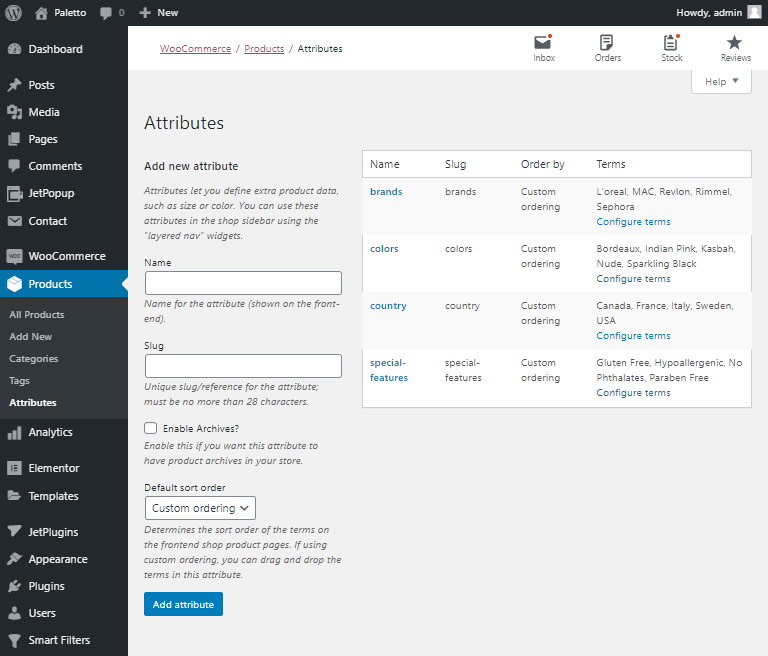
Attributes will help you to define your products by personal characteristics and make the filters work. To add attributes go to the “Products” tab in the Dashboard of your WordPress theme and find the “Attributes” category.
Put the name and other data of your new attribute into the special fields and click on “Add attribute” button.
Create a Product Filter in Elementor
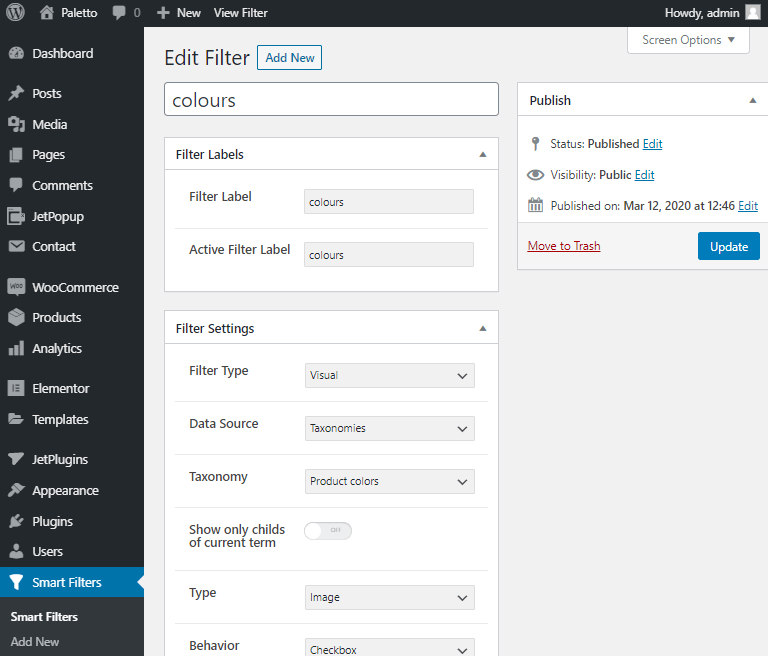
Go to the “Smart Filters tab and click on the “Add New” button if you need to create a new filter or click on “Edit” under the existing one if you want to improve it.
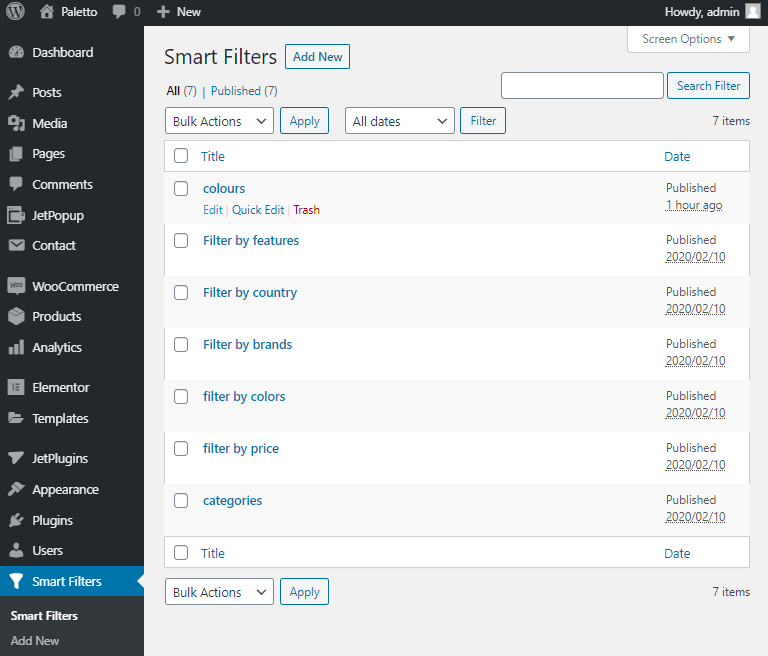
After the window with the filter settings has opened you can tune them according to your needs.
Put the title of your product filter in Elementor. Select the filter type. In our case, we will use visual WordPress ajax product filter.
Then scroll down to find the “Options List” tab and add the necessary options using the “+ New Option” button. Put the label if you need it to be shown on the page or leave the field empty. In the “Value” you can choose from the colors that appeared in the dropdown menu. Choose the media if you selected the Image type or the necessary color if Color type.
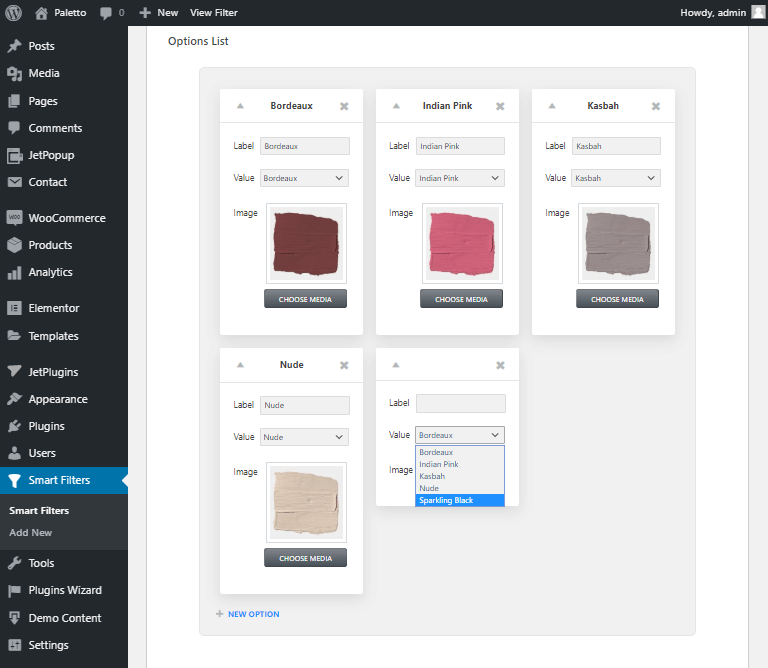
Then click on “Publish” or “Update” in the top right corner section.
Add Product Filters to Your Product Page
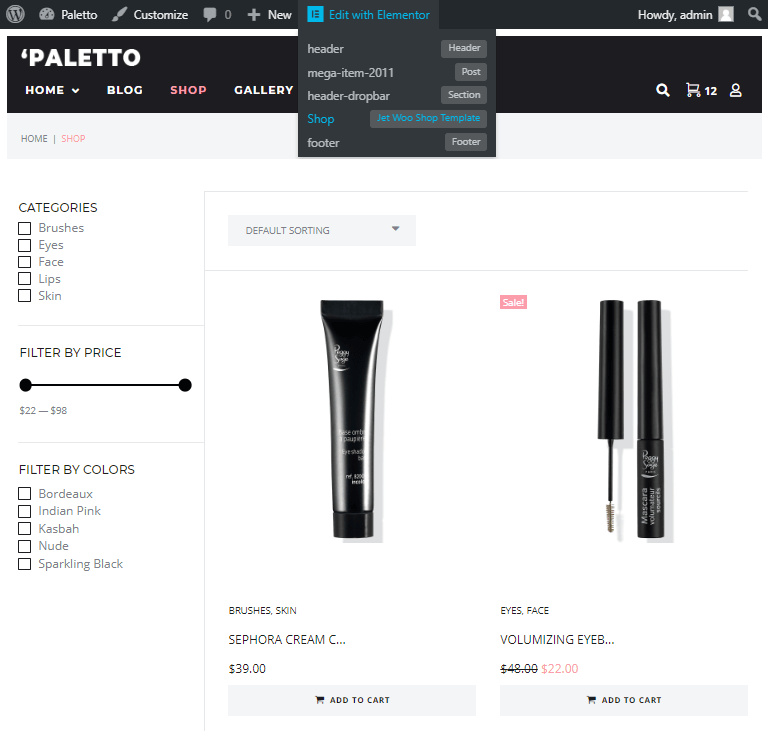
Find the page where you need to add the filter and click on “Edit with Elementor”.
Type “Visual Filter” into the search field and drag&drop the widget to the necessary field.
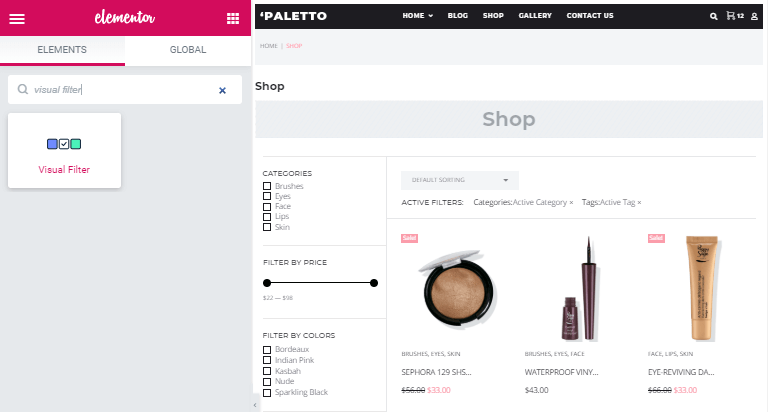
Into the “Selected filter” choose the filter that we have created in the previous step. Apply the needed settings and stylize your filter as you wish. You can change the size of images, paddings, etc. Moreover, in the Advanced section, you can animate your widget, change the background, and many more.
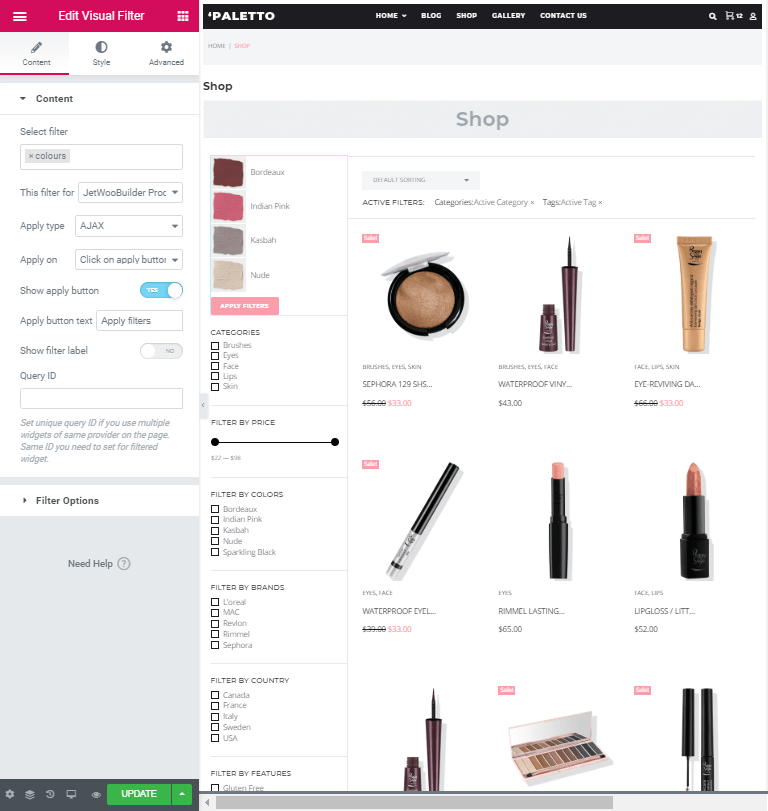
Click on the “Update” button and enjoy the result that we got.
