Monstroid2 and Woostroid2 are multipurpose themes developed by Zemez team. They have a lot of features and possibilities that can simplify your working process and help create an attractive and useful website for your project. We will show you how to change website design with Monstroid2 and Woostroid2 templates.
There are lots of advantages of using multipurpose themes. Purchasing such themes will be great for web developers and owners of several websites. Thanks to the diversity of features and layouts they can reduce the time spent on site-creating and save your money.
Despite building the pages from scratch you can use the “Magic button” and choose from dozens of layouts. Moreover, the collection of premium Elementor widgets is also available for you. You are free to add them to your pages using the amazing drag-n-drop technology of this builder.
One more advantage of these themes is that they include more than 50 website ready-to-use designs you can choose from. In this article, we will show you how to change website design in a few clicks.
If you have recently installed the Monstroid2 or Woostroid2 and don’t want to spend much time puzzling out in its possibilities, these short tips will be useful for you.
The Steps You Should Make before Changing the Template
To change the Monstroid2 or Woostroid2 skin is much simpler than changing the design by installing a new theme. These themes are equipped with a special wizard plugin that helps you install any template you want within a few clicks.
But before making the changings you should persuade that:
- You have to create a backup. There is no guarantee that everything will be all right with your files after changing the template. It’s better to create a backup to not to worry about the loss of the content. You can also enable the “Automatic backup” feature that is available in M2 and Woo2.

- The design is suitable for your project. It is very important to check the template features and look over its pages to make sure that it will fit your content. You can do it directly from your dashboard ‘cause each skin of Monstroid2 and Woostroid2 has a live demo function.

- There is no hurry. Such a simple step but the majority of us skip it. If you will make every step carefully you will reduce the chances to lose the data and changes you have made before.
The Monstroid2 and Woostroid2 Design Change
Monstroid2 and Woostroid2 have the same scheme of installing the templates. So follow the steps below.
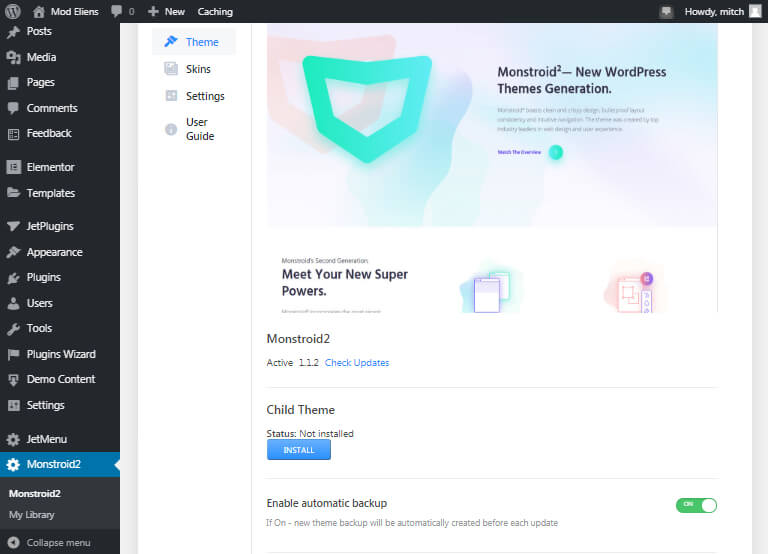
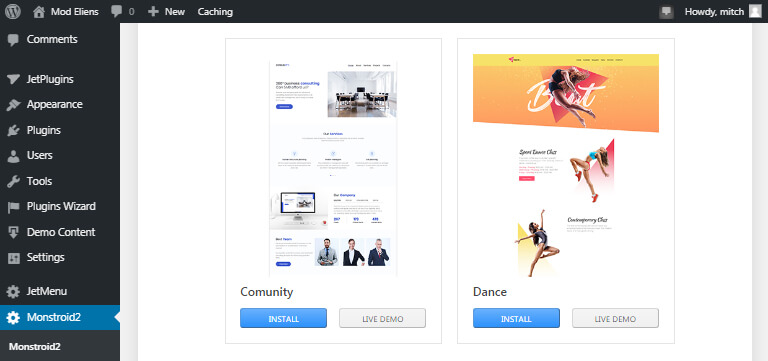
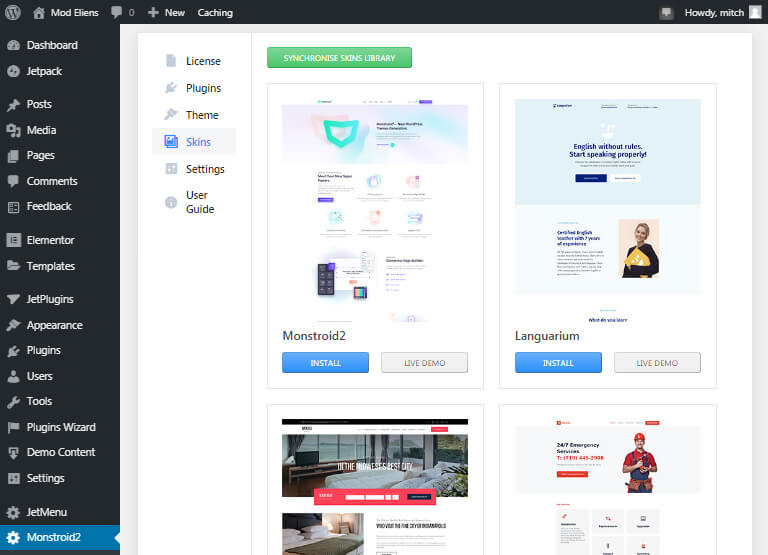
Once you have installed one of these multipurpose themes you will see the new-created Monstroid2 or Woostroid2 tab in your dashboard. Go to this tab and find the “Skins” section. Choose one design from this collection and click on the “Install” button.

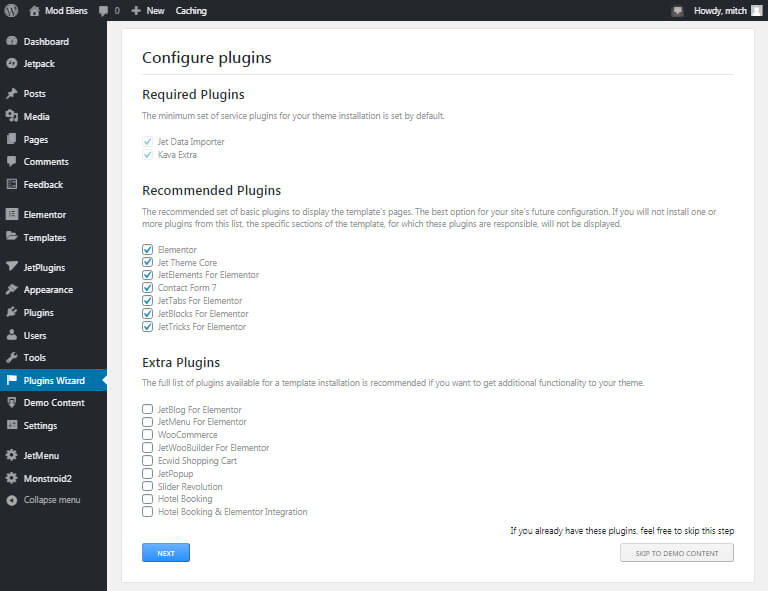
The Wizard plugin will open to help you in making the next steps. Click on the “Next” button to install plugins that come with the skin you have chosen.

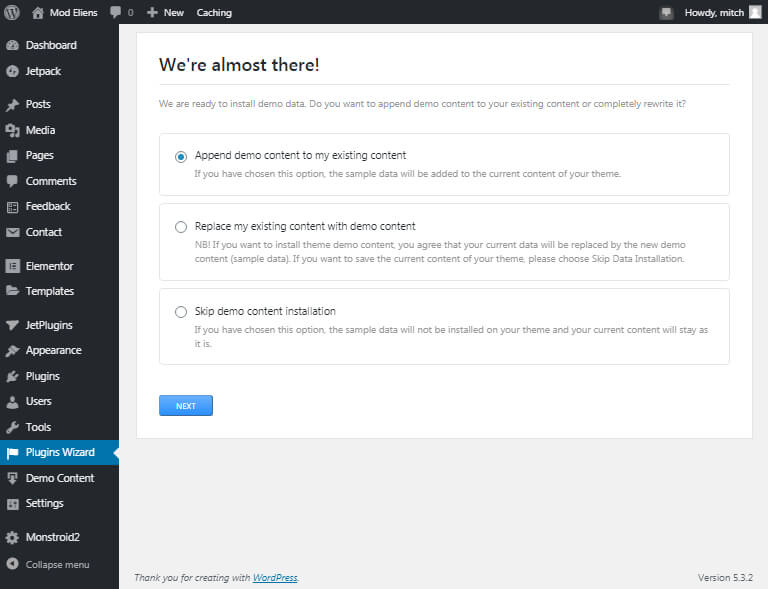
Then you should decide whether you need to install the demo data in a combination with your own content, you need only the demo data, or you don’t need installing demo data. Match the right variant and click on “Next” to continue the installation.

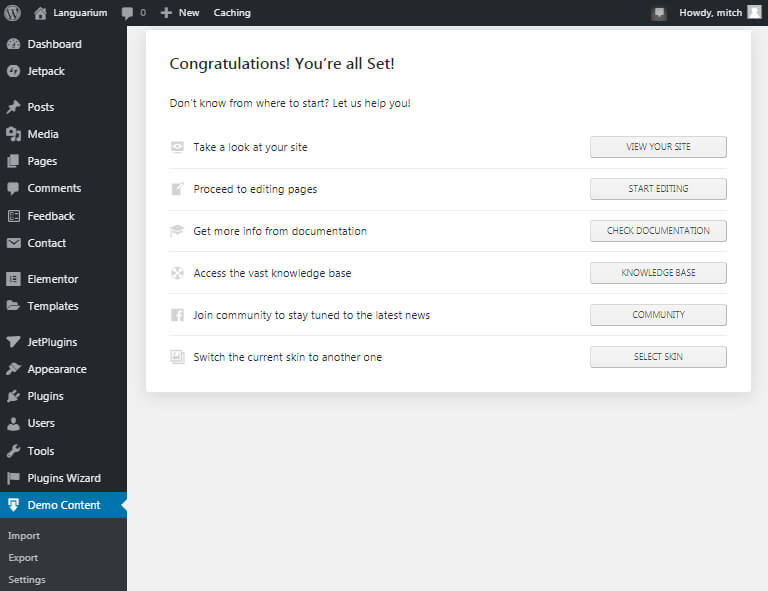
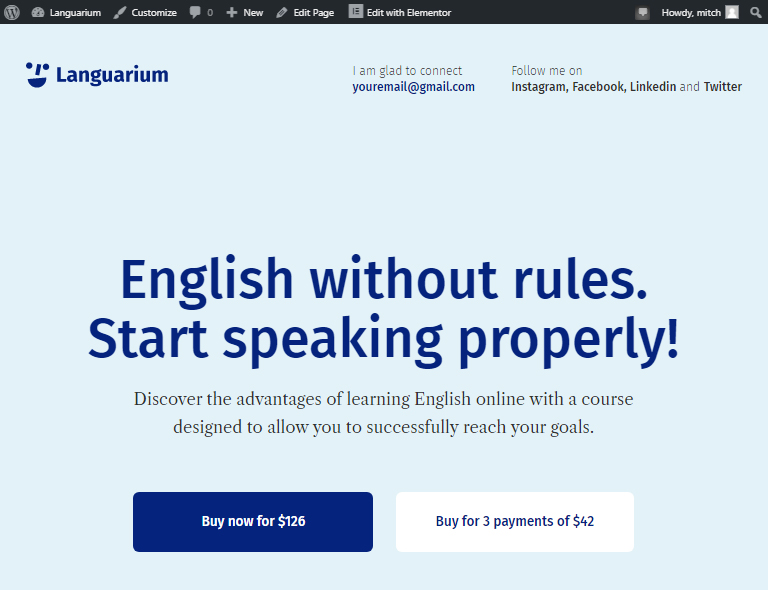
Congratulations! Your template has been successfully installed. Let’s check the result. Click on the “Visit Your Site” button.