Wondering about how to reproduce the text you have written in the Word document on your web page? The decision is quite simple. Each web designer knows about Google fonts. Using this article you will learn how to add Google fonts to WordPress themes even if you are newer in web development.
Google fonts is a free resource that allows everyone to use different web fonts and stylize your paragraphs at your discretion. Customize your pages and make them unique using this wonderful WordPress Google font feature.
A lot of us avoid such a step as adding Google fonts to WordPress themes and this is not right. Usually, they help you improve the design of the website and catch the users’ eyes. Create the headings and paragraphs in the same style which is different from other similar websites using Google fonts in WordPress.
Now you shouldn’t download the fonts and install them on your PC. You can choose and add them to your website directly from the Google directory. And that means that installing Google fonts to WordPress became simpler than ever before. Let’s persuade in this fact.
Surfing the Google Fonts Directory
To find the font of your dream you should visit the Google fonts website. If you know the name of the font you want to use you can enter it into the search field. But if you want to find something new you can use the filters to get the needed result.
Once you have chosen the font click on the plus button in the top right corner. It will appear at the bottom of the page in the special hidden window.

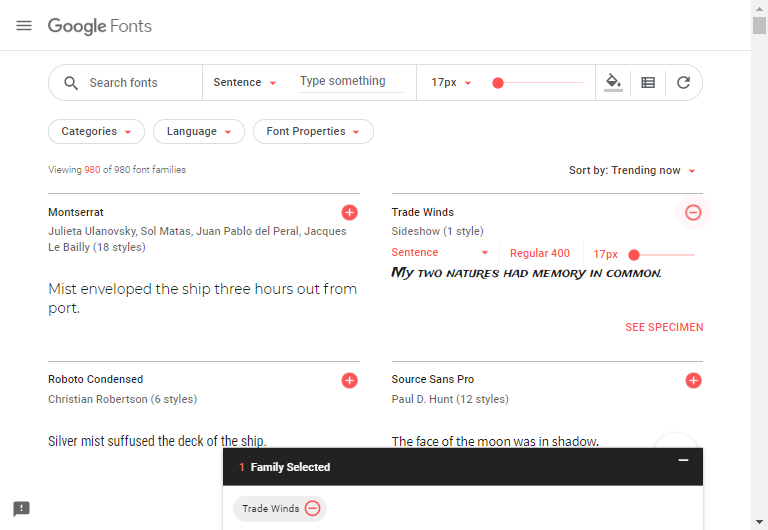
Note, that you can select more than one font.
Work with Selected Fonts
Once finished, click on the “Family Selected” at the bottom corner to continue our mission. In this window, you will also find the information about how to install Google fonts to WordPress.

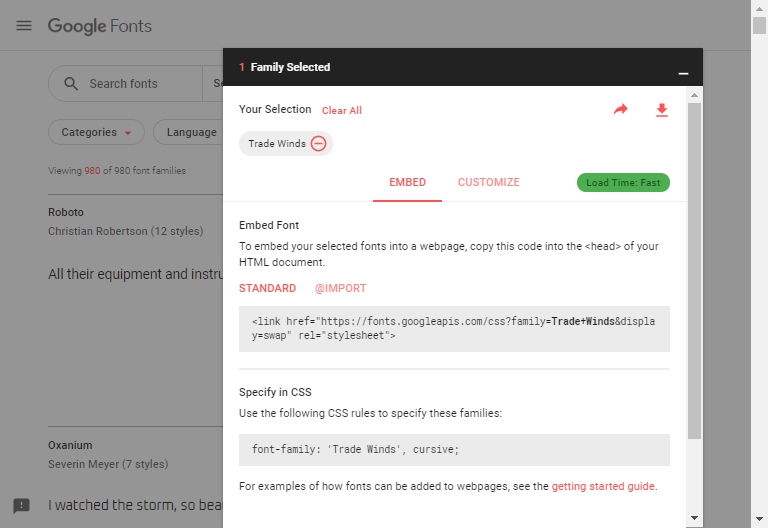
You can also click on “Customize” to match the options that appeal to you. A load time indicator shows how the selected parameters influence the speed of your site.
Embed via WordPress Enqueue Google Fonts
The best way of installing font to WordPress is wp_enqueue_style Google fonts feature. This line of code gives the command to WordPress to change the font of each header section of your website.
Copy the link that Google server offers to you.
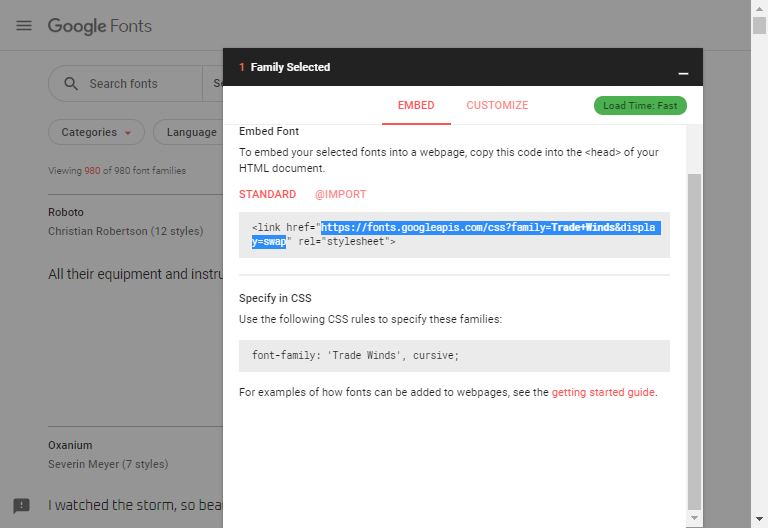
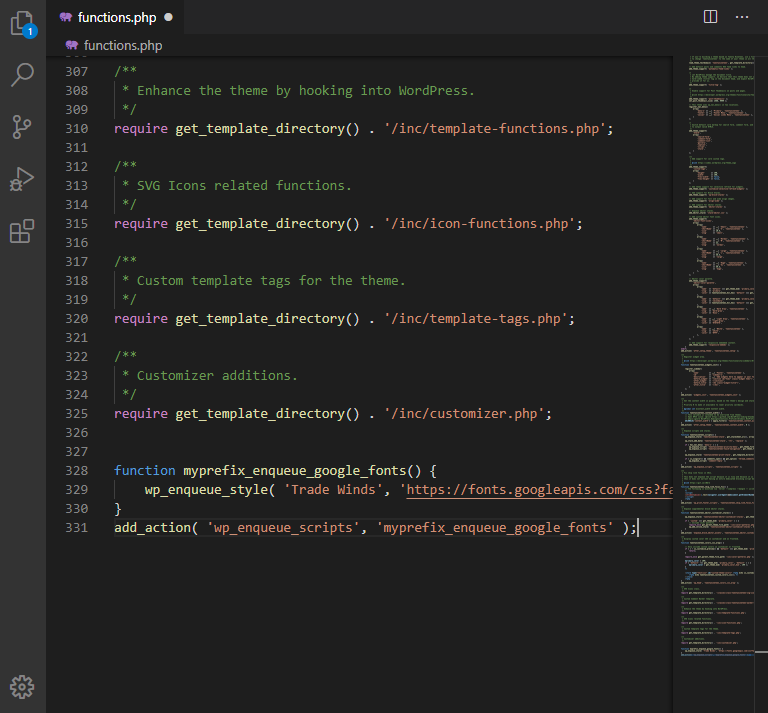
We need to put this link to the special code. Don’t forget to change the name of the font on your own.
Add this piece to the functions.php file of your theme and save the file.

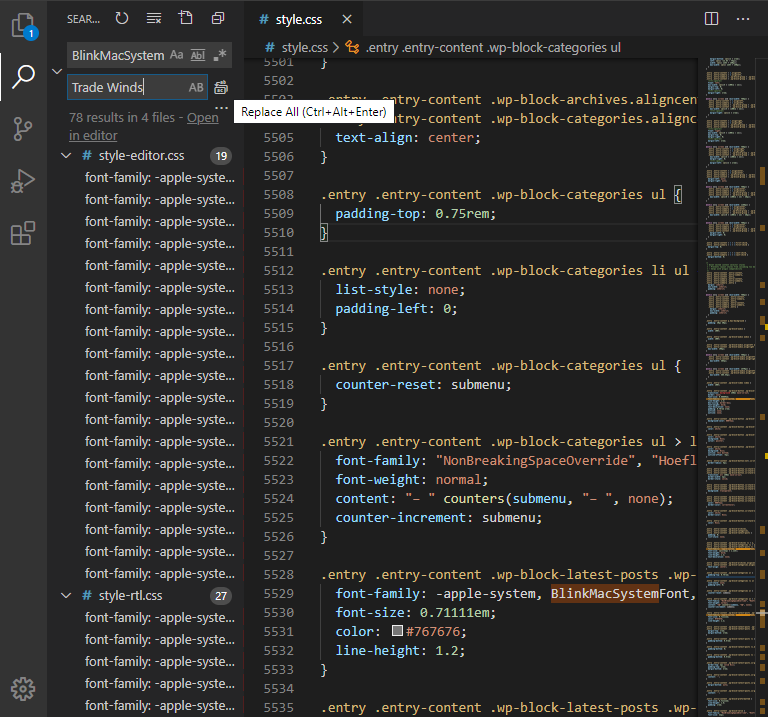
Then open style.css file and replace the name of font-family on the new one. Save the changes.

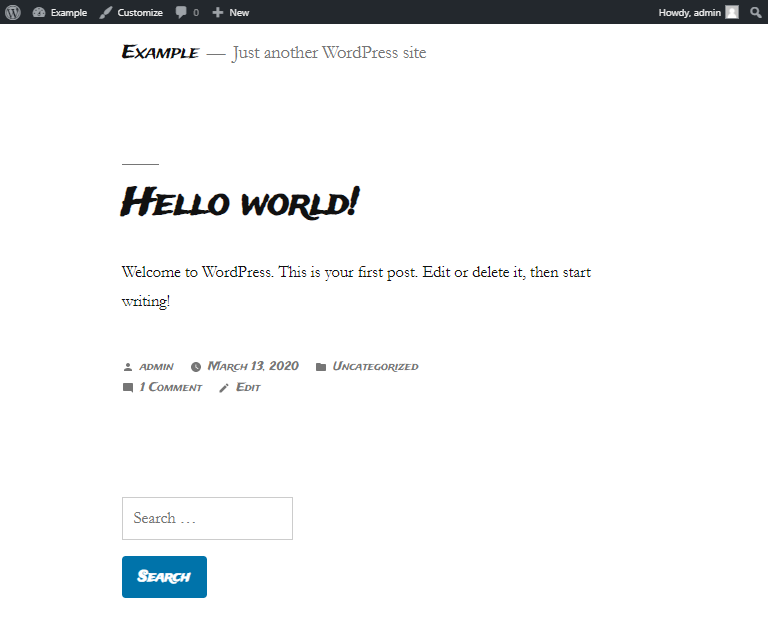
Reload the page to review the changes. Here you can see how the website looked before.

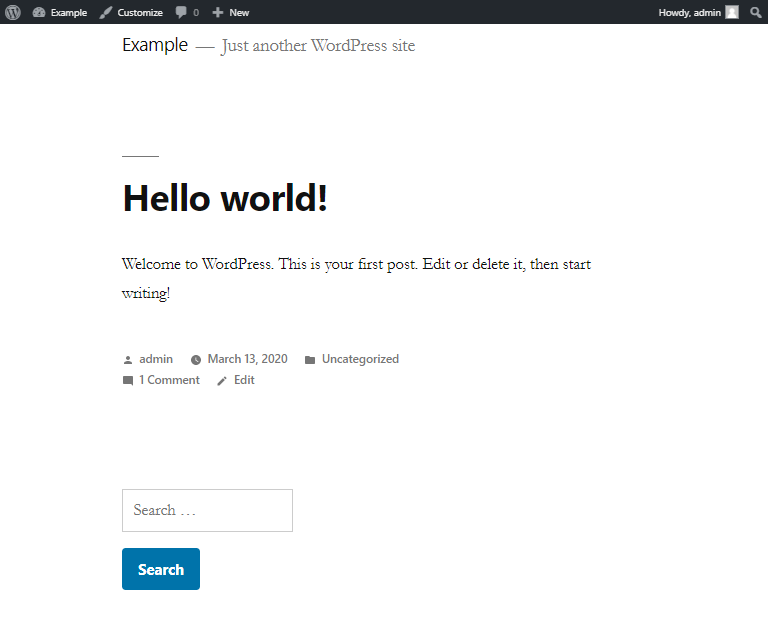
And here is the website after changing the WordPress google font.