
From this tutorial, you will learn how to create brand new custom blocks for Gutenberg editor. You will do it with the help of a special plugin, which you are going to create by yourself.
Creation of the plugin
We have to admit that you may create a custom Gutenberg block using one of the default themes or your previously downloaded theme. However, in our example, we will create a custom plugin to work with it.
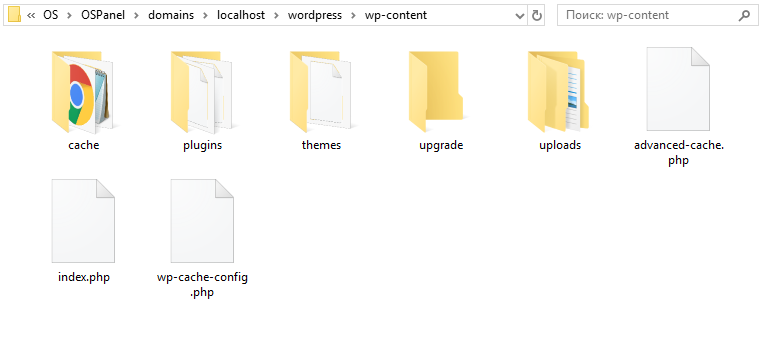
1. As a first step, you have to go to the “wp-content” folder > “plugins” folder.

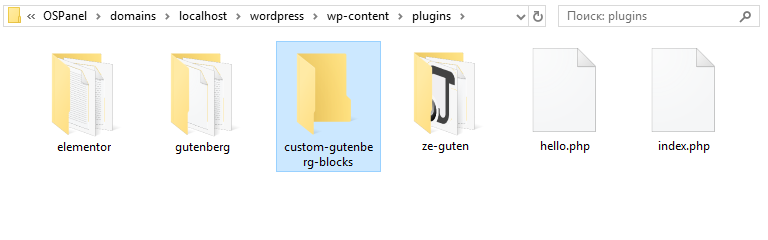
2. Here create a new folder and name it the way you want to name your plugin. In this tutorial, the name of the folder will be “custom-gutenberg-blocks”.

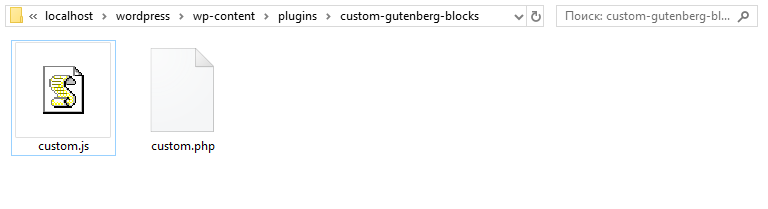
3. After that, open the newly created folder and create a “custom.php” file right here. Open it and write down the following code. It will help to register the new plugin and load the JavaScript.
4. In the same folder create a “custom.js” file. You have to call it the way you’ve set in the function. Here you can write your own JavaScript code.

Building a new block in JS within Gutenberg editor
In this part of our tutorial, we will show you how to create and register a JavaScript file to define the way, in which your block will be working. We will also set how it will look in the Gutenberg editor and frontend.
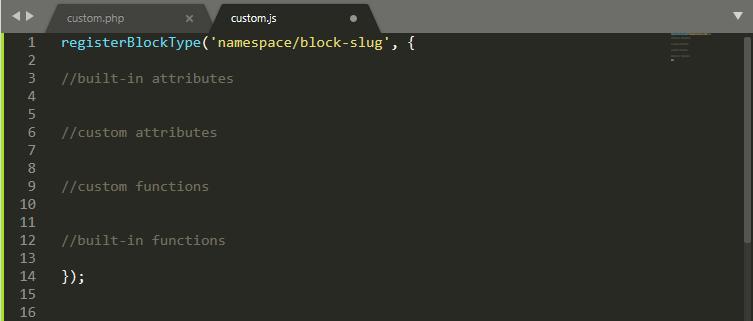
- In order to create a custom Gutenberg block, we will use the “registerBlockType” method in your file. After that, you need to write down attributes in the brackets.
- The first parameter will be your namespace and a block name. As a second parameter, you need to specify an array of everything, which will actually be an object.


- The structure of a custom Gutenberg block is pretty simple. We’re gonna start by defining some built-in attributes, which are represented by the descriptions, title icons and the types of categories.
- After that, some custom attributes need to be defined. It may be a specific text area or background image.
- Then we need to specify some custom functions and the built-in functions.

Defining built-in attributes
Let’s start to build our first custom Gutenberg block! Firstly, we will write down all the built-in attributes.
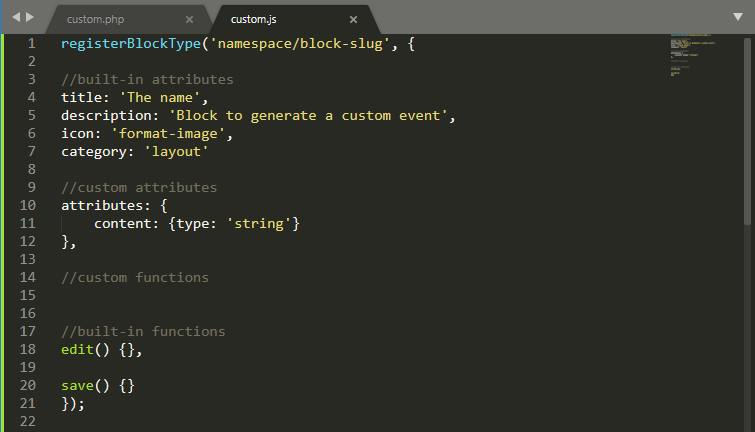
- The easiest one is the “title” attribute. You can specify it the way you want. Specify a “description” as well.
- After that, define an “icon”. You can use dash icons by WordPress, which are built-in into the WP administration area. On the other hand, you copypaste an SVG picture.
- The last one is the “category”. It is necessary in order to list our custom block inside the WP administration area.
Set the custom attributes and built-in functions
Now we’re gonna create a custom “attributes” object, which will keep track of all our custom attributes. Let’s indicate its type. We will define it as “string”.
Leave the custom functions block blank because we don’t have any custom functions yet.
As a next step, we will define the built-in functions of the registerBlockType. There are actually just two of them: edit and save. However, they are a little bit complicated, so, for now, we are gonna leave it empty.

Appending the “edit” and “save” functions
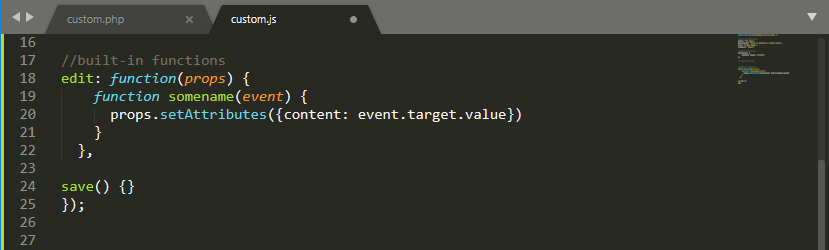
- First of all, let’s add a new function within the “edit” one, and name it the way we want. In our case, it’s “somename”.
- Add the “event” and use props.setAttributes to establish a connection with the content and target it when it’s changed by the user who will input text.

- The next step is to determine what method will return (what will be displayed in Gutenberg editor). To do it we’ll use JSX to build some code with react. You can use the Babel resource to build your code.
- We’ll add a <div> and within it add a title we want to use for the widget and an input field with text type.
- Connect it with props.attributes.content and use onChange to define the function that will be used. Than close the </div> tag.
- Now you should copy the code generated on the right side and paste it right beside the “return”.
After all the job done your “custom.js” file will look like that:
Congratulations! That is all you need for the backend. Now you may check how your new custom Gutenberg block will look. However, if you don’t want to spend much time on creating a block, you can simply add one and then customize according to your needs. Use a special block builder plugin, ZeGuten for instance, to add a block, and fill it with relevant content. Investing in a dedicated React.js developer or team is undoubtedly a great way to create high-performance, interactive web applications. You can count on EcDev Studio for help with hiring an experienced React.js developer.
We hope you liked our simple tutorial on how to create a new custom Gutenberg block. Subscribe to our newsletter for more useful tutorials and instructions.

