


If you manage a Shopify store you may need to make some adjustments so that the site displays the needed content. Many settings can be managed via theme options. We will describe what can be managed there.
- First of all, you need to open the admin panel and click on the Online Store > Themes > Customize.

- You can see the General settings tab with theme options on the window that opens:NOTE: Some options may be absent within templates depending on your theme design.
- The Welcome tab has just some tips for you:
Theme settings allow you to customize the look and feel of your shop without having to delve into HTML or CSS code. Please, see our help page on theme settings to learn more about how to customize your store – http://info.template-help.com/help/quick-start-guide/shopify-themes/master/index_en.html.
- In General settings tab you can manage the logo, favicon, responsive mode, smooth scroll, and copyright:
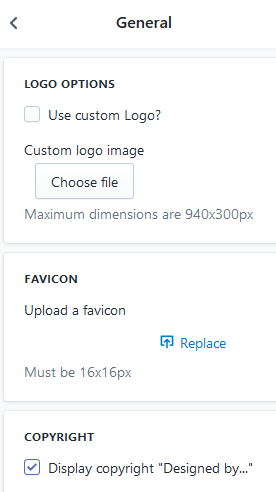
- Logo options
Use custom Logo? Tick this section if you want to upload your logo instead of the text logo.
Custom logo image. Click on Replace to upload your own logo.
Use retina-ready image. Tick this section if you want to upload your logo as the retina-ready image.
Custom logo retina image. Click on Replace to upload your own retina-ready image.
Use Custom Logo for Checkout pages. Tick this section if you want to use the custom logo on checkout. - Favicon. Click on Replace to upload your own favicon.
- Copyright / Footer
Display copyright “Designed by…” / Show “Powered by…” link. Untick it if you do not want the copyright notification appear on your pages. - Responsive mode.
Enable responsive mode. Untick it if you do not want responsiveness for different devices. - Smooth scroll.
Enable smooth scroll. Untick it if you do not want it and want to use the standard scroll.
Press Save when you are ready.
- Logo options
- Typography
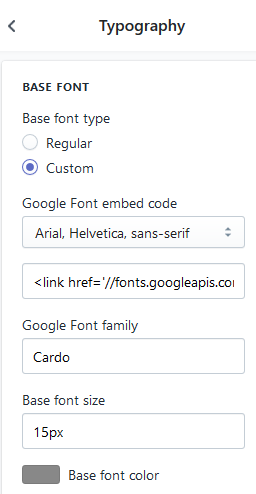
In the Typography tab you can edit the Base font, Page heading font, Links color, Product name, Product description styles or Product price color.- To edit the font family, set your own link to it and enter the Google font family under the Custom title.To replace the font with a regular one, select the Regular title and choose the necessary font from the drop-down:
- To change the font size, enter the needed amount of pixels.
- To edit the color, click on the color area and select the one that fits you from the color picker box or enter your own hex code.
Press Save when the needed changes are made.
- Color settings
 Under the Colors tab, you can change Global color settings and Color scheme.If your theme has the Color Scheme option:
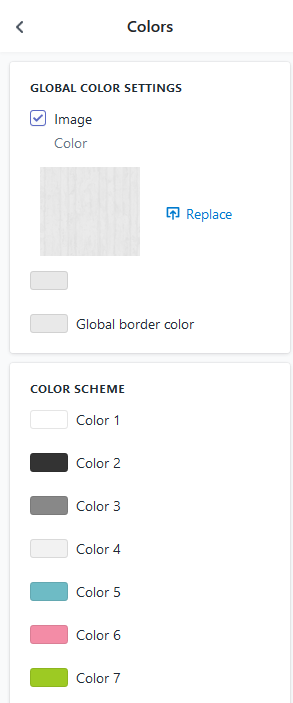
- In Choose color scheme you can select the color scheme number from the drop-down.
- Depending on the selected color scheme you can change main Color 1 and Color 2 for it.
- In Secondary colors, you can define Color 3, Color 4, Color 5 and Color 6.
- Page background & borders
Color. Select the background color.
Show image. Select it if you want to have a background image and press Choose file to upload a background image.
Press Save when the needed changes are made.
- Layout & content
 Here you can do the following:
- enable the homepage carousel and associate the category with it
- select the number of displayed products for it
- choose the needed layout for it (rows, direction)
- set the number of days for which the product is considered as “New”
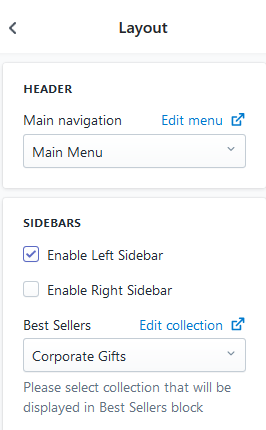
- enable/disable the display of right and left sidebars
- select widgets for sidebars
- the display of Header
- change product image size
- enable/disable Breadcrumbs navigation
- Promobanner tab allows you to select whether you want to show the promo banner and the content for it.
- In the Megamenu tab, you can configure the displayed main menu.
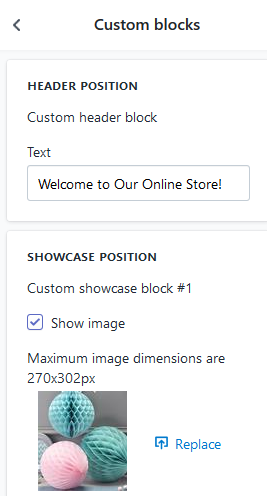
- Use Custom blocks tab to configure blocks in Header, Showcase, Sidebar and Footer position. Here you can change the text, links and images for blocks on the site.
- You can define the map address and whether to display the map on home and contact page in the Google maps tab.
- Olark chat. You can enable/disable the chat widget and set its activation code.
- Money options tab allows you to:
- Show currency selector.
- Currencies you wish to support. You’ll need to list the three letter codes of the currencies you’d like to include. The list of codes can be found on this currency website http://www.xe.com/iso4217.php
- Define Default currency.
- Allow shopper to see prices in his/her own currency? Check this box if you’d like the user to be able to toggle between currencies.
- Money format. Select whether or not you want to show the currency code directly after your price ($10 USD) or not ($10).
- In Newsletter options tab you can enable newsletter popup and configure the content for it.
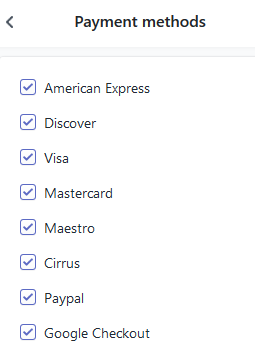
- Under the Payment methods tab you can check/uncheck the methods you plan to use on your site.
- In the Cookies Policy tab you can enable/disable the display of Cookies Policy on the site, its expiration period and the redirect link.
- Use the Checkout tab to set other than throughout the site layout options: banner, logo, position, colors, typography.
- The Welcome tab has just some tips for you:
