


TM Mega Menu is a custom module that allows creating the complex menu. With this module, you can create sub-menus of different levels, customize them with banners, HTML blocks, links, videos, and maps. TM Mega Menu can be used in different positions.

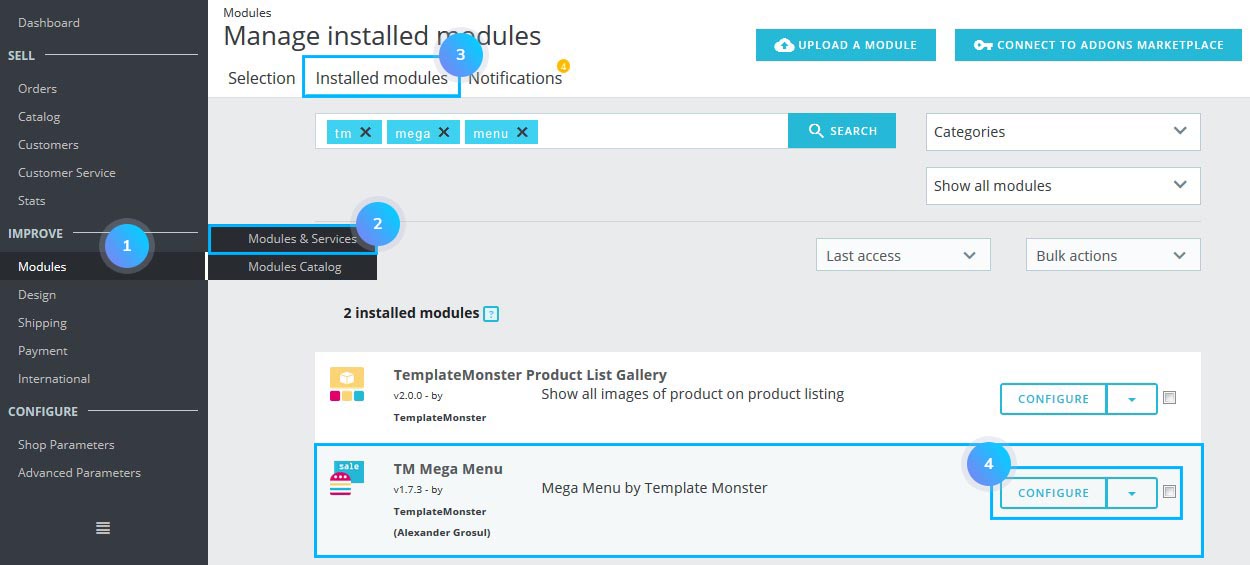
- In your PrestaShop admin panel go to Modules – > Modules and Services. Select the Installed Modules tab and search for TM Mega Menu module. Click the Configure button:
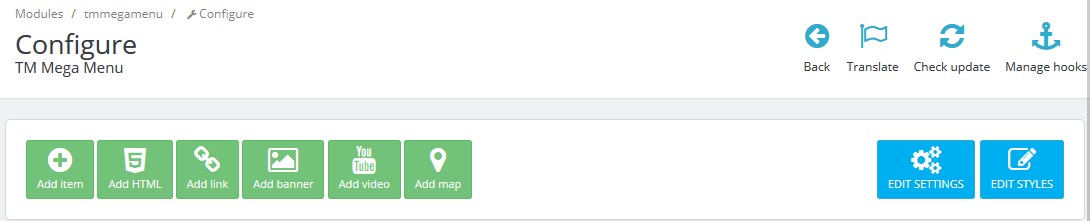
- The module includes 6 main tabs that allow customizing the menu:
TM Mega Menu Item
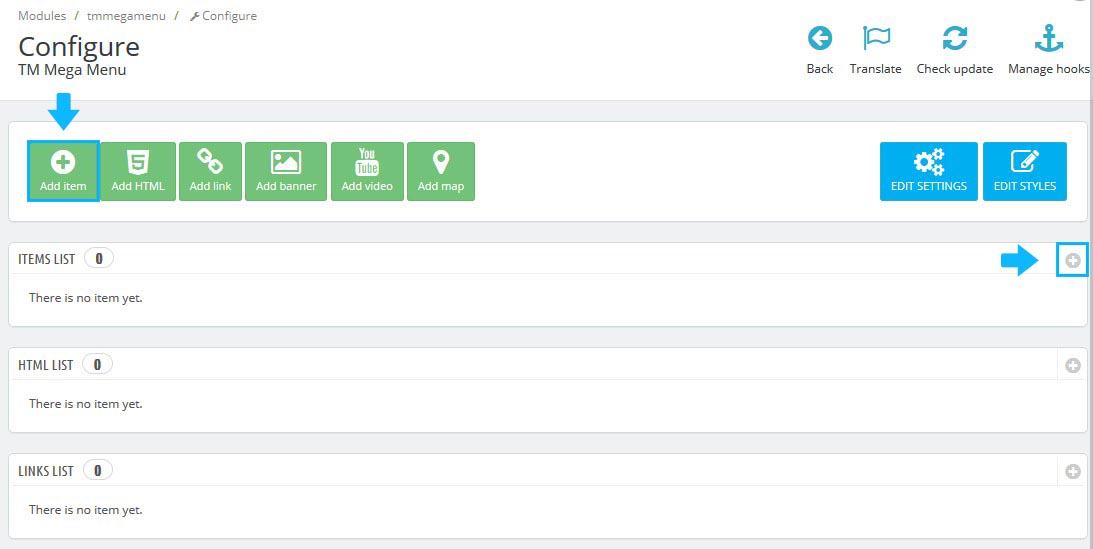
Items are basic tabs that appear on the menu. You can link them to any of the pages of your site or add an external link.
- To create a new item click the Add item tab or click “+” in the Tabs list table:
- In the form that appears, set the following options:
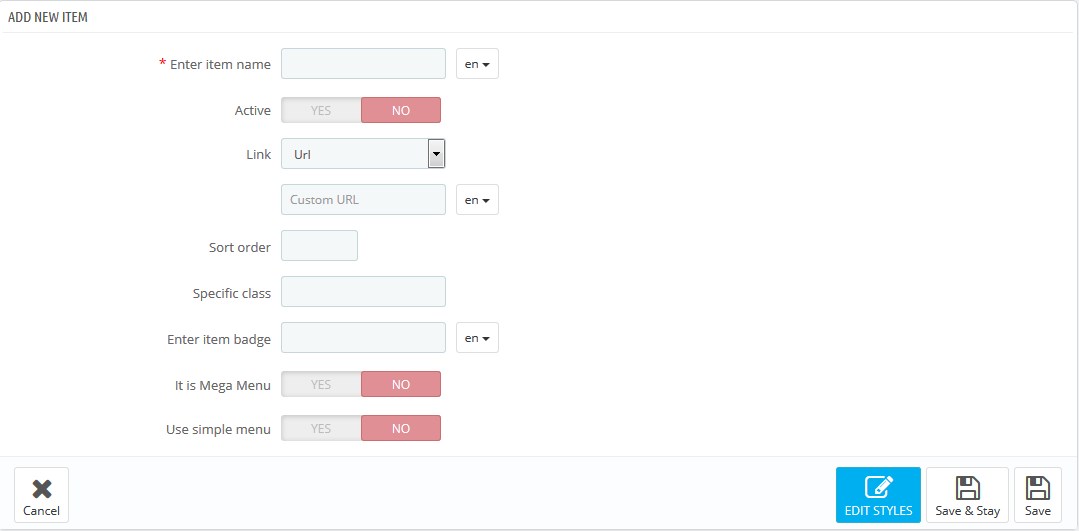
- Enter item name – the title of the item.
- Active – the option allows to enable/ disable the item.
- Link – the link that is assigned to this item.
- Sort order – the order of items to be displayed.
- Specific class – additional CSS class.
- Enter item badge – a small label that will appear next to the item name.
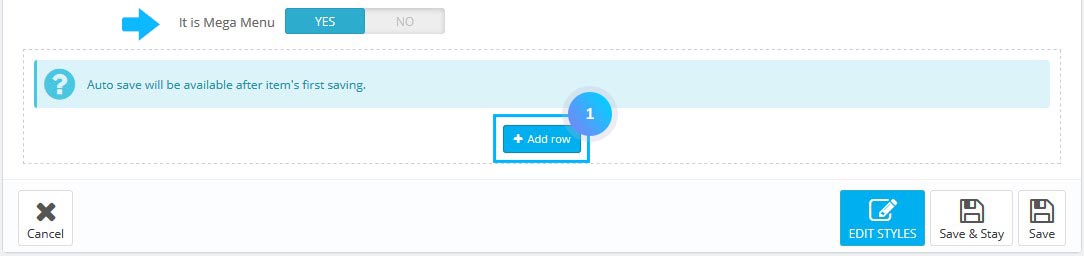
- It is Mega Menu – if the option is selected the form to create a complex menu will appear. Mega Menu consists of rows and columns. To create a complex menu, click the Add row button:
 Then, click Add column button. The maximum size o the column is 12. You can also add a specific CSS class for your column and add the desired content that will appear in the column. You may select any CMS page, banner, link, category, manufacturer, supplier, video or a product from the drop-down:
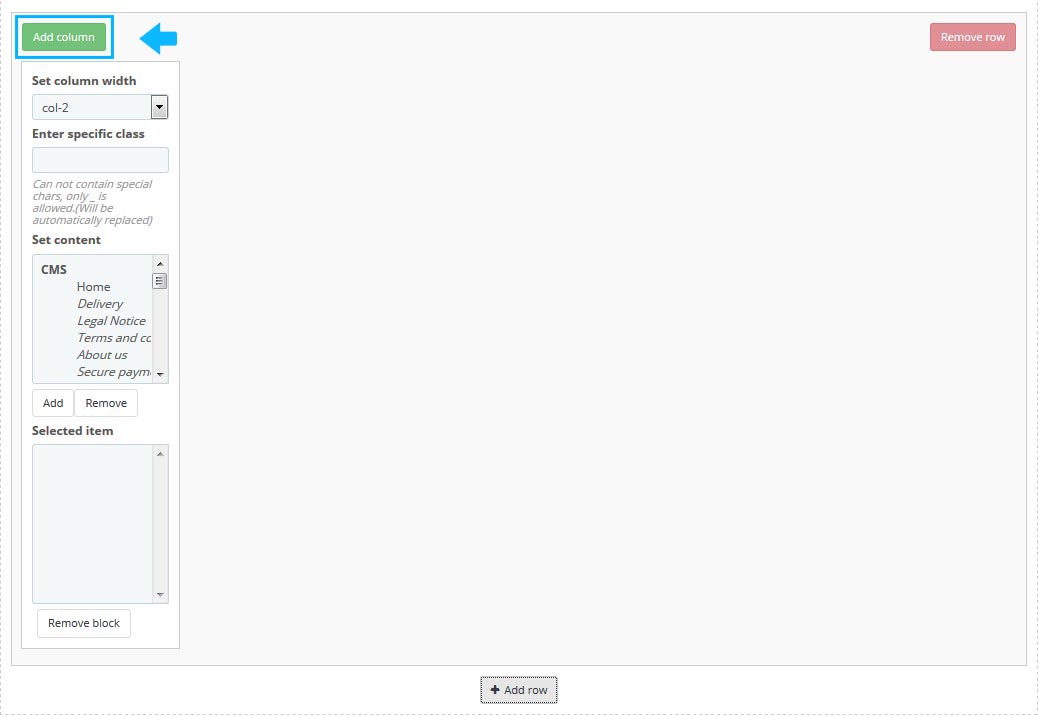
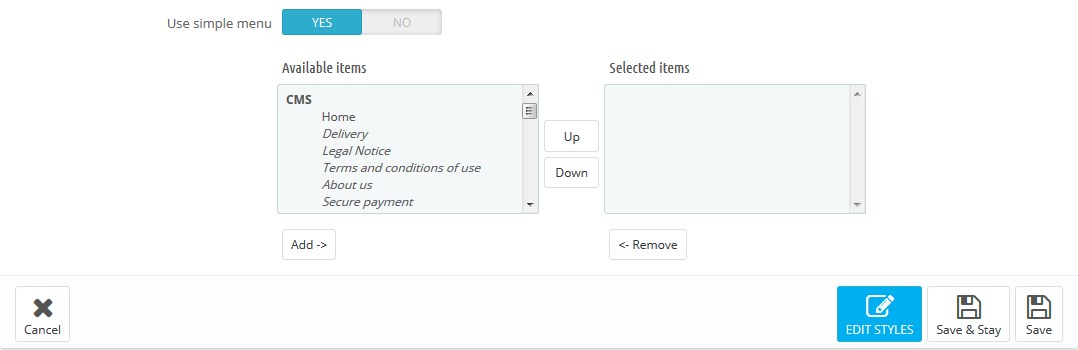
- Use simple menu – if selected, the sub-menu of this item will be in the form of the simple menu. This menu displays the selected content in a single column:
TM Mega Menu HTML
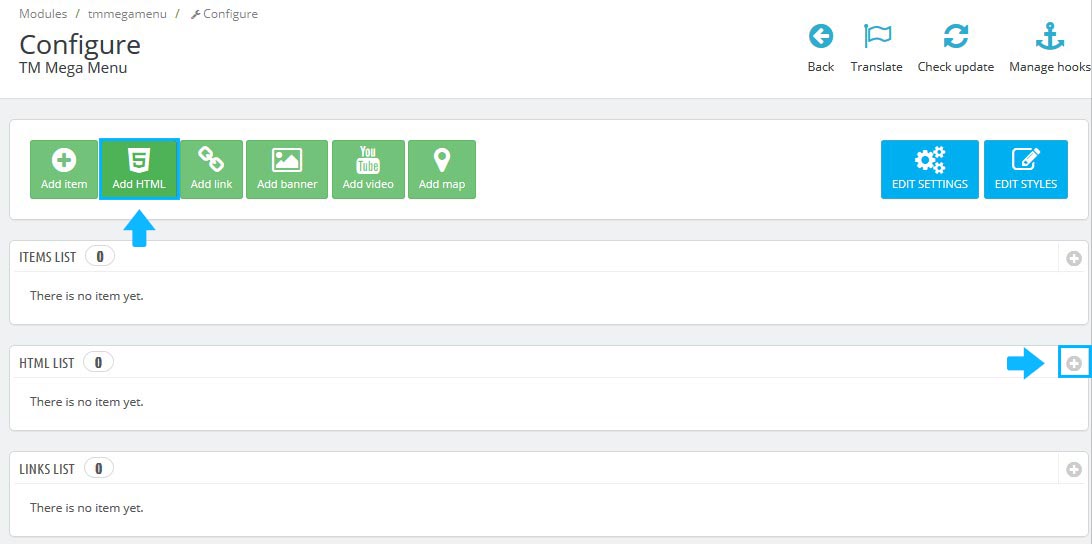
- To create a new HTML block, click the Add HTML tab or “+” button in the top right of the table:
- Fill in the following fields:

- Enter HTML item name – the title of the block.
- Specific class – assign a custom class to your menu item.
- HTML content– the actual content of the block.
TM Mega Menu Links
- To create a new link, click the Add link tab or “+” button in the top right of the table.
- Set the following options:
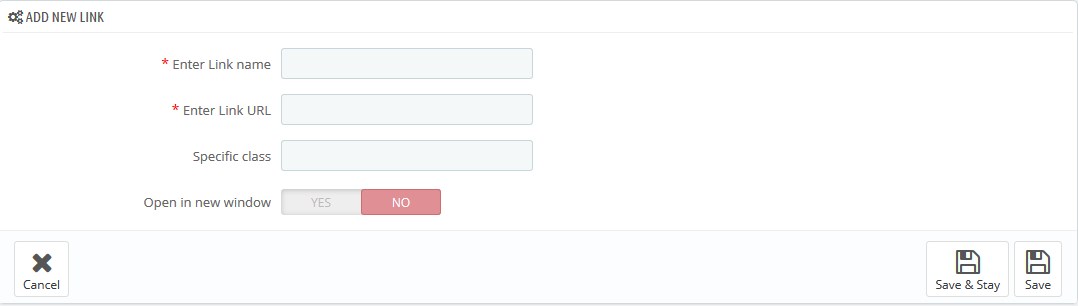
- Enter Link name – the title of the link.
- Enter Link URL – the item URL.
- Specific class – block’s CSS class.
- Open in new window – this option allows opening the link in a new window.
TM Mega Menu Banners
- To create a banner, click the Add banner tab or “+” button in the top right of the table.
- Fill in the fields in the form that appears:

- Select a file – upload an image of the banner.
- Enter Banner name – the title of the banner that will appear in the admin panel.
- Enter Banner URL – the link of the banner.
- Specific class – block’s CSS class.
- Public Title – the title that is visible for your site visitor.
- Description – the optional text.
- Open in new window – this option allows opening the link in a new window.
TM Mega Menu Video
- To add a video, click the Add video tab or “+” button at the top of the table.
- Set the following options:
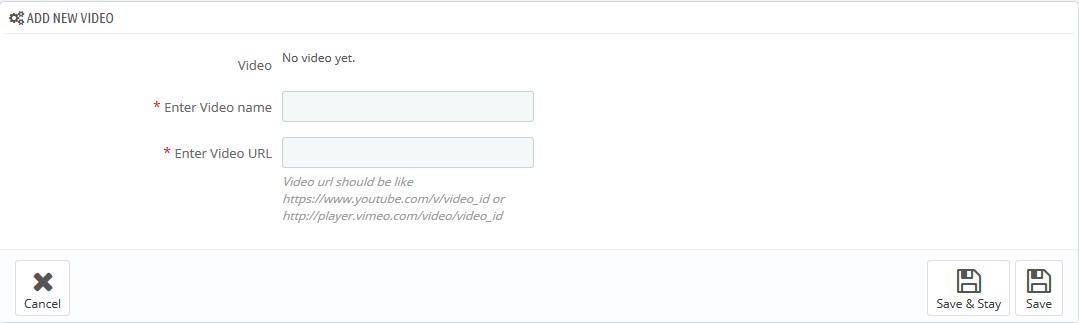
- Enter Video name – a title of the video block.
- Enter Video URL – a YouTube or Vimeo link of your video.
TM Mega Menu Maps
- To add a map, click the Add Map tab or “+” button at the top right of the table.
- Set the following options:
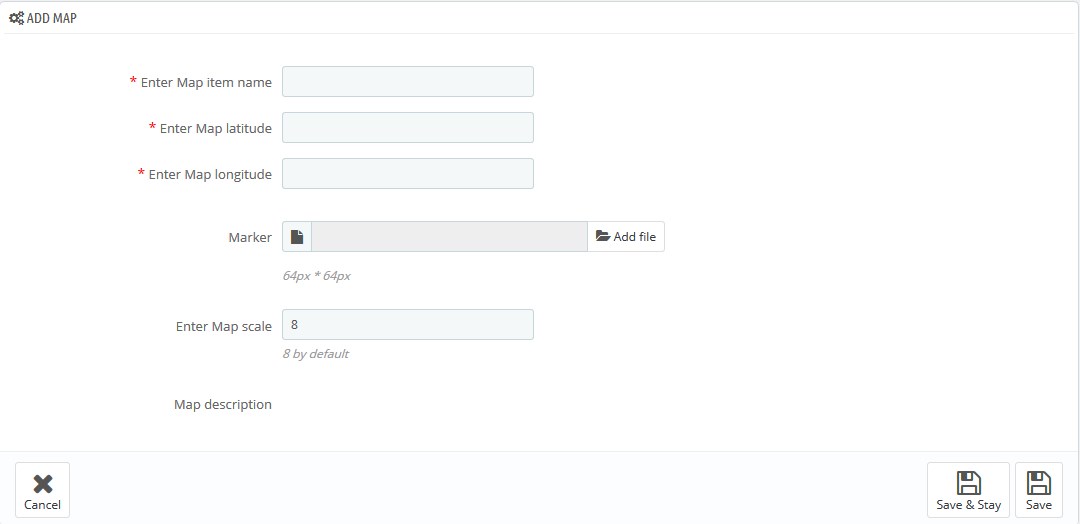
- Enter Map item name – the title of the map.
- Enter Map latitude – the geographical latitude of your map location.
- Enter Map longitude – the geographical longitude of your map location.
- Marker – an image used to mark a point on your map.
- Enter Map scale – the map zoom.
- Map description – an optional text that will appear on your map.
Hopefully, this tutorial was helpful for you.
