


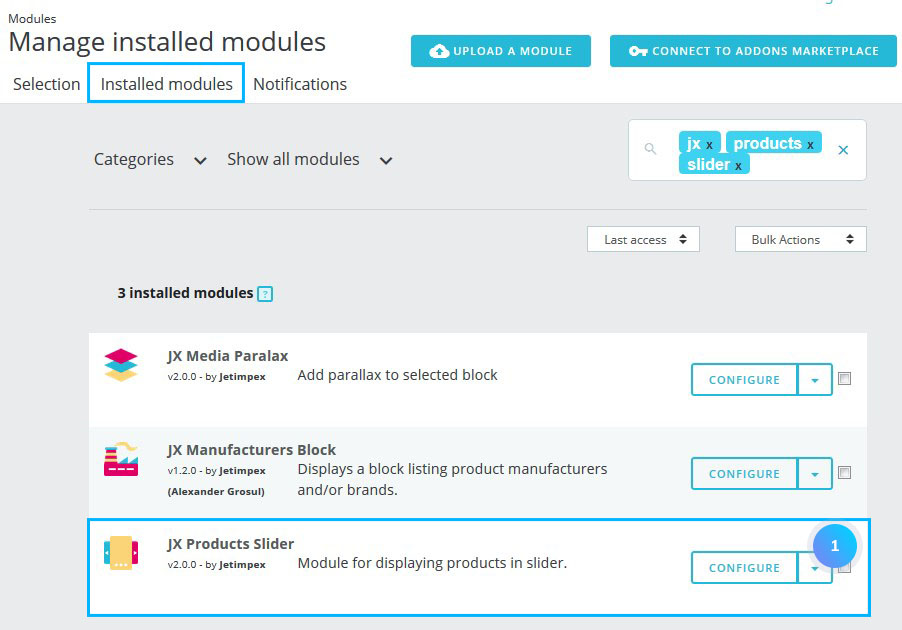
- In your PrestaShop admin panel go to Modules -> Modules and Services section. Choose the Installed modules tab and find there JX Products Slider module. Click the Configure button:
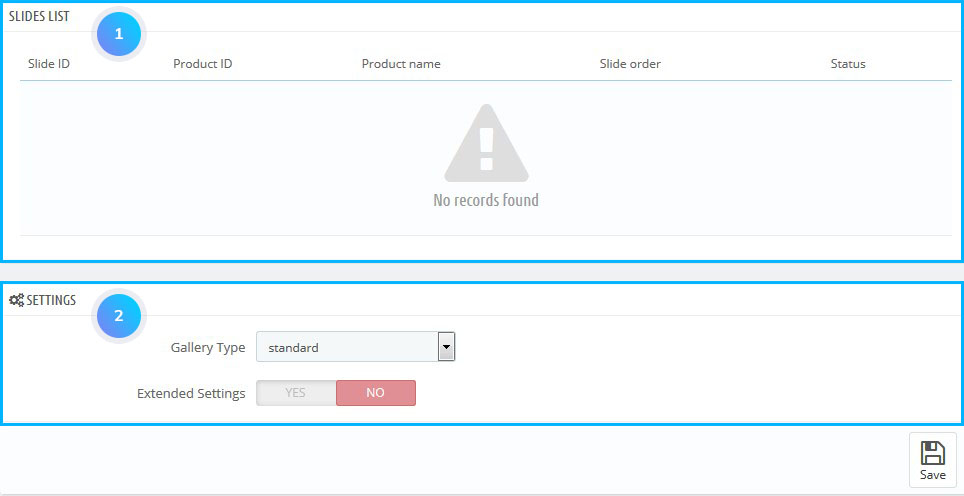
- You can see the main module menu that consists of Slides list section and Settings section:
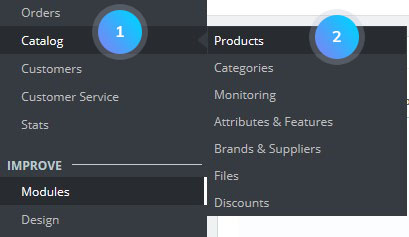
- To add a new product to the gallery, go to Catalog -> Products section:
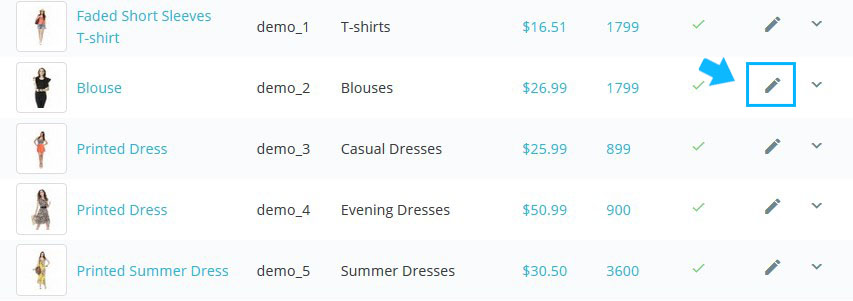
- Click the Edit button near the product you want to add to the gallery:
- In the appeared window choose the Modules options tab, select there JX Products Slider and mark that you want the product to be displayed in the slider:
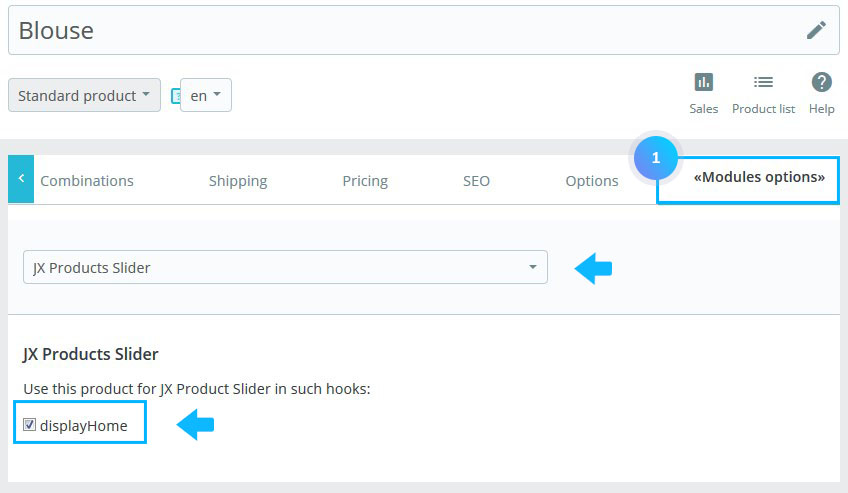
- Now, this product will appear in the Slides list of the module. You can enable/disable the product there or remove it completely by clicking the Delete button:

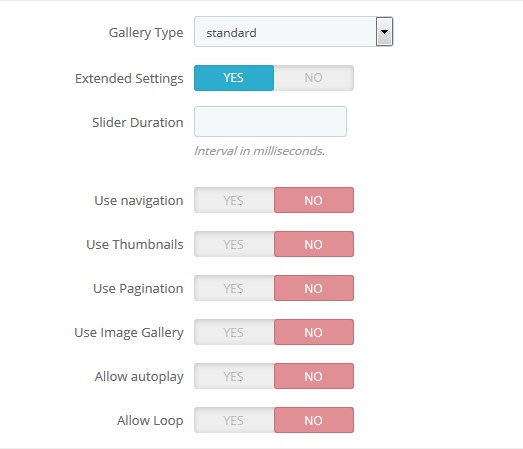
- You can set the following general settings in the lower part of the module:
- Gallery type – the type of the gallery: standard, grid, list, full width.
- Extended Settings (if the option is enabled):
- Slider Duration – allows to change the duration of the transition between two slides;
- Use navigation – enable/disable the navigation of the slides;
- Use Thumbnails – enable/disable the thumbnails of the slides;
- Use Pagination – enable/disable the pagination of the slides;
- Use Image Gallery – use the image gallery (if the option is enabled);
- Allow autoplay – option means whether your slides switch automatically or not;
- Allow Loop – enable/disable the loop.
Hopefully, this tutorial was helpful for you.

